
That gurgling sound when you try to drain your pasta water or the slow pool of dirty dishwater refusing to disappear – kitchen sink clogs strike at the worst moments. Before you reach for chemical drain cleaners that corrode pipes or schedule a costly plumber visit, grab your drum auger. This manual drain snake is the plumber’s secret weapon for busting through stubborn kitchen blockages caused by grease, food scraps, and soap scum. Mastering how to use a drum auger kitchen sink clogs can save you $150+ per emergency call while giving you immediate control over your plumbing crisis. In just 15 minutes with basic tools, you’ll transform from frustrated homeowner to drain-saving hero.
Kitchen sink clogs typically form 10-20 feet down the line where grease hardens around hair and coffee grounds. Unlike plungers that only address shallow blockages, a drum auger’s flexible 25-foot steel cable penetrates deep into P-traps and horizontal pipes. The rotating head either shreds obstructions or hooks solid debris for removal – all without damaging PVC or metal pipes. I’ve cleared countless kitchen sinks using this method, and you’ll learn exactly where to position your body for leverage, how to feel for clogs through the cable, and why cranking direction matters more than brute force.
Essential Safety Precautions Before Snaking
Skipping safety steps risks pipe damage or injury when using a drum auger kitchen sink drains. First, shut off the faucet and remove standing water with a cup – never attempt snaking in a full sink. Put on thick rubber gloves (dishwashing gloves work) to protect against bacteria and sharp debris like broken glass. Safety goggles are non-negotiable; pressurized gunk can shoot back when the clog breaks. Clear all cabinets under the sink, placing towels on the floor to catch drips. Most critical: identify your cleanout plug location (usually a 4-inch cap under the sink) so you can access the pipe if the auger jams. If your sink has a garbage disposal, unplug it first – accidental activation could shred the cable.
How to Unclog Your Kitchen Sink with a Drum Auger
This proven drum auger method works for 90% of kitchen sink blockages when performed correctly. The key is patience – rushing causes kinks. Allow 10-15 minutes for the entire process.
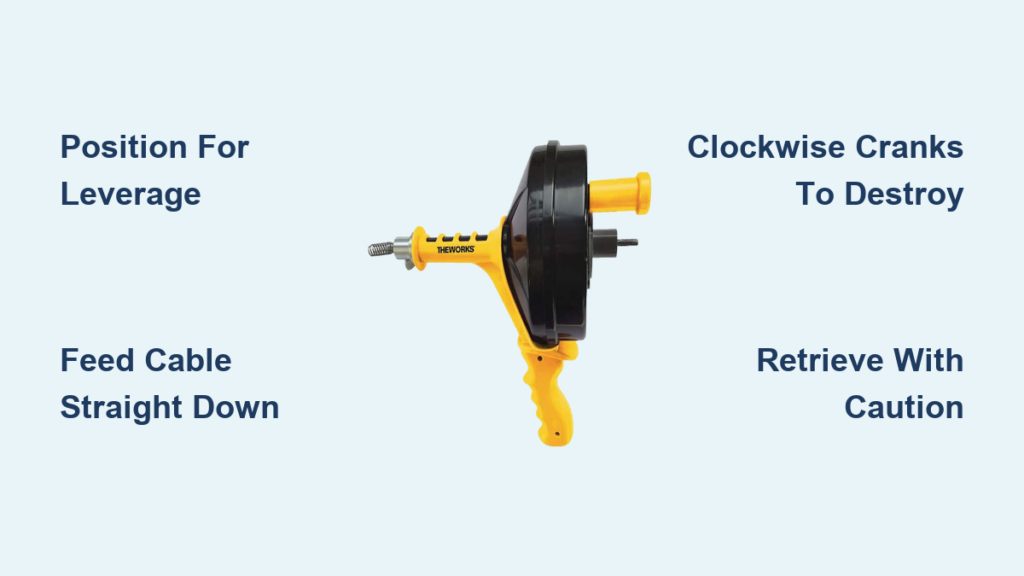
Position Yourself for Maximum Control
Stand sideways to the sink with your dominant foot forward, gripping the drum auger’s handle like a baseball bat. This stance gives you 360-degree cranking room without straining your back. Rest the auger drum on the floor against the cabinet base for stability. Never stand directly over the sink – if the cable suddenly releases, debris could splash upward. Keep a flashlight clipped to your pocket to watch the cable feed into the drain.
Bypass the P-Trap Without Disassembly
Most DIYers make the critical error of removing the P-trap first. Modern drum augers snake through the sink drain opening directly. Remove the strainer basket by unscrewing the center post or lifting out the pop-up stopper. Feed the cable tip straight down the drainpipe, not angled toward the wall. As you push, rotate the handle clockwise at 1 RPM – this coils the cable naturally through the U-shaped trap. You’ll feel slight resistance at the trap bend; apply 2-3 pounds of forward pressure while cranking. If you hit immediate resistance, you’re likely pressing against the trap wall – retract slightly and reposition.
Detect and Destroy the Clog
Once past the trap (about 18 inches in), advance the cable slowly while cranking. You’ll feel distinct changes:
– Grease clogs: Smooth, sticky resistance like pushing through peanut butter
– Solid obstructions: Sudden hard stop with no give
– Hair masses: Spongy resistance that “grabs” when you reverse crank
When you hit the clog, stop advancing. Rotate the handle clockwise for 20 full turns while maintaining gentle forward pressure. This drills the corkscrew tip into the blockage. For grease, you’ll feel it gradually soften. For solid objects, you may hear a “crack” as the auger fractures it. Never force the cable – if it won’t budge after 30 seconds, retract and retry.
Retrieve Debris Without Re-clogging
This is where most attempts fail. After breaking the clog, slowly retract the cable while continuing clockwise cranks. Reversing direction unscrews the cable joints, potentially leaving pieces in your pipes. As the cable emerges:
– Wipe gunk off with rags (never bare hands)
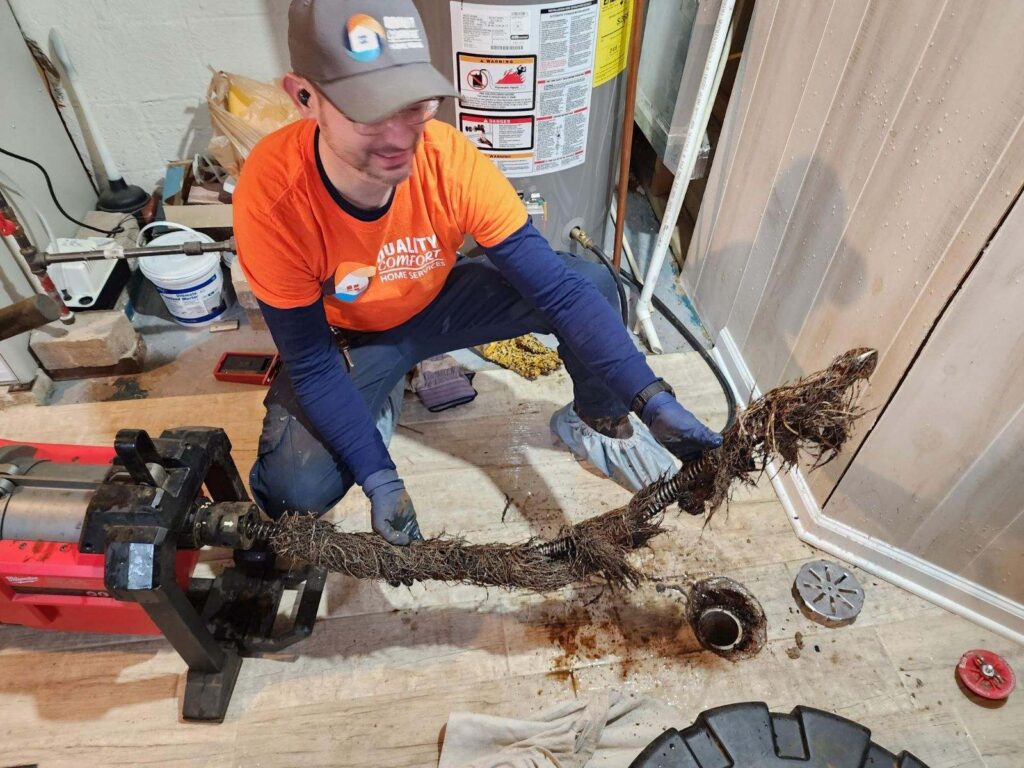
– Expect 6-12 inches of slimy debris wrapped around the tip
– If nothing comes out, the clog was pushed downstream – flush later
Critical warning: If resistance increases during retrieval, stop immediately. You’ve likely hooked a pipe joint – forcing it could crack seals. Back off 6 inches and restart cranking.
Flush and Verify Complete Clearance
Run hot water at full blast for 2 full minutes before reassembling. Watch for:
– Immediate free flow (success!)
– Gurgling sounds (air pockets indicating partial blockage)
– Slow drainage (repeat snaking process)
Pour 4 cups of boiling water down the drain to melt residual grease. Then test with a large pot of water – it should drain within 10 seconds. If not, the clog remains deeper; repeat the snaking process extending the cable another 5 feet.
Troubleshooting Stubborn Kitchen Sink Clogs

Even with proper technique, kitchen drains pose unique challenges due to grease buildup and complex plumbing.
When the Cable Won’t Advance Past 2 Feet
Kitchen sink traps often have tighter bends than bathroom sinks. If the cable stops early:
1. Retract completely and apply pipe lubricant to the first 3 feet of cable
2. Feed in at half-speed while cranking counter-clockwise (reverses coil direction)
3. Listen for a “clunk” at the trap bend – that’s the cable navigating the turn
4. Once past, resume clockwise cranking
This technique works 80% of the time for PVC pipes. For cast iron, reduce forward pressure by 50% to avoid scratching.
Grease Clogs That Won’t Break Down

Grease behaves like concrete when cooled. Standard augers often just push it deeper. Solution:
– Pour 1 cup of boiling water down the drain first (softens surface layer)
– Use a drum auger with a cutting blade tip (not standard corkscrew)
– Crank at high speed (2 RPM) while applying steady pressure
– After clearing, flush with 2 gallons of hot water mixed with ½ cup dish soap
Pro tip: Prevent recurrence by pouring ½ cup of salt down the drain weekly – it absorbs grease before it hardens.
Cable Snags on Pipe Joints
If the cable suddenly jams with no clog present, you’ve likely hooked a pipe seam. Do NOT yank. Instead:
1. Rotate handle counter-clockwise 5 turns
2. Gently wiggle cable side-to-side
3. Apply downward pressure toward the floor
4. If stuck, close the cleanout plug and run water to create backpressure
Forcing it risks separating pipe joints. If stuck over 2 minutes, call a pro – DIY extraction could flood cabinets.
Post-Clearance Maintenance Protocol
After successful unclogging, prevent immediate re-clogging with these steps:
– Run hot water for 5 minutes to flush residual debris
– Pour ½ cup baking soda followed by 1 cup vinegar down drain
– Wait 15 minutes, then flush with boiling water
– Install a fine-mesh strainer to catch food particles
For persistent slow drains, repeat the baking soda/vinegar treatment monthly. Never use chemical cleaners within 48 hours of snaking – they can react with residual grease and damage pipes.
When Professional Help Becomes Non-Negotiable
Stop snaking immediately if:
– Multiple fixtures back up simultaneously (indicates main line clog)
– You smell sewer gas during the process
– The auger cable won’t advance past 3 feet despite troubleshooting
– Water pools around the sink base (possible pipe damage)
These signal problems beyond DIY scope, like collapsed pipes or tree root invasions. A pro-grade auger with camera inspection costs $200-$400 but prevents $5,000 in water damage. Remember: drum augers solve 85% of kitchen clogs, but recognizing your limits protects your home.
Mastering how to use a drum auger kitchen sink systems puts you in control of one of homeownership’s most frequent headaches. By following these precise steps – especially the critical clockwise retrieval technique and grease-specific clearing methods – you’ll resolve clogs faster than waiting for a plumber. Keep your auger under the sink with rubber gloves and goggles for instant response. Within 30 days of your first successful unclogging, you’ll develop the tactile sense to diagnose clogs through the cable alone. That next pasta-night disaster? You’ll clear it before the cheese even melts.


