
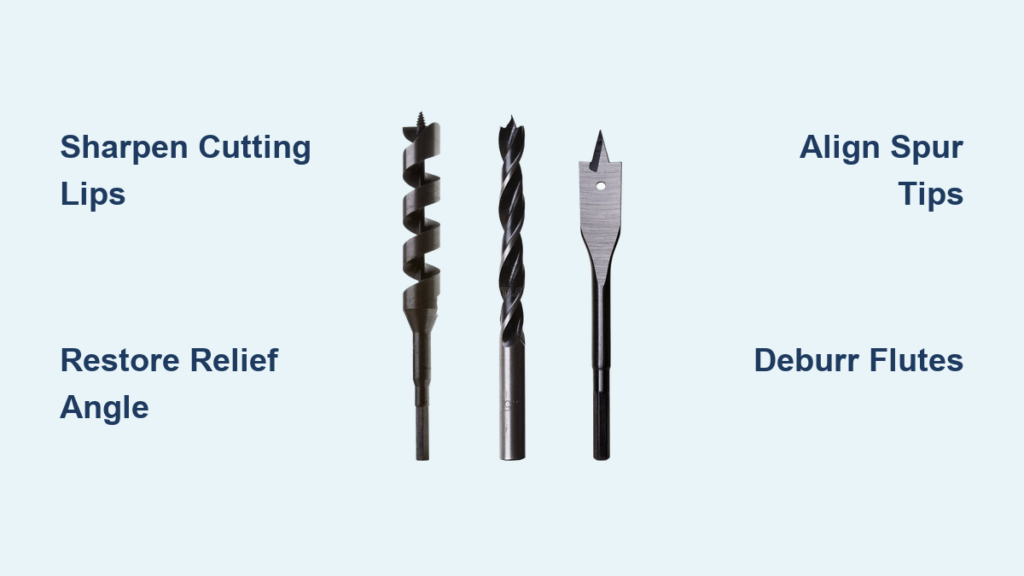
That frustrating moment when your drill bit starts smoking as it struggles through pine, leaving behind ragged holes and splintered exits—every woodworker knows it. A dull wood drill bit isn’t just inefficient; it risks ruining expensive stock and creates dangerous kickback situations. Learning how to sharpen a wood drill bit properly transforms frustrating projects into smooth, precise work. In this guide, you’ll master hand-sharpening techniques that restore factory-sharp edges, eliminate blowout, and extend bit life by 300%—all without expensive tools. Discover exactly when sharpening is critical, avoid the #1 symmetry mistake that ruins holes, and achieve professional results with simple files you already own.
7 Immediate Signs Your Wood Drill Bit Needs Sharpening Now
Don’t wait for complete failure—these visual and auditory cues signal it’s time to sharpen. Ignoring them risks tear-out, inaccurate holes, and potential tool damage. Watch for these specific warning signs during your next drilling session:
- Smoke or Burning Smell Within 5 Seconds: Excessive heat from friction indicates the cutting edges have rounded over. New bits cut cleanly without smoke; persistent burning means immediate sharpening is required.
- Wood Chips Clogging Flutes Instead of Ejecting: Sharp bits produce long, curly shavings that spiral out automatically. When dust packs tightly in the flutes within 1/4 inch of drilling, the cutting lips can’t shear wood properly.
- Exit-Side Blowout on Plywood or Veneer: Dull bits crush fibers instead of cutting them, causing explosive splintering on the backside. If you need backing boards for clean exits, sharpen your bits first.
- Increased Drilling Time by 40% or More: Time yourself drilling identical holes. If a 1/2″ hole in softwood now takes over 10 seconds (with appropriate speed), your bit has lost critical sharpness.
- Visible Rounded Edges Under Magnification: Examine the cutting lips with a jeweler’s loupe. Factory-sharp edges form clean 90-degree angles; dull bits show distinct rounded or chipped transitions.
Critical Symmetry Check: Hold the bit tip toward a light. The two cutting lips should mirror each other perfectly. Any visible mismatch means uneven wear requiring immediate attention before drilling another hole.
Must-Have Safety Gear and Workspace Setup for Sharpening Wood Bits
Skipping proper safety measures risks eye injuries from flying metal particles and inconsistent results. Follow these non-negotiable setup steps before touching a file:
- ANSI-Z87.1 Safety Glasses: Standard eyewear won’t stop microscopic metal fragments. Use sealed safety goggles that wrap around your temples. Grind just one bit without them to see why this is non-negotiable.
- Wooden Vise Jaws or Soft Jaw Pads: Clamp your bit in a bench vise using 1/4″ thick maple blocks to prevent flute deformation. Never grip the bit body directly—this alters alignment during sharpening.
- 6″ Fine Mill File with Handle: Choose a new, unworn file (not a worn-out rasp). The fine cut preserves geometry while removing minimal metal. Keep it dedicated to drill bits—steel files dull quickly on hardened bits.
- Task Lighting at 45-Degree Angle: Position a bright LED lamp to cast shadows across the cutting edge. This reveals microscopic imperfections invisible under flat lighting. A smartphone flashlight works in a pinch.
Pro Lighting Hack: Rub a black Sharpie on the cutting lip before sharpening. As you file, the ink disappears where metal contacts the file, showing exact contact points for perfect symmetry.
Hand-Sharpening a Twist Drill Bit in 5 Precision Steps
This method works for standard high-speed steel (HSS) wood bits (1/16″ to 1/2″). Allow 3-5 minutes per bit—rushing causes asymmetry. Focus on recreating the factory 118° point angle and primary relief.
Step 1: Secure and Align the Bit at Factory Angle
Clamp the bit vertically in your vise with the tip facing left. Tilt the vise head to match the bit’s original point angle (118° for most wood bits). Verify alignment by holding the file flat against the bit’s existing relief surface—if it sits flush, you’ve matched the factory geometry. Never alter this angle; it’s engineered for optimal wood cutting.
Step 2: Re-establish Primary Relief Without Ruining the Web
Place the file’s edge against the heel of the cutting lip (the junction where lip meets flute). Tilt the file upward 12-15° to recreate the concave relief surface. Use 3-4 smooth, downward strokes per lip—never side-to-side motion. Critical: Stop when you see a clean, bright metal line across the entire lip. Over-filing thins the web, causing weak bits that wander.
Step 3: Sharpen Cutting Lips with Stroke Counting
Rotate the bit 180° in the vise. Hold the file parallel to the bit’s axis. File the top surface of the cutting lip using 4-6 consistent strokes toward the center. Pro Symmetry Trick: Count aloud—”one Mississippi, two Mississippi”—to ensure identical stroke duration per lip. The lips must meet precisely at the center point when finished.
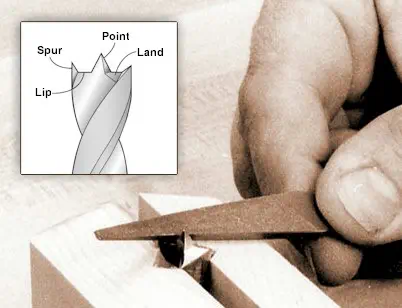
Step 4: True the Chisel Point for Clean Starts
Examine the chisel point (the flat tip between lips). If misaligned, use a fine triangular file to gently square it. File only along the chisel edge’s length—never widen it. A centered chisel point prevents walking and ensures accurate hole placement on tricky grain.
Step 5: Deburr Flutes to Prevent Chip Clogging
Run a fine diamond hone along the inside of each flute where it meets the new cutting edge. Use 2-3 light passes only. This removes the microscopic wire edge that would otherwise break off during drilling, causing instant dulling. Visual Cue: Run your fingernail along the flute—it should glide smoothly without catching.
How to Sharpen Brad Point Bits Without Damaging Spurs
Brad point bits require specialized attention to their spurs—their defining feature for clean holes. Mistakes here ruin the bit’s precision. Allow 5-7 minutes per bit.
Restoring Outside Spurs for Splinter-Free Exits
Focus exclusively on the inside face of each spur. Hold a fine diamond paddle sharpener vertically against the spur’s inner edge. Use 5-7 downward strokes while maintaining the spur’s original 15° undercut angle. Never file the outer diameter—this reduces the bit’s effective size, causing loose-fitting dowels or plugs.
Sharpening the Center Point Without Losing Alignment
The sharp center point guides the bit. Use a fine triangular file to hone all four facets equally. File each facet with 3 identical strokes. Check alignment by rolling the bit on a flat surface—if it wobbles, the point is off-center and needs rework.
Avoid These 4 Costly Sharpening Mistakes That Destroy Bits
Even experienced woodworkers ruin bits through these preventable errors. Sidestep these traps to double your bit’s service life:
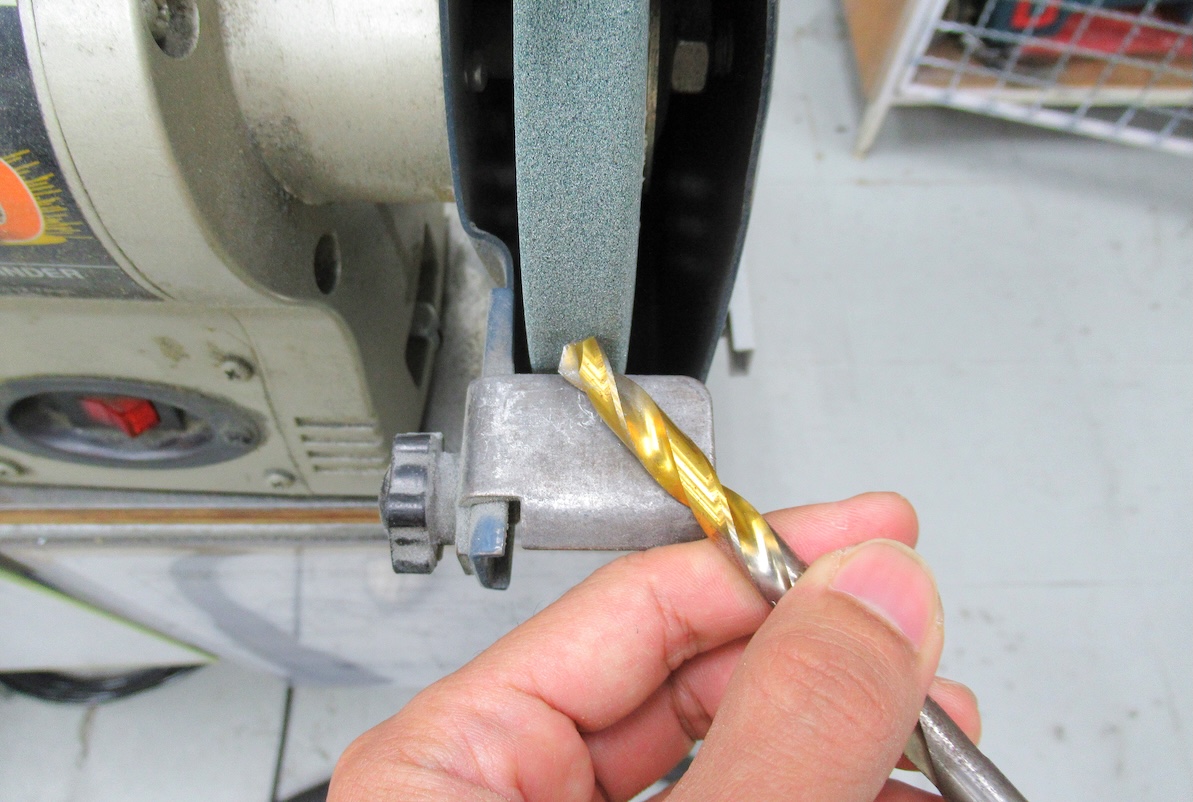
- Overheating During Power Grinding: If using a bench grinder, dip the bit in water after every 2-second contact. Warning: Blue/purple discoloration means you’ve destroyed the temper—discard the bit. Hand filing avoids this risk entirely.
- Asymmetric Lip Lengths: A 0.002″ difference creates oversized holes. Always use stroke counting and the Sharpie alignment trick. Test symmetry by holding the bit tip-up against light—gaps indicate imbalance.
- Excessive Relief Angle Changes: Altering the 12-15° primary relief angle causes rubbing instead of cutting. Maintain the factory angle by using the file as a gauge against existing surfaces.
- Ignoring Helix-Specific Needs: High-helix bits (for softwoods) need more aggressive relief; low-helix (for hardwoods) require subtle touches. Match your technique to the bit’s original design.
Testing Your Sharpened Bit: 3 Instant Performance Checks
Never assume success—validate with these quick tests before committing to your project:
- Scrap Wood Bite Test: Drill into pine at half your normal speed. A sharp bit should penetrate instantly with light pressure, producing long, continuous shavings—not dust.
- Hole Wall Inspection: Examine the hole interior with a flashlight. Smooth, mirror-like walls indicate proper sharpening; roughness means uneven lips or burrs remain.
- Exit-Side Blowout Check: Drill through 3/4″ plywood. Zero splintering on the exit side confirms perfectly aligned spurs (brad points) or symmetrical lips (twist bits).
Time-Saver: If the bit still smokes, repeat Step 2 (relief angle) only—don’t re-sharpen lips unnecessarily.
Extend Bit Life: 4 Pro Maintenance Habits After Sharpening
Maximize your sharpening effort with these wood-specific practices:
- Peck Drill Deep Holes: Withdraw the bit every 1/2″ to clear chips. Prevents heat buildup that dulls edges 3x faster.
- Use Backing Boards for Plywood: Place scrap wood under workpieces to eliminate exit blowout—reducing stress on cutting edges.
- Apply Cutting Wax to Bit Shafts: Rub beeswax on flutes before drilling hardwoods. Reduces friction heat by 25%, slowing dulling.
- Store Bits Vertically in Foam: Prevents tip damage in your toolbox. Never toss loose bits into drawers where they knock against each other.
Mastering how to sharpen a wood drill bit transforms one of woodworking’s most frustrating pain points into a quick, satisfying skill. With these techniques, you’ll consistently achieve clean, precise holes while extending bit life far beyond replacement cycles. Remember: symmetry is non-negotiable, deburring is essential, and proper testing prevents wasted project time. Keep your files sharp and your vise ready—your next flawless hole starts with a perfectly sharpened tip. For complex bits like Forstners or augers, consider professional sharpening services to maintain critical geometries. Now grab that dull bit in your scrap drawer and give it new life—your next project will thank you.


