
Your Forstner bit starts producing rough holes, burning wood, or requiring excessive pressure during drilling. That signature clean, flat-bottomed hole becomes a splintered mess. Forstner bits are precision tools worth preserving—sharpening them correctly extends their life far beyond replacement costs. Unlike twist bits, their complex geometry with outer rims and center spurs demands specific techniques. This guide delivers actionable steps to revive dulled edges while maintaining critical geometry. You’ll learn exactly how to clean, inspect, and sharpen each component using accessible tools, avoiding common mistakes that ruin expensive bits.
Why Forstner Bits Lose Sharpness and When to Sharpen
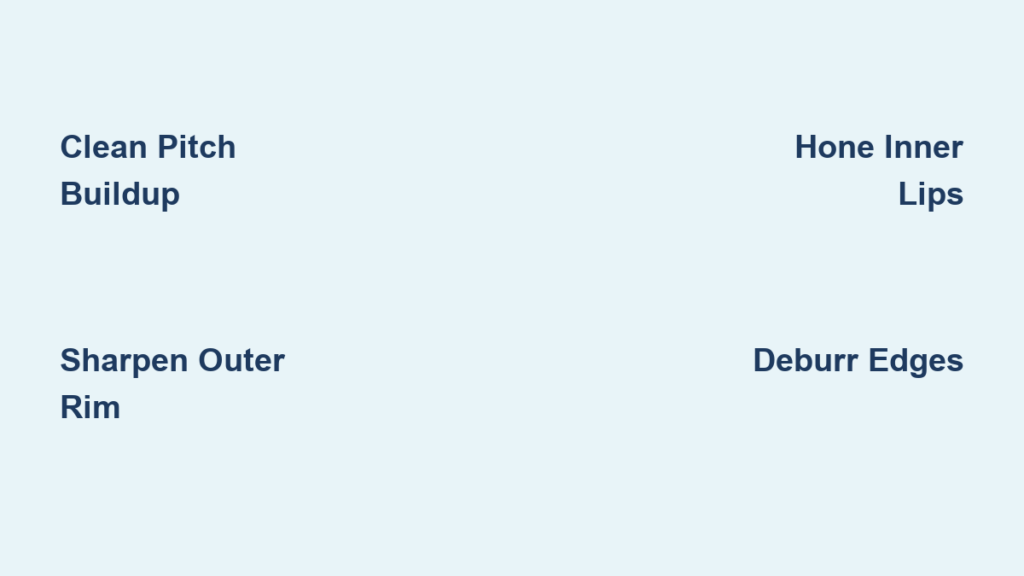
Forstner bits dull faster than standard drill bits due to their unique cutting action. The outer rim scores wood fibers while inner lips shear material toward the center—a process that concentrates wear on specific edges. Signs you need sharpening include rough hole walls, excessive smoke during drilling, or needing to force the bit through material. High-speed steel (HSS) bits typically require sharpening after 50-100 holes in hardwood, while production shops inspect weekly. Ignoring dullness causes overheating that damages the bit’s temper, making timely sharpening essential. Critical red flags: chipped spurs, visible rounding on cutting lips, or wood burning even at slow speeds.
How to Identify Specific Edge Damage
- Outer rim wear: Check for rounded corners instead of sharp 90-degree edges—this causes tear-out
- Lip cutter failure: Dull inner bevels produce coarse shavings instead of fine curls
- Center spur issues: A damaged spur creates wandering holes or requires excessive starting pressure
- Rim spur damage: Missing teeth on the outer rim lead to ragged hole edges
Essential Tools for Sharpening Forstner Bits at Home
Gather these specific tools before starting—using improper files ruins geometry. Diamond abrasives are non-negotiable for HSS bits since standard files can’t cut hardened steel. Avoid generic “sharpening stones” that lack the required hardness.
Must-Have Tools Checklist
- Fine diamond files (600+ grit): For primary sharpening of outer rim and lips
- Diamond needle files: Crucial for inner bevels and spurs (Trend brand tapered half-round recommended)
- Flat diamond cards: For deburring flat surfaces without altering angles
- Rotary tool with diamond bits: Dremel/Foredom with 1.4mm ball diamond bit for intricate areas
- Magnification: 3x-5x bench lamp or headset magnifier to see microscopic edges
- Secure clamping: Machinist’s vise with soft jaws to prevent bit rotation
Tools to Avoid
- Standard oil stones—they glaze against HSS
- Coarse files that remove too much material
- Angle grinders without specialized jigs (causes geometry destruction)
- Any tool that heats the bit beyond touch temperature
Step-by-Step: Cleaning and Inspecting Before Sharpening
Never skip this phase—resin buildup hides edge damage. Cleaning reveals whether sharpening is feasible or if replacement is needed.
How to Remove Pitch Without Damaging Edges
- Soak the bit in citrus-based pitch remover for 10 minutes (avoid harsh solvents)
- Scrub flutes with a brass brush—never steel which can nick edges
- Wipe dry with microfiber cloth under magnification
- Examine under bright light: Critical check—if chips exceed 1/3 of edge length, replace the bit
Damage Assessment Checklist
- ✅ Sharpenable: Uniform dullness, minor rounding, no cracks
- ❌ Replace immediately: Pitted edges, body cracks, or distorted rim diameter
- 🔧 Professional help needed: Deep nicks or rolled edges beyond simple honing
Precision Technique: Sharpening the Outer Rim Without Altering Diameter

The rim defines hole size—improper sharpening changes diameter and ruins accuracy. Always work only on the inner concave bevel, never the outer surface.
How to Maintain Exact Rim Diameter
- Clamp bit vertically in vise with rim exposed
- Identify original bevel angle (typically 25-45°) using factory edge as guide
- Place flat diamond file against inner bevel, matching angle precisely
- Apply light pressure with 5-7 controlled strokes toward the rim’s edge
- Rotate bit 1/4 turn and repeat until full circle is sharpened
- Visual cue: Stop when a continuous silver line appears along the rim edge
Pro Tip: Mark the bevel with permanent marker before starting—sharpen until the mark disappears evenly. Over-sharpening by just 0.002″ alters hole size significantly.
How to Sharpen Inner Cutting Lips Without Ruining Shearing Action
The lips create clean shavings—their inner bevels must be perfectly honed. Incorrect angles cause tear-out or poor chip evacuation.
Step-by-Step Lip Sharpening Process
- Position bit to isolate one lip cutter under magnification
- Select diamond needle file matching the bevel curvature
- Rest file against inner bevel, maintaining original factory angle
- Use long, smooth strokes from rim toward center (5-8 strokes max)
- Repeat identical strokes on opposite lip—count strokes for symmetry
- Test by scraping thumbnail: Should catch slightly without sliding
Critical Warning: Never sharpen the top surface—this destroys the critical 90° shear angle. Focus exclusively on the inner bevel. If lips feel sharp but cut poorly, check for burrs on the backside.
Sharpening Center Spurs and Rim Teeth Safely
-01.jpg)
These delicate components initiate the cut—aggressive sharpening breaks them off. Rim teeth are especially fragile on bits under 1″ diameter.
Gentle Technique for Micro-Edges
- Center spur: Use diamond needle file on the chisel point’s inner face only. 2-3 feather-light strokes max—over-sharpening causes wandering holes
- Rim spurs: Hold diamond file vertically against each tooth’s inner face. One stroke per tooth while rotating bit slowly
- Visual check: Spurs should reflect light as a thin silver line—no rounded edges
Pro Tip: For bits under 3/4″, skip manual spur sharpening. Use a leather strop with diamond paste instead to avoid breakage.
Deburring and Honing: The Final Step for Razor-Sharp Performance
Skipping deburring creates micro-burrs that tear wood fibers. This step transforms “sharp” to “razor-sharp.”
How to Remove Burrs Without Altering Edges
- Lap flat surfaces with fine diamond card using figure-8 motions
- For curved areas, use 1000+ grit diamond stone with light pressure
- Finish with leather strop charged with diamond paste
- Critical test: Hold bit against light—the edge should reflect uniformly without breaks
Time Saver: Dip strop in honing oil for 30 seconds of stropping—this polishes edges without material removal.
Common Sharpening Mistakes That Ruin Forstner Bits

Overheating the bit: Letting steel turn blue during sharpening destroys temper. Fix: Work in 10-second intervals with cooling pauses. Dip in water only if using power tools.
Changing the outer diameter: Sharpening the rim’s outer surface. Fix: Always work exclusively on the inner bevel—measure rim diameter before/after with calipers.
Uneven lip sharpening: Causes off-center drilling. Fix: Count identical strokes on both lips and test-cut in scrap wood immediately after sharpening.
When to Call a Professional Sharpening Service
DIY sharpening fails for severely damaged bits. Seek pros if:
– Center spur is chipped beyond 1/8″
– Rim diameter varies by more than 0.003″
– You’ve attempted sharpening twice without improvement
– Using premium carbide-tipped bits
Professional diamond wheel services restore factory geometry in minutes—worth the $5-10 cost for irreplaceable bits. They maintain precise angles impossible to replicate manually.
Maintenance Schedule for Maximum Bit Life
Extend sharpening intervals with proper care:
* After every use: Clean pitch with citrus solvent
* Before critical projects: Test-cut in scrap wood
* Storage: In individual leather sleeves—never loose in toolbox
* Light users: Sharpen after 100 hardwood holes
* Production shops: Weekly inspection routine
Pro Tip: Apply camellia oil before storage—prevents corrosion without gumming edges.
Final Note: Properly sharpened Forstner bits cut 40% faster with zero burning. The key is respecting original geometry—never force edges beyond factory angles. Start with an old bit to practice before sharpening premium tools. For immediate improvement, focus on deburring: 90% of “dull” bit issues stem from microscopic burrs, not edge wear. Keep diamond files clean with a brass brush between uses, and your bits will deliver professional results for years. If you gain just one sharpening cycle from this guide, you’ve saved more than the cost of most mid-range Forstner bits.


