
That frustrating moment when your drill struggles to penetrate metal—spitting out fine dust instead of clean shavings, slipping off the surface, or overheating your motor—is a dead giveaway your drill bit has lost its edge. Dull bits don’t just waste time; they damage materials, strain your tools, and create dangerous kickback risks. The good news? How to sharpen a metal drill bit is a skill any DIYer can master with basic tools and precise technique. This guide cuts through the confusion to deliver actionable methods that revive drill bits to factory-sharp performance, saving you money on replacements while ensuring cleaner holes and safer operation. You’ll learn to diagnose dullness instantly, maintain critical angles, and avoid costly sharpening mistakes—even if you’ve never touched a grinding wheel before.
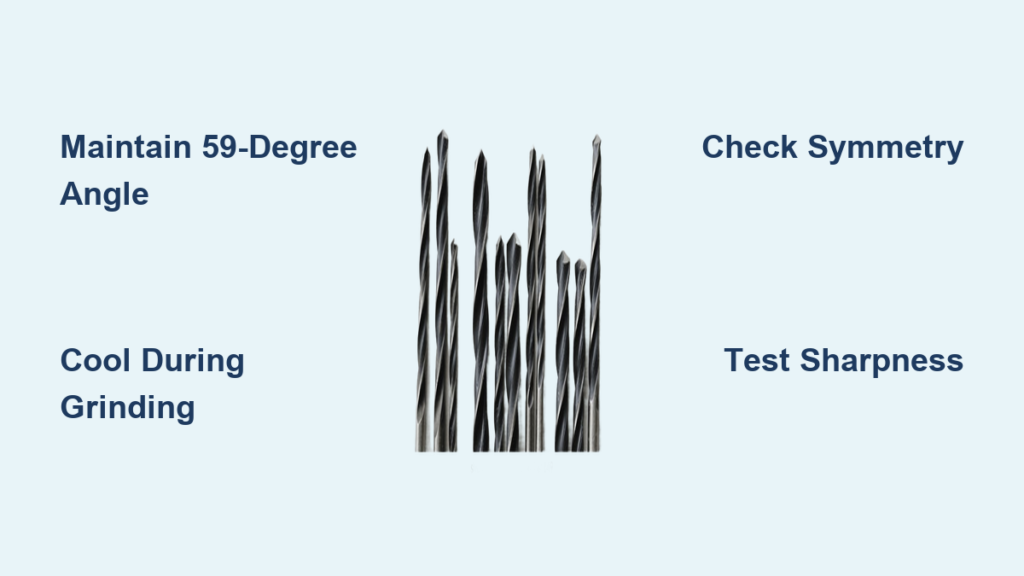
Critical Safety Steps Before Sharpening Drill Bits
Metal particles fly at high velocity during sharpening, making safety non-negotiable. Always wear ANSI-approved safety glasses—standard eyewear won’t stop microscopic steel shards that can cause permanent eye damage. Slip on cut-resistant gloves to protect hands from razor-sharp bit edges and heat transfer during grinding. Secure your drill bit in a metal vise with soft jaws or a dedicated sharpening jig; never hold it freehand near a spinning wheel. Ensure your grinding station has stable footing, adequate lighting, and fire-resistant surfaces. Keep a bucket of water within arm’s reach for immediate cooling—overheated bits lose temper in seconds. If using power tools, verify all guards are intact and unplugged during bit adjustments. One moment of distraction risks severe injury, so eliminate distractions before starting.
Spotting Dull Drill Bits: 4 Telltale Warning Signs
Your drill bit screams for sharpening long before it fails completely. Watch for powdery metal dust instead of clean, spiral shavings—that’s your first red flag indicating the cutting edge has rounded over. Listen for a high-pitched squeal during operation; sharp bits cut silently while dull ones vibrate against metal. Feel excessive feed pressure—if you’re muscling the drill forward instead of letting it cut naturally, the bit’s clearance angle is compromised. Finally, inspect the tip under bright light: a sharp bit shows two distinct, mirror-symmetrical cutting lips converging at a precise point, while a dull bit reveals a flattened, mushroomed tip with no defined edge. Run your fingernail perpendicular across the lip—if it slides smoothly without catching, sharpen immediately.
Why the 59-Degree Angle Makes or Breaks Your Drill Bit
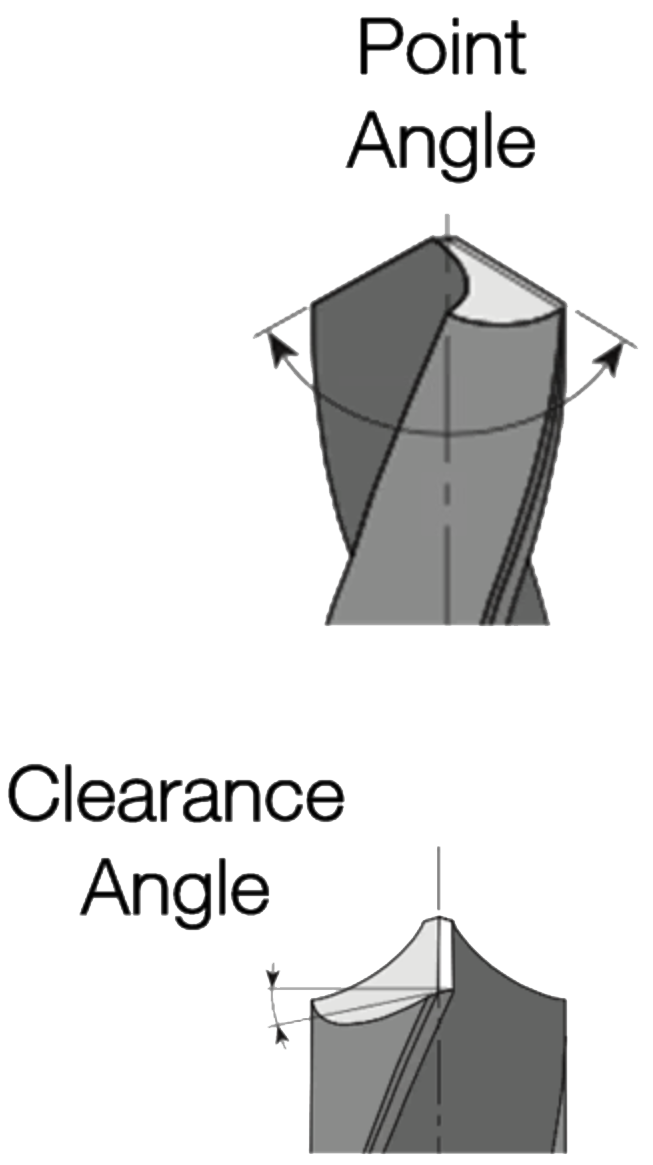
The secret to professional sharpening lies in maintaining the 118-degree point angle (59 degrees per side) critical for metal drilling. This geometry allows the bit to pierce cleanly while evacuating chips efficiently. When sharpening, focus on the relief angle behind the cutting lip—typically 8-12 degrees—which creates the essential clearance preventing friction. Critical symmetry matters most: if one cutting lip is even 0.002 inches longer than the other, the bit will wander and drill oversized holes. The chisel edge (web) at the center must be thinned to 135 degrees on metal bits to reduce thrust force. Never grind the front face of the lip; only touch the back surface to preserve the original rake angle. An angle gauge isn’t optional—it’s your insurance against ruined bits.
Proven Methods to Sharpen Metal Drill Bits
Bench Grinder Sharpening: Precision Control Technique
Master this method for full control over angle and pressure. Start by clamping a jig to your grinder table set to 59 degrees, or use the tool rest as a guide. Hold the bit horizontally with the cutting lip parallel to the wheel face. Lightly touch the lip’s back surface to the grinding wheel while rotating the bit clockwise in small arcs—never press hard. Apply consistent pressure for just 2-3 seconds, then immediately quench in water. Repeat until a clean bevel forms, checking symmetry against a drill point gauge. For the second lip, flip the bit but maintain identical hand position. Cool every 5 seconds—a blue tint means you’ve overheated and ruined the temper. Finish with a fine-grit wheel for a polished edge.
Drill Doctor Power Sharpener: Foolproof Consistency
For guaranteed results with minimal skill, leverage a dedicated sharpener. Insert your bit into the correct collet size, ensuring it seats fully against the stop. Align the bit’s centerline with the machine’s angle indicator for 118-degree sharpening. Activate the grinder while slowly lowering the bit onto the wheel—most units auto-rotate for even grinding. Hold for exactly 3-5 seconds per the manufacturer’s spec, then retract. Repeat for the opposite lip using the symmetry indicator. Critical tip: pause every 2 seconds to dip the bit in coolant; built-in reservoirs often don’t suffice. Test sharpness by dragging the edge across glass—it should catch cleanly without skipping.
Field Sharpening with Files: Emergency Fix Protocol
When power tools aren’t available, diamond files save the day for larger bits (1/8″ and up). Clamp the bit vertically in a vise with the tip exposed. Select a 6-inch mill bastard file with extra-coarse grit. Position the file at 59 degrees relative to the bit axis, matching the original bevel angle. Push the file away from the cutting edge in smooth, downward strokes—never pull toward you. Apply firm pressure for 10-15 strokes per lip, maintaining consistent angle. Check progress by sighting along the lip; stop when a new edge forms. Finish with a fine stone to deburr, then polish with 400-grit sandpaper wrapped around a dowel. This method won’t replace grinding but restores basic function in emergencies.
Fixing Common Drill Bit Sharpening Failures

Uneven lips causing wobble? Re-grind the longer lip only, using the shorter one as a visual guide. Hold the bit at the exact angle used initially, and remove material in 1-second bursts until both lips mirror each other. Blue discoloration from overheating? You’ve destroyed the temper—grind 1/16″ past the damaged zone if length permits, or retire the bit. Chattering marks on the edge? Dress your grinding wheel with a diamond dresser; glazing or imbalance causes this. Bit still won’t cut after sharpening? You’ve left a “heel” on the margin—grind the trailing edge back 0.010″ to create proper clearance. Always verify angles with a center gauge before troubleshooting further.
Validating Sharpness: 3 Field-Test Methods That Work
Don’t trust your eyes alone—prove sharpness with these tests. The fingernail drag: Gently pull the cutting lip sideways across your thumbnail. A sharp edge will catch and dig in slightly; a dull bit skates smoothly. The wood scratch test: Press the tip against soft pine without rotation. A sharp bit instantly creates a clean dimple and pulls itself deeper; a dull bit slides or crushes fibers. The hand-turn test: Position the bit on scrap metal, then twist clockwise by hand. Properly sharpened bits bite immediately and drill 1/8″ deep with moderate pressure. If it spins freely, return to the grinder—your relief angle is insufficient.
Maximizing Drill Bit Lifespan After Sharpening
Extend time between sharpenings with these pro habits. Match RPM to bit diameter: Use 3,000 RPM for 1/8″ bits but drop to 800 RPM for 1/2″ bits in steel. Apply steady, moderate feed pressure—let the bit cut rather than forcing it. Always use cutting fluid on metal: Tap Magic for aluminum, WD-40 for steel, or dedicated drill oil. Store bits vertically in foam-lined cases to prevent tip damage. After sharpening, clean bits with acetone to remove grinding residue before oiling. Never skip the deburr step—a fine stone removes micro-burrs that cause premature dulling. With proper care, a single bit can undergo 5-7 sharpenings before retirement.
Final Note: A razor-sharp drill bit transforms frustrating projects into precision work. By mastering these techniques, you’ll eliminate wandering holes, reduce tool strain, and achieve cleaner cuts in any metal. Remember the golden rules: maintain strict 59-degree symmetry, cool constantly during grinding, and validate sharpness before drilling. Keep your angle gauge and coolant handy—your next project depends on a bit that bites, not blunts. For stainless steel or hardened alloys, consider specialty bits with cobalt cores that hold edges longer between sharpenings.


