
Trying to run new electrical wiring through your finished walls or install surround sound speakers without tearing open drywall? You’re not alone. Every year, thousands of DIYers and professionals face the frustrating challenge of drilling through multiple studs or joists while preserving wall integrity. Standard drill bits simply can’t navigate the twists and turns inside wall cavities. That’s where a flexible drill bit becomes your secret weapon. This specialized tool lets you drill through multiple framing members from a single access point, saving hours of work and preventing extensive wall damage. In this guide, you’ll learn exactly how to use a flexible drill bit to tackle any wiring or plumbing project in existing structures.
Why Your Standard Drill Bit Fails at Wall Drilling
The Physics of Drilling Through Multiple Studs
When you attempt to drill straight through several wall studs with a rigid bit, you quickly hit limitations. A standard 6-inch drill bit can’t reach beyond the first stud without creating multiple access holes. The rigid shaft has zero ability to bend around obstacles or navigate wall cavities. This forces you to cut additional holes in your drywall every 16-24 inches—the standard stud spacing—creating a demolition project rather than a clean installation.
How Flexible Drill Bits Solve This Problem
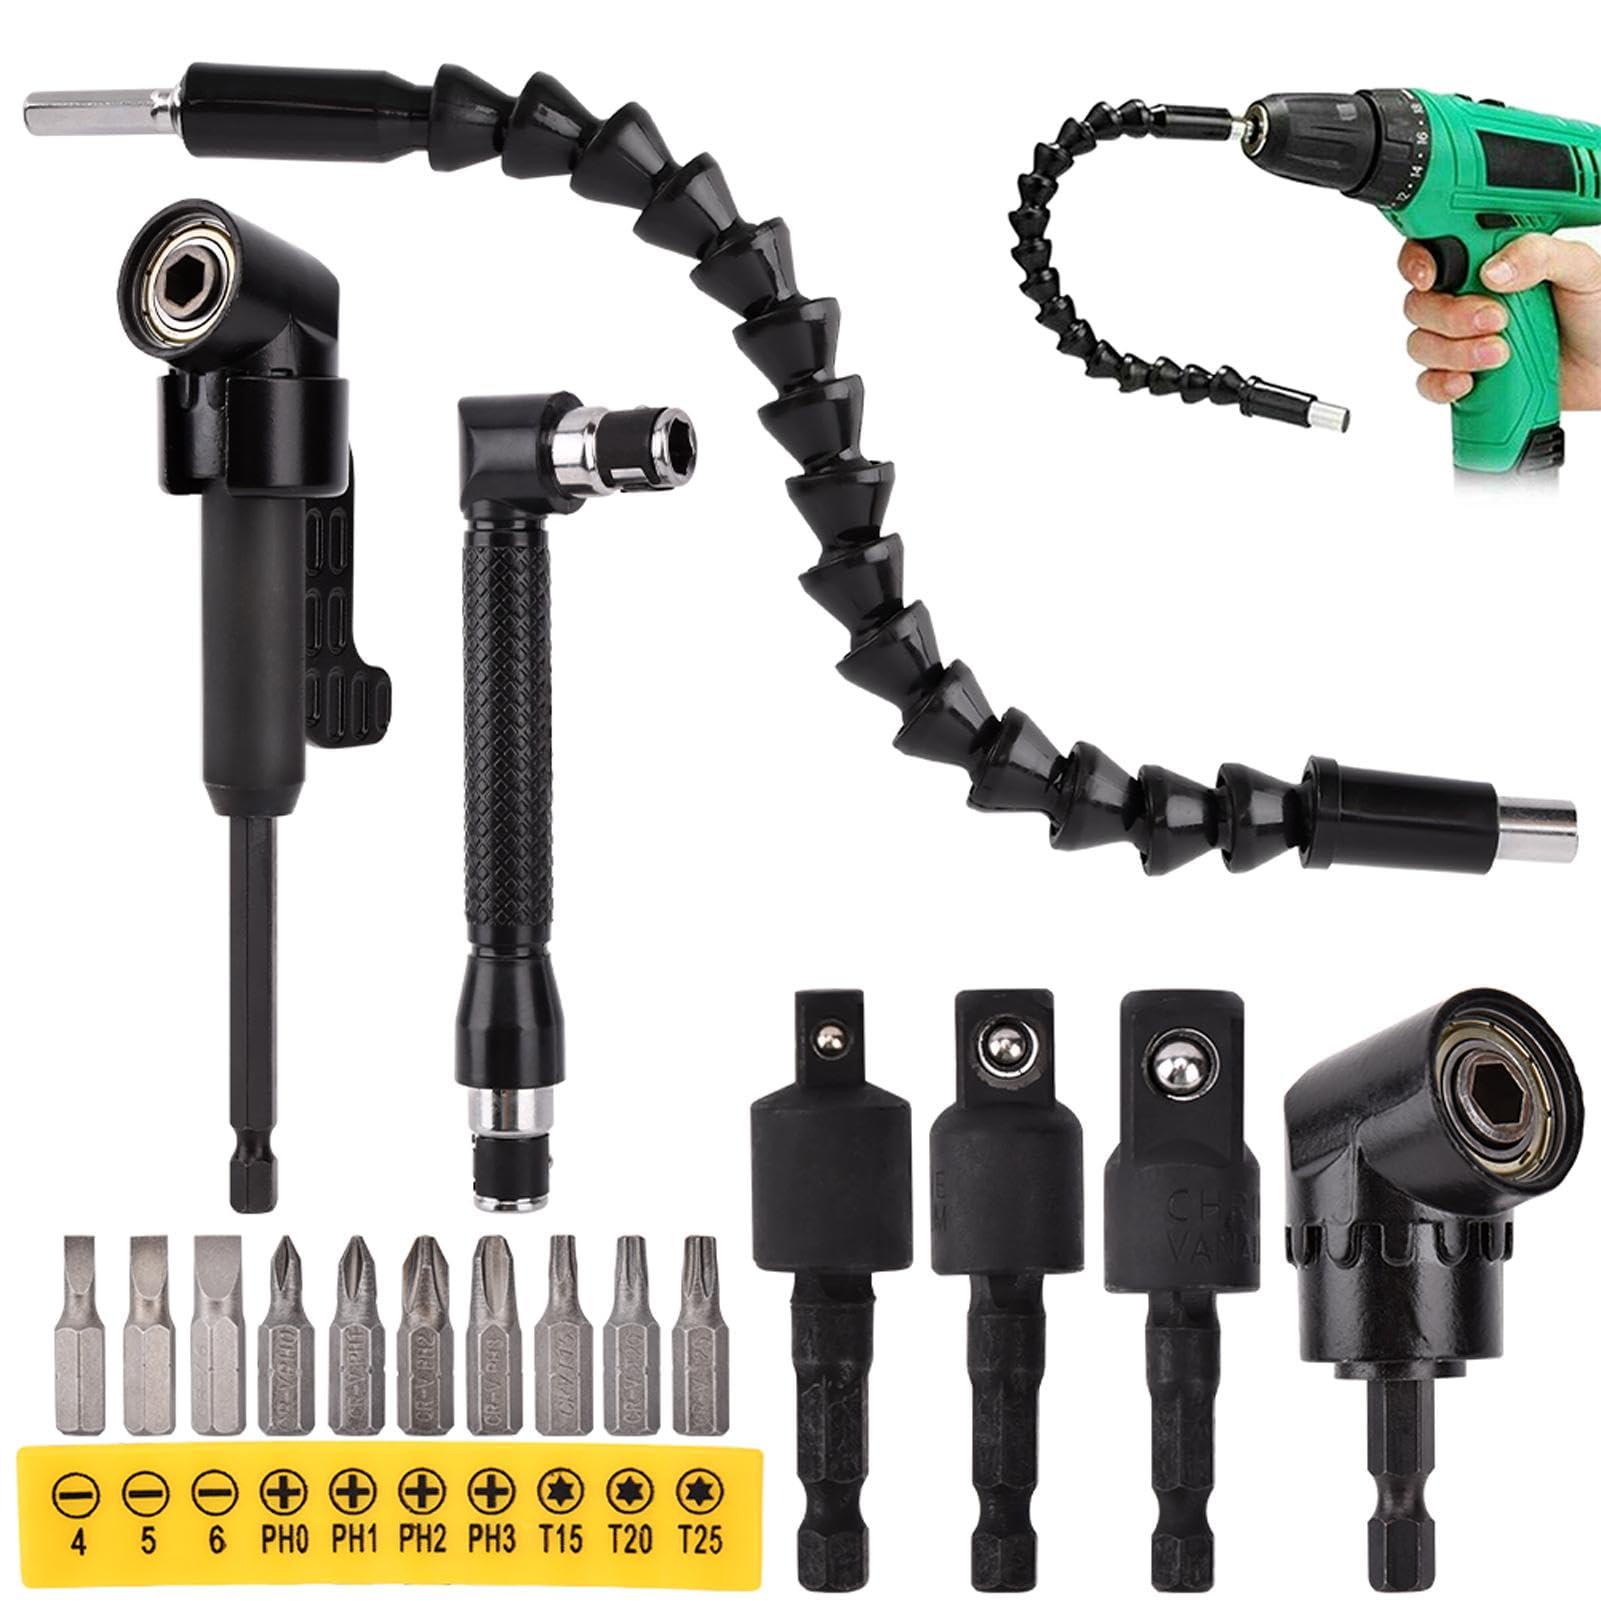
Flexible drill bits overcome this limitation with their unique spiraled steel shaft design. Unlike rigid bits, these tools feature a flexible core that bends while maintaining enough torsional strength to transmit drilling force. The magic happens through the pilot screw tip, which literally pulls the bit through wood as it rotates. This self-feeding mechanism allows the flexible shaft to follow the screw tip’s path through multiple framing members without requiring additional access points.
Choosing the Right Flexible Drill Bit for Your Job

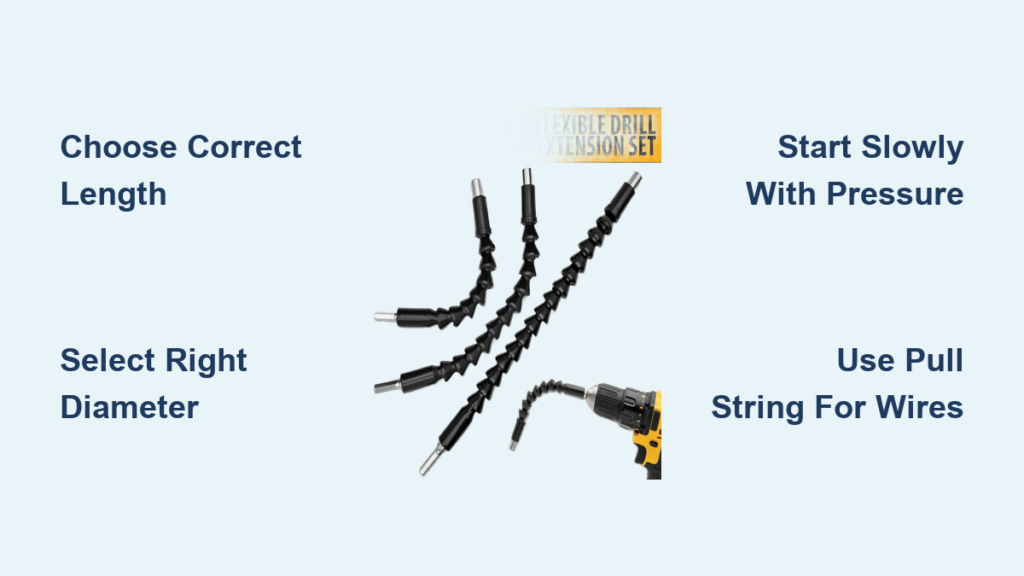
Length Selection: The Critical 4-6 Foot Rule
Selecting proper length is crucial for success. Measure your longest straight run through framing members, then add 4-6 feet to that measurement. For example, if you need to drill through three 2×4 studs spanning 48 inches, choose a minimum 7-foot bit. Most DIY projects require 6-9 foot lengths, while commercial applications often need 12-foot options. Using a bit that’s too short forces you to work in frustrating segments, while one that’s too long becomes unwieldy and difficult to control.
Diameter Matters: Electrical vs. Plumbing Applications
The diameter you select depends entirely on your application:
– 1/4 inch: Perfect for single electrical cables or low-voltage wiring
– 3/8 inch: Ideal for multiple electrical cables or speaker wire
– 1/2 inch: Required for plumbing applications like PEX tubing
– 3/4 inch: Used for larger conduit or multiple plumbing lines
Always size up when in doubt—drilling a slightly larger hole creates less resistance and reduces the chance of binding.
Essential Setup Before Drilling Begins
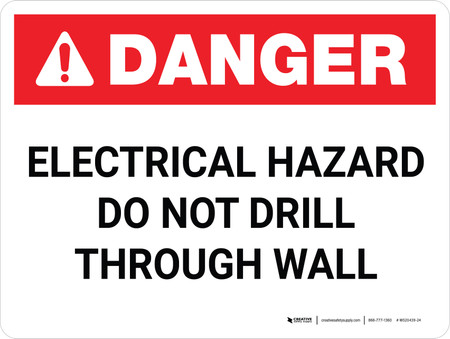
Safety First: The Non-Negotiable Electrical Check
Before touching your drill, verify all circuits are de-energized using a reliable non-contact voltage tester. Scan your entire work area thoroughly—assume every wall contains live wiring. I’ve seen too many DIYers skip this step and accidentally drill into energized cables, creating dangerous situations. Turn off the circuit at the breaker and test again before proceeding.
Locating Hidden Obstacles with Precision
Use an electronic stud finder with AC detection to map your wall’s contents. Mark all stud centers, existing wires, and plumbing lines with pencil. For critical projects, consider using a flexible inspection camera through your access hole to visually confirm the cavity is clear. This 5-minute step prevents costly and dangerous mistakes later.
Step-by-Step: Drilling Through Multiple Studs Successfully
Starting Your Hole: The Slow-and-Steady Technique
- Create your access point using a 1-inch hole saw at your starting location
- Insert the flex bit’s screw tip through the hole, allowing it to engage the first stud
- Chuck the shank end into your drill (set to forward at lowest speed)
- Apply gentle pressure as the screw tip bites into the wood—let it “eat” forward naturally
- Maintain consistent pressure but never force the bit—let the tool do the work
Pro Tip: When the bit engages wood, you’ll feel increased resistance followed by a slight easing as it pulls through. This sensation tells you it’s working correctly.
Navigating Between Studs: Steering Your Flexible Shaft
Once through the first stud, the real magic begins. The flexible shaft will naturally bend as it advances through the cavity:
- For straight runs: Keep the drill centered and maintain steady pressure
- For slight directional changes: Apply gentle side pressure to steer the bit
- When hitting resistance: Briefly reverse the drill to clear debris, then resume forward
Critical Warning: Never force the bit when resistance increases significantly—this is how bits bind and kink. Back off, reverse briefly, and try again with less pressure.
Retrieving Your Bit and Pulling Wires Like a Pro
The Tape-Marking Technique Every DIYer Needs
Before retrieving your bit, wrap colored tape around the shaft at the point where it exits your starting hole. This simple step tells you exactly how much bit remains inside the wall. Without this marker, you risk pulling the bit completely through the exit point and losing it inside the wall cavity.
Proper Wire Pulling Method
- Attach a pull string to the eye of the screw tip (most bits have this feature)
- Reverse your drill to slowly retrieve the bit through the pathway
- The string will follow the bit back through your newly created channel
- Tie your cable to the string and pull it through smoothly
Pro Tip: Use mason’s line instead of string—it’s stronger and less likely to snag on rough edges inside the wall.
Troubleshooting Common Flexible Drill Bit Problems
Fixing Bit Binding in Wood Studs
Binding occurs when wood fibers clog the flutes or the bit encounters unexpected resistance. Here’s how to fix it:
- Immediately stop drilling and reverse the drill briefly
- Pull the bit back 2-3 inches to clear debris
- Apply a drop of cutting lubricant (even vegetable oil works)
- Resume drilling at slower speed with less pressure
Never continue forcing a bound bit—this causes kinks that ruin the tool.
Solving Excessive Vibration Issues
Vibration usually indicates one of three problems:
– The bit isn’t straight in the chuck (re-chuck it)
– Connections between extensions are loose (tighten them)
– The bit has developed a kink (replace if severe)
Check each possibility systematically before continuing.
Safety Protocols That Prevent Costly Mistakes
Electrical Safety: Beyond Basic Voltage Testing
While turning off circuits is essential, also verify you’re not drilling near:
– Metal junction boxes (can damage wires when penetrated)
– Existing conduit runs (often hidden behind drywall)
– Plumbing pipes (water and electricity don’t mix)
Critical Reminder: Always know what’s on the other side of your drill point—drilling through a water pipe creates immediate flood damage.
Structural Safety: Protecting Your Home’s Integrity
Never drill within 2 inches of a stud’s edge—this compromises structural strength. For load-bearing walls, consult a professional before drilling multiple holes in the same stud. Engineered lumber like I-joists requires special consideration—drilling through the web can significantly reduce load capacity.
Professional Maintenance for Long-Lasting Performance
Cleaning and Storage Best Practices
After each use:
1. Wipe the entire bit with a clean cloth
2. Use a wire brush to remove wood fibers from flutes
3. Apply light machine oil to prevent rust
4. Store straight (never coiled) in a protective case
Expert Note: Flex bits develop “memory” when stored coiled—they’ll retain that curve and become difficult to work with in straight applications.
When to Replace Your Bit
Replace your flexible drill bit when you notice:
– Visible kinks or permanent bends in the shaft
– Chipped or missing carbide cutting edges
– Excessive vibration even after cleaning
– Difficulty pulling through softwoods
Trying to use a damaged bit creates more problems than it solves—invest in replacement when needed.
Mastering how to use a flexible drill bit transforms frustrating wall projects from demolition nightmares into clean, professional installations. Remember the critical fundamentals: proper bit selection, thorough wall assessment, slow-and-steady drilling technique, and strict adherence to safety protocols. With these skills, you can confidently run wiring for new light fixtures, install home theater systems, or add plumbing lines without destroying your walls. Start with a simple project to build confidence, and soon you’ll wonder how you ever managed renovations without this indispensable tool. The next time you face a “how do I get wire through there?” moment, you’ll know exactly how to use a flexible drill bit to solve it efficiently and professionally.


