
That frustrating moment when your step drill bit binds, overheats, or creates ragged holes isn’t your fault—it’s a technique problem. These cone-shaped tools can drill perfectly clean holes from 1/8″ to 1/2″ in a single pass through sheet metal, plastic, and thin wood, but only if you master their unique requirements. Unlike standard drill bits, step drills demand precise speed control, strategic lubrication, and disciplined pressure to prevent costly breakage. In this guide, you’ll learn exactly how to use a step drill bit to achieve burr-free holes every time while extending your bit’s lifespan by 300%.
When your step drill bit suddenly starts screeching or leaves jagged edges, it’s usually because you’re drilling too fast, skipping the center punch, or forcing the bit through the material. These mistakes waste time, ruin workpieces, and can even shatter expensive cobalt bits. The good news? With the right setup and technique, step drills cut faster than standard bits while eliminating the need for multiple drill sizes. You’ll discover why low RPMs are non-negotiable, how to prevent aluminum from gumming up your flutes, and the one-second trick to stop dangerous blowout on thin metal. Let’s transform your drilling results starting with the gear you absolutely must have.
Why Your Step Drill Bit Overheats and Shatters
Most step drill failures happen before you even pull the trigger—because you’re using the wrong speed or skipping critical prep steps. High RPMs generate friction that instantly overheats the bit’s cutting edges, causing HSS bits to lose temper (permanent dulling) within seconds. Aluminum and stainless steel are particularly unforgiving: without proper lubrication, aluminum welds itself to the flutes while stainless steel work-hardens against the bit. The telltale signs? A high-pitched screech, smoke, or metal shavings turning blue from excessive heat. If your bit feels too hot to touch after drilling just one hole, you’ve already damaged it. Crucially, forcing the bit instead of letting it cut naturally creates binding that can snap the slender tip off mid-drill.
The Speed Trap That Ruins Bits
Your drill’s highest speed setting is the enemy of step drill success. These bits require 500-1,500 RPM maximum—slower for larger holes and harder materials. Here’s why:
– Small holes (1/8″-1/4″): Use 1,000-1,500 RPM for aluminum/plastic
– Medium holes (5/16″-3/8″): Drop to 750-1,000 RPM for steel
– Large holes (7/16″-1/2″): Crawl at 500-750 RPM for stainless steel
If your cordless drill lacks variable speed, wrap tape around the trigger to limit travel. Never use hammer drill mode—step bits require pure rotational force.
Essential Safety Gear and Tools Checklist
Working without these items risks injury and guarantees poor results. Skip any one of these, and your step drill bit will underperform or fail catastrophically.
Non-Negotiable Safety Gear
– ANSI Z87.1 safety glasses: Metal shards fly sideways at high velocity—regular glasses won’t stop them
– Cut-resistant gloves: Only during setup/deburring (never while drilling—rotating tools can pull gloves in)
– Hearing protection: Step drills create 85+ dB noise when clearing chips
Precision Tools You Must Own
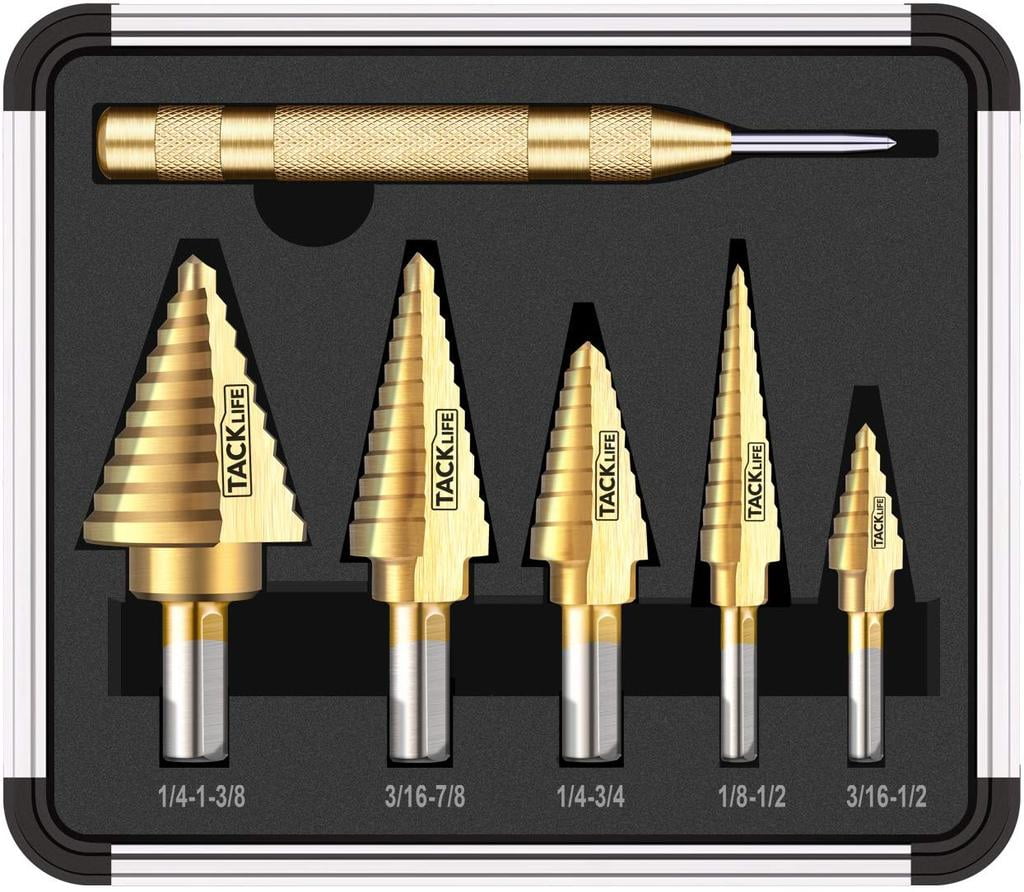
– Center punch with 60° tip: Creates the critical dimple that prevents “walking”
– Cobalt or TiN-coated step bit: Lasts 3x longer than standard HSS in steel/stainless
– Cutting fluid applicator: A screw-top oil can for steel; dry lube spray for aluminum
– Drill press vise or C-clamps: Secures workpieces without vibration
Mark and Punch: Stop Wasted Holes Before They Start

That tiny dimple from your center punch determines whether your hole lands perfectly or wanders across the metal. Skipping this step causes 90% of failed step drill attempts. Here’s the pro technique:
How to Create the Perfect Center Punch Dimple
- Place a sharp-tipped center punch directly on your marked hole location
- Tap firmly once with a ball-peen hammer (no more—multiple hits create an oversized crater)
- Verify the dimple depth: It should hold the drill tip securely when pressed lightly
Critical mistake: Using a nail instead of a proper center punch creates shallow, uneven dimples that won’t guide the bit. If your punch mark disappears when you apply light pressure with the drill bit, it’s too shallow—re-punch.
Secure Workpieces to Prevent Catastrophic Blowout
Unsecured sheet metal becomes a dangerous projectile the moment the drill bit breaks through. The exit side of your hole will tear ragged edges (“blowout”) without this simple setup:
The Two-Clamp Method for Flawless Exit Holes
- Place your workpiece on a sacrificial backing board (1/2″ plywood or scrap metal)
- Clamp both pieces together at minimum two points using C-clamps
- Position clamps 1-2″ from the drilling area—too far causes vibration, too close blocks access
Pro tip: For thin aluminum (<1/16″), sandwich the workpiece between two backing boards. The top board prevents “chatter” while the bottom board stops blowout.
Low-Speed Drilling Technique for Clean Holes
High-speed drilling melts plastic, gums aluminum, and dulls bits in seconds. Master these pressure and lubrication rhythms:
The 3-Second Lubrication Cycle
- Apply cutting fluid to the bit tip and step edges before starting
- Drill for 3 seconds with steady downward pressure (no forcing!)
- Withdraw bit completely to clear chips and reapply lubricant
- Repeat until desired step diameter is reached
Warning: If smoke appears or the metal turns blue, stop immediately—overheating has already damaged the bit. Let it cool for 2 minutes before continuing.
Why You Must Stop at the Exact Step Size
Step drills have diameter markings etched between steps. Drill only until your target step fully penetrates the material—then stop. Continuing to the next step will:
– Oversize your hole by 1/16″ instantly
– Create dangerous burrs from the larger step catching the workpiece
– Generate excessive heat that dulls the cutting edges
Visual cue: When the cylindrical section of your target step becomes visible through the exit hole, cease drilling.
Deburring: The Non-Negotiable Final Step
Sharp metal burrs left by step drills cause cuts during assembly and interfere with fastener seating. Skipping deburring wastes your precise drilling effort.
Two-Minute Deburring for Professional Results
- Insert a deburring tool into the hole at a 45° angle
- Rotate clockwise while applying light pressure (3 rotations max)
- Flip workpiece and repeat on exit side
No deburring tool? Use a larger drill bit spun by hand—never power-drill for this step. Check edges with your fingernail; they should feel smooth, not snag clothing.
Troubleshoot Common Step Drill Bit Failures

When problems strike, these solutions fix 95% of issues without replacing your bit:
Aluminum Won’t Stop Gumming Up the Flutes
Cause: Aluminum’s softness causes it to weld to HSS bits without proper lubrication.
Fix: Switch to a dry lube spray (like WD-40 Specialist Dry Lube) and drill at 800 RPM. Clear chips every 2 seconds—aluminum shavings pack tighter than steel.
Bit Walks Across Stainless Steel
Cause: Stainless steel work-hardens on contact, resisting the initial cut.
Fix: Apply heavy cutting oil (never water-based), use cobalt bits only, and drill at 500 RPM with firm pressure. If walking occurs, deepen the center punch dimple.
Material-Specific Drilling Cheat Sheet
Aluminum Drilling Protocol
- Lubricant: Dry lube spray or 3-in-1 oil
- Speed: 800-1,000 RPM
- Pressure: Moderate (too light causes “chatter” marks)
- Critical: Clear chips every 2 seconds to prevent clogging
Stainless Steel Survival Guide
- Lubricant: Heavy-duty cutting oil (not WD-40)
- Speed: 500 RPM max
- Technique: Apply heavy, steady pressure—stainless requires “pushing through” work-hardening
Thin Sheet Metal Hack
Place masking tape over the drilling area to reduce chatter. Use a backing board and drill at 1,200 RPM with light pressure. The tape prevents the bit from grabbing and tearing the metal.
Extend Your Step Drill Bit’s Lifespan by 300%
Your bit’s longevity depends entirely on heat management. Implement these pro habits:
- Never drill dry: One dry hole in steel cuts bit life by 50%
- Store bits in foam slots: Prevents tip damage from contact with other tools
- Retract fully after each hole: Lets chips fall away instead of packing into flutes
- Replace at first sign of blueing: Discolored bits have permanently lost hardness
Pro tip: For stainless steel, dip the bit in cutting oil before storage—oil-coated bits resist corrosion better.
Mastering how to use a step drill bit transforms it from a frustrating tool into your fastest hole-making solution. Remember the core principles: center-punch deeply, drill slow with lubrication, stop at the exact step size, and always deburr. These techniques prevent the overheating and binding that ruin bits while delivering factory-smooth holes. Practice on scrap metal first to perfect your pressure and speed rhythm—you’ll gain confidence with each clean hole. For stainless steel jobs, keep a dedicated cobalt bit with heavy cutting oil nearby. Now that you know why low RPMs matter and how to stop blowout, you’re ready to tackle any sheet metal project with professional results. Your next perfectly round hole is just one correctly drilled step away.


