
That frustrating moment when your drill chuck refuses to budge—trapping your drill bit like a mechanical prison—halts projects dead in their tracks. Whether you’re a weekend warrior or a professional contractor, knowing how to open a drill bit (more accurately, how to open the chuck holding it) is essential troubleshooting knowledge. This critical skill saves costly replacements when debris, overtightening, or corrosion seizes your chuck. In this guide, you’ll discover field-tested techniques to free even the most stubborn chucks, from gentle vibration methods to controlled-force solutions. We’ll cover exactly when to apply penetrating oil, how to safely leverage your drill’s own motor, and crucial prevention habits to avoid future headaches. Stop wrestling with frozen chucks—let’s get your drill back in action.
Why Your Drill Chuck Seizes Shut and Won’t Release Bits
Overtightening is the silent killer of drill chucks. When you crank the chuck beyond hand-tight using excessive force—especially on keyless models—the internal jaws bind permanently under extreme pressure. Job site debris like sawdust and metal shavings compound this issue, packing into the mechanism until corrosion fuses metal parts. Cold welding (galling) occurs when overtightened metal surfaces fuse at a microscopic level, creating a bond stronger than the chuck’s threads. Impact events like dropping your drill misalign jaws, while moisture accelerates rust in storage. Recognizing these causes helps you choose the right solution: a chuck seized from debris needs different treatment than one damaged by galling. How to open a drill bit starts with diagnosing why it’s stuck—skip this step and you risk breaking expensive components.
Critical Safety Steps Before Forcing Open Any Drill Chuck
Never attempt chuck repairs with power connected. For cordless drills, remove the battery pack; unplug corded models completely. One accidental trigger pull could cause catastrophic hand injuries as tools slip under pressure.
Essential Safety Gear and Setup
- Wear ANSI-approved safety glasses—metal fragments fly during impact methods
- Secure the drill in a vise with padded jaws to prevent sudden rotation
- Use wood blocks between metal tools and chuck surfaces to avoid marring precision parts
- Start with minimal force—aggressive methods can shatter cast-iron chucks
Skipping these precautions risks shattered metal shards, stripped threads, or destroyed internal gears. If your drill wobbles when spinning or shows visible jaw damage, skip repairs and replace the unit—safety always trumps saving $50.
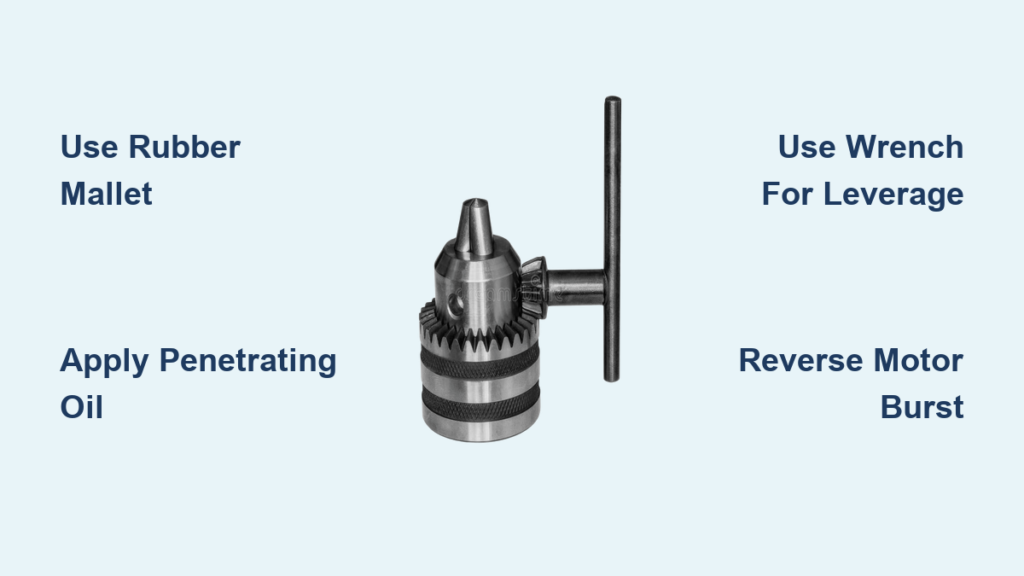
How to Open a Stuck Drill Chuck With a Rubber Mallet (First-Line Fix)

This vibration technique breaks static friction without damaging components. It works 70% of the time on mildly seized chucks when applied correctly.
Proper Mallet Technique for Keyless Chucks
- Position a 2×4 wood block against the chuck’s rotating outer sleeve
- Deliver sharp, downward taps with a rubber mallet in the opening direction (counter-clockwise when facing the chuck)
- Rotate the chuck 90 degrees between taps to distribute impact evenly
- Test opening after 3-4 taps—stop immediately if you hear cracking
Pro Tip: For keyed chucks, insert the key fully then tap it sideways with a brass drift punch. Never strike keys directly with hammers—this shears key teeth. If the chuck resists after 10 taps, move to penetrating oil methods to avoid damaging internal threads.
Removing Corrosion With Penetrating Oil Soak Technique
When rust or fine debris jams your chuck, chemical penetration beats brute force. WD-40 works for light cases, but PB B’laster or Kroil’s superior capillary action tackles severe corrosion.
Effective Oil Application Protocol
- Drip oil between chuck jaws and into the seam where the sleeve meets the body
- Tap the chuck lightly with a screwdriver handle to vibrate oil into crevices
- Wait 20 minutes minimum before attempting to open—overnight soaks work best for rusted chucks
- Reapply after testing if initial attempt fails, focusing on the spindle interface
Critical Mistake to Avoid: Never soak the entire drill head. Oil leaking into the motor windings causes electrical shorts. Use a syringe for precise application. For stubborn cases, combine oil with the mallet technique—vibration drives fluid deeper into seized areas.
Using a Wrench for Maximum Leverage on Stubborn Chucks

When hand strength fails, controlled torque from wrenches provides 10x more force. This method requires identifying your chuck type first.
Flats-Based Chuck Removal (Keyed Models)
- Locate the chuck’s hex flats near the base (smooth machined sections)
- Grip flats with a 10mm-14mm open-end wrench (wrap in cloth to prevent scratches)
- Hold the drill body firmly with your non-dominant hand
- Apply steady counter-clockwise pressure while tapping the wrench handle
Knurled Body Technique (Keyless Models)
- Best tool: Strap wrench (oil filter type)—grips without marring
- Alternative: Large channel-lock pliers wrapped in electrical tape
- Apply short, sharp pulls—never continuous force—to avoid jaw damage
Warning: If the chuck spins freely but won’t open, internal threads are stripped—skip to replacement methods. Forged steel chucks withstand more force than aluminum models; if you hear grinding sounds, stop immediately.
Drill Motor Reverse Technique: Last Resort for Seized Chucks
This high-risk method uses the drill’s own power to shock-seize loose. Reserve it for professional-grade drills (DeWalt XR, Milwaukee M18) where chuck replacement costs approach new tool prices.
Step-by-Step Execution
- Set clutch to maximum torque (drill symbol) and engage reverse mode
- Grip chuck firmly with a rubber strap wrench—no bare hands!
- Pull trigger in ultra-short bursts (0.2 seconds max)
- Immediately release if chuck doesn’t move—repeat max 3 times
Why this works: The motor’s instant 500+ in-lb torque creates a shockwave that breaks galling bonds. Critical failure point: Cheap drills have plastic gears that shatter under this stress. If you smell burning plastic or hear grinding, cease attempts—you’ve damaged the transmission.
How to Remove a Stuck Drill Bit After Opening the Chuck
Even with the chuck open, rusted bits often remain fused. Forcibly yanking them risks bent spindles.
Bit Extraction Protocol
- Drip penetrating oil where bit shank meets chuck jaws—wait 15 minutes
- Tap bit upward with a dead-blow hammer (nylon tip) while chuck is fully open
- Grip shank with Vise-Grips wrapped in tape—apply twisting-pulling motion
- Never clamp on flutes—this ruins the bit for future use
Pro Tip: For snapped bits, drill a small pilot hole in the shank then use an extraction screw. If the bit spins freely but won’t come out, corrosion has welded it to the jaws—replace the chuck.
Replacing a Destroyed Drill Chuck: Step-by-Step Guide
When chucks are cracked or internally stripped, replacement is cheaper than repair. Most consumer drills use reverse-threaded retaining screws.
Screw Removal and Chuck Extraction
- Identify the screw: Shine light into open chuck—you’ll see a small Phillips or Torx screw
- Turn clockwise to loosen (reverse threads)—this trips up 90% of DIYers
- Tap chuck off spindle with brass punch if press-fit (use even force around rim)
- Thread new chuck by hand until snug—never overtighten
Warning: Impact drills often have thread-locking compound on spindles. Apply heat (150°F max) with a hair dryer to soften it before removal. For press-fit chucks without screws, use a gear puller—never hammer directly on spindle ends.
Preventing Future Stuck Chucks: 3 Maintenance Habits
Overtightening causes 85% of chuck failures. Implement these habits after every use:
Post-Use Cleaning Protocol
- Blow out debris with compressed air after dusty jobs—never use fingers
- Wipe jaws with dry microfiber cloth to remove moisture
- Apply 1 drop of 3-in-1 oil monthly to moving parts—work chuck open/closed 10x
Storage Best Practices
- Store with chuck fully open to relieve spring tension
- Place silica gel packs in toolboxes to combat humidity
- Never store bits in chuck—this invites corrosion
Critical Reminder: Hand-tighten only. The drill’s torque secures bits during use—excessive chuck pressure is unnecessary and destructive. If you habitually need wrenches to open your chuck, you’re damaging it with every use.
Mastering how to open a drill bit requires understanding chuck mechanics, not brute force. Start with vibration and penetrating oil before progressing to leverage methods—most seizures yield to non-destructive techniques. Remember that prevention through proper tightening and post-use cleaning eliminates 90% of future problems. When your chuck inevitably seizes again (and it will), you’ll now have the proven methods to rescue your drill without costly replacements. Keep this guide handy for your next stuck-bit emergency, and share these techniques with fellow DIYers to save their tools too. Your drill deserves a second chance—now you have the knowledge to give it one.


