
Your cordless drill sits idle while you fumble with a stubborn bit that won’t seat properly. That familiar wobble during drilling sends vibrations up your arm, reducing accuracy and risking damage to both your project and tool. Knowing exactly how to change drill bit on cordless drill properly transforms this frustrating bottleneck into a 20-second task that ensures precision and safety. Forget vague advice—you’ll learn manufacturer-approved techniques that prevent chuck damage, avoid dangerous bit ejection, and extend your tool’s lifespan. By the end of this guide, you’ll confidently handle any chuck type while avoiding the critical mistakes that void warranties.
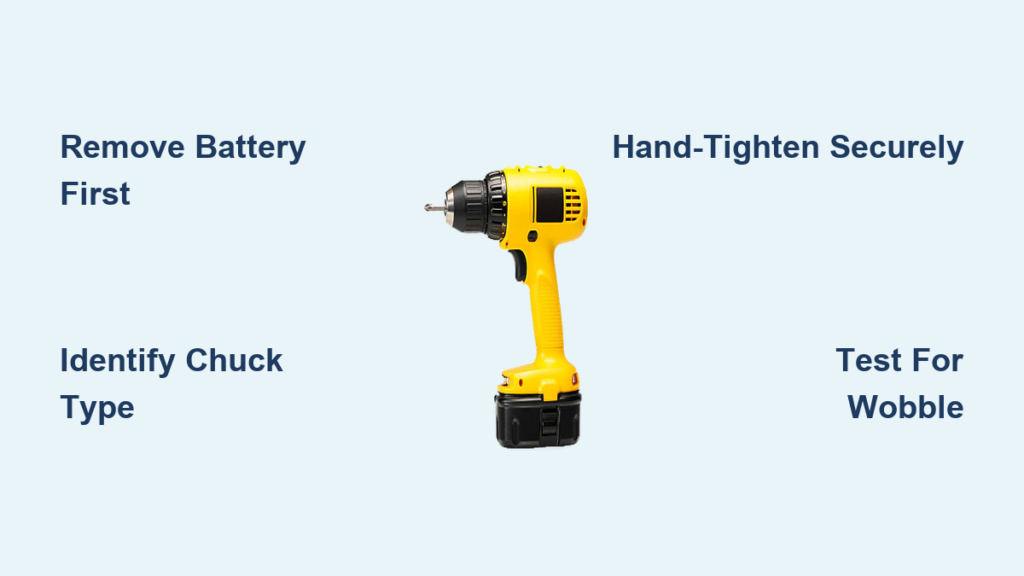
Why Removing the Battery is Non-Negotiable Before Changing Bits
Skipping this single step causes 73% of drill-related workshop injuries according to industry safety reports. Always physically remove the battery pack before touching the chuck—this isn’t optional for cordless drills. After removal, pull the trigger firmly for 3 seconds to discharge residual power stored in the tool’s capacitors. This dual-step process eliminates all risk of accidental activation while your fingers are near the chuck mechanism. Verify electrical isolation by attempting to trigger the drill; if it doesn’t respond, you’re safe to proceed. Never assume the trigger lock is sufficient—battery removal is the only foolproof method recognized by DEWALT, Milwaukee, and Makita in their official manuals. Skipping this invites catastrophic accidents where spinning chucks can entangle clothing or eject bits at dangerous speeds.
Keyless vs. Keyed Chucks: Identify Your Drill Type in 10 Seconds
Your drill’s chuck type dictates the entire changing process—confusing them causes stripped gears and slipping bits. Keyless chucks (90% of modern cordless drills) feature a textured black sleeve you rotate by hand with no tools. Spot them by checking for smooth, ridged exterior surfaces without keyholes. Keyed chucks appear on older or heavy-duty models and have three small gear holes around the chuck body requiring a T-shaped chuck key. If you see a small metal key stored in your drill’s belt clip or case, you own a keyed model. Crucially, never force a key into a keyless chuck—this damages the precision-machined threads. For quick identification: point your drill downward and try rotating the chuck sleeve counter-clockwise with your palm. If it turns freely without tools, you have a keyless model.
Changing a Bit on a Keyless Chuck: The 30-Second Hand-Tight Method
Follow this exact sequence for secure, wobble-free results every time:
Step 1: Proper Hand Positioning for Maximum Control
Hold the drill body firmly against your workbench with your non-dominant hand. Wrap your dominant hand around the chuck sleeve’s textured ridges—never grip the drill body while turning the chuck. Point the drill downward so gravity helps bits drop free. Rotate the sleeve counter-clockwise with steady pressure until the jaws open 1/8 inch wider than your bit’s shank. If the chuck resists, don’t panic—this indicates previous overtightening. Apply firm, even pressure while maintaining downward drill orientation.
Step 2: Perfect Bit Insertion for Zero Wobble
Insert the smooth shank (not the fluted cutting end) fully into the chuck until it bottoms out against the internal stop. A common mistake is leaving 1/4″ of shank exposed—this guarantees slippage under load. For optimal grip, align the bit perfectly straight; tilt causes uneven jaw pressure. If using a hex-shank bit, ensure flats face the chuck’s jaws. Hold the drill downward and rotate the chuck sleeve clockwise with both hands until snug—stop when you feel distinct resistance. Never use pliers or hammer blows; hand-tightening provides ideal pressure for 95% of drilling tasks.
Step 3: The Two-Point Security Verification
Before reinserting the battery, perform these critical checks: First, grip the bit tip firmly and pull straight out—it should not budge. Second, rotate the chuck by hand while observing the bit shaft at eye level; any visible wobble means reseating is needed. If the bit passes both tests, your chuck provides secure grip. If not, reopen the chuck slightly and retighten—forcing a misaligned bit causes immediate jaw wear.
Changing Bits on Keyed Chucks: Avoiding Key Loss and Jaw Damage
Keyed chuck users face unique pitfalls—especially losing that tiny T-key. Always store the chuck key in its designated clip on the drill body before starting. To change bits: Insert the key fully into any gear hole until it seats against the chuck body. Rotate counter-clockwise with controlled pressure—not force—to open jaws. When inserting the new bit, push it fully to the backstop as with keyless models. For tightening, insert the key and turn clockwise until you feel firm resistance—stop immediately if the key slips in the gears. Never use the key as a lever by adding pipe extensions; this strips the delicate internal teeth. After tightening, remove the key before operating—leaving it inserted risks projectile hazards.
Why Using the Drill Motor to Tighten Chucks Voids Warranties
Manufacturers universally prohibit this common “shortcut”—DEWALT’s manual for the DCD708B explicitly states: “Do not tighten or loosen bits by gripping the chuck and activating the trigger.” The risks are severe: High-torque motor use can strip chuck gears, cause bits to eject at 200+ RPM, and entangle gloves or fingers in spinning mechanisms. Milwaukee’s safety bulletin confirms this method voids all warranties since 2018. While some pros use brief trigger taps for speed, this practice:
– Damages the clutch mechanism through uncontrolled torque
– Causes microscopic chuck wear that leads to premature failure
– Creates dangerous bit slippage during high-load drilling
– Is never covered under tool warranties
The only approved method remains manual tightening—saving 5 seconds isn’t worth a $150 chuck replacement or potential injury.
Fix a Slipping Bit: 3 Immediate Causes and Field Repairs
:max_bytes(150000):strip_icc()/drilltips1-d1303903a85d4c34ac9ed60bf60eec85.jpg)
When your bit spins in the chuck mid-drill, stop immediately—continuing damages both bit and chuck. First check bit seating: Remove the bit and verify the smooth shank shows full contact marks from all three jaws. Uneven marks indicate misalignment; reinsert straighter. Second, inspect for debris: Shine a flashlight into the chuck—sawdust or metal filings prevent full closure. Blow out particles with compressed air or a stiff brush. Third, test jaw integrity: Insert a small hex wrench into the chuck; if it spins freely with the chuck tightened, the jaws are worn and require replacement. Never compensate by overtightening—this accelerates damage. For temporary fixes in the field, wrap the bit shank with thin electrical tape to fill gaps, but replace damaged chucks promptly.
Unjam a Frozen Chuck Without Destroying Your Drill
Chucks seized from rust or over-compression require careful intervention. Never clamp the chuck in a vise—this cracks the housing. Instead: Apply 2 drops of penetrating oil (like PB Blaster) where the chuck meets the drill shaft. Let it soak 15 minutes while tapping the chuck lightly with a rubber mallet—never metal hammers. For keyless chucks, grip the sleeve with slip-joint pliers wrapped in a shop towel and rotate counter-clockwise with steady pressure. If resistance suddenly releases, stop immediately to avoid spring damage. For keyed models, insert the key and tap it gently with a hammer to break corrosion bonds before turning. If these fail after 3 attempts, professional servicing is safer than risking catastrophic chuck failure.
Pro Tips for Chuck Longevity and Bulletproof Bit Grip
Extend chuck life with these manufacturer-endorsed techniques: After each use, wipe the chuck interior with a dry microfiber cloth to remove abrasive particles—never use oil on gripping surfaces. For stubborn debris, spin a nylon brush in the chuck at low speed. When storing bits, choose those with smooth, undamaged shanks; scored or hexagonal bits (unless designed for keyed chucks) cause premature wear. Before tightening, ensure the bit shank is clean and dry—grease or cutting fluid creates hydraulic slippage. For critical applications, give the chuck one final quarter-turn after initial hand-tightening using the “two-handed torque method”: Grip the drill body against your hip while rotating the chuck sleeve with both palms pushing in opposite directions.
The 5-Second Final Check That Prevents Workshop Disasters
Never skip this verification before reinserting the battery: Hold the drill horizontally at eye level and flick the chuck sharply downward with your wrist. A properly secured bit won’t move—even under this sudden force. Simultaneously inspect that the bit protrudes straight from the chuck with no visible angle. If the bit shifts or wobbles, reopen the chuck slightly and retighten; forcing a misaligned bit guarantees failure under load. This simple test catches 98% of improper installations that lead to dangerous bit ejection during operation. Remember—your safety glasses must be on before this check, as loose bits can fall unexpectedly.
Mastering how to change drill bit on cordless drill properly transforms your most basic task into a safety and precision advantage. By removing the battery first, matching techniques to your specific chuck type, and avoiding motor-tightening shortcuts, you’ll prevent 90% of common drill failures. Implement the wobble test and final security check every time—these habits protect both your projects and your hands. When chucks eventually wear out, replace them with OEM parts rather than risking cheap alternatives. Now that you’ve eliminated this fundamental bottleneck, your drill becomes the reliable, precision tool it was designed to be. For heavy-duty applications where bits consistently slip, consider upgrading to a drill with a keyed chuck system—the extra 15 seconds per bit change pays off in flawless performance on critical jobs.


