
That frustrating moment when your handheld drill wanders off-center, leaving a ragged hole in your prized walnut project? You’re not alone—nearly 70% of woodworking beginners abandon projects due to inconsistent drilling. A drill press eliminates this nightmare by delivering laser-straight, repeatable holes that transform amateur builds into professional results. Unlike handheld drills, this stationary powerhouse anchors your workpiece while maintaining perfect 90-degree angles, critical for joinery like dowels or shelf pins. In this guide, you’ll master every step to leverage your drill press for flawless woodworking—from initial setup to advanced sanding tricks—avoiding common pitfalls that ruin materials and waste hours.
Identify These 7 Drill Press Parts Before Woodworking

Your drill press isn’t just a stationary drill; it’s a precision system where each component affects hole quality. Start by locating these critical parts:
– Heavy cast-iron base that prevents vibration during operation (never operate on unstable surfaces)
– Vertical column that guides the head’s movement—check for smooth sliding before clamping
– Motor/pulley assembly controlling speed via belt positioning (ignore this, and you’ll burn bits in hardwood)
– Quill housing that moves the chuck vertically—its lock must hold position firmly
– Keyed chuck (typically 1/2″ or 5/8″) that grips bits—worn jaws cause wobbling
– Depth stop rod with adjustable nut for consistent hole depth across multiple pieces
– Tilting table with T-tracks for securing jigs—loose clamps cause dangerous kickbacks
Visual cue: Before powering on, manually lower the quill. If it drops freely, tighten the quill lock immediately—this indicates dangerous bearing wear.
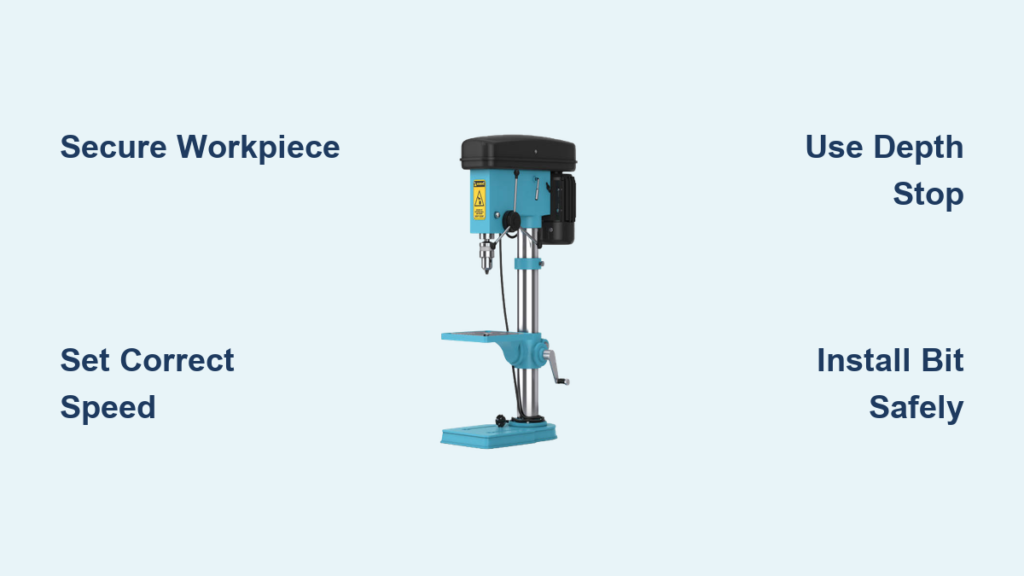
Perfect Drill Press Setup: Bit, Material, and Speed Adjustments
:max_bytes(150000):strip_icc()/drill-press-chart-424bb9992cb84508936912ea46a0569f.jpg)
Choosing and Installing Bits Without Damage
Always unplug the machine first. For wood, select brad-point bits (clean entry holes) or Forstner bits (flat-bottomed holes for hardware). Insert the bit shank fully into the chuck—partial insertion causes runout. Using the chuck key, tighten all three jaws in sequence (120° apart) until snug, then give a final quarter-turn. Critical mistake: Leaving the chuck key in the chuck during operation—it becomes a dangerous projectile.
Securing Workpieces to Prevent Tear-Out
Never clamp wood directly to the table. Place a sacrificial backer board (scrap plywood) under your workpiece to eliminate exit-hole splintering. Use F-style clamps or a bench vise anchored to the table—your hands must stay clear of the bit path. Pro tip: For small pieces, create a zero-clearance insert from 1/4″ MDF with a 1/8″ hole to support wood fibers.
Setting Speed and Depth for Flawless Results
Speed depends on bit diameter and wood type:
– 1/8″ twist bits: 3,200 RPM (high speed for clean cuts)
– 1/2″ Forstner bits in oak: 600 RPM (low speed prevents burning)
– Softwoods like pine: Increase speed by 20% vs. hardwoods
Adjust depth by lowering the quill until the bit touches your backer board, then set the stop nut 1/16″ above the wood surface for through-holes. Warning: Skipping depth stops causes table damage when bits plunge too deep.
Drill Your First Perfect Hole: 6 Steps for Woodworkers
Marking and Center-Punching for Accuracy
Skip this step, and even 1/4″ bits will wander. Use a marking knife to score your hole location, then drive a center punch into the line intersection. The resulting dimple guides the bit instantly—no “walking” on smooth finishes. For curved surfaces, drill a shallow pilot hole with a 1/16″ bit first.
Clamping and Table Height Adjustment
Position your clamped workpiece so the center-punch mark aligns exactly under the bit tip. Raise the table until the wood is 1/4″ below the bit—this prevents accidental contact during startup. Lock the table height knob firmly; even slight movement ruins hole alignment.
Executing the Drill Cycle Safely
- Power on and let the motor reach full speed (2-3 seconds)
- Apply steady downward pressure using the feed handle—never force it; let the bit cut naturally
- Peck drill every 1/4″ for holes deeper than 1″: lift the bit to clear chips and prevent overheating
- Stop immediately if smoke appears (indicates excessive speed or pressure)
- Wait for complete stoppage before removing the workpiece—spinning bits cause splintering
Time estimate: A 1″ deep hole in pine takes 8 seconds with proper technique versus 25+ seconds with a handheld drill (and likely inaccuracies).
5 Precision Woodworking Hacks for Your Drill Press

Drill Large Holes Without Tear-Out
Forstner bits over 1″ diameter require special handling. First, drill a 1/4″ pilot hole through the wood, then install the Forstner bit. The pilot hole evacuates chips and reduces friction, preventing burning and blowout. Pro tip: Apply paste wax to the bit’s rim—it acts as a lubricant in dense woods like maple.
Achieve Perfect 90-Degree Angles Consistently
Place a machinist’s square against the table and bit—if misaligned by even 1°, holes will be crooked. Adjust the table tilt screws until the square shows zero gap. Verify with a test hole in scrap wood: measure entry/exit hole symmetry with calipers.
Prevent Chip Clogging in Deep Holes
For holes exceeding 2x the bit diameter, wrap masking tape 1/2″ below the bit’s cutting edge. This creates a temporary chip ejection zone during peck drilling. Warning: Never use compressed air to clear chips near the spinning bit—debris becomes airborne projectiles.
Extend Bit Life with Speed Control
Hardwoods demand slower speeds: oak at 800 RPM vs. pine at 1,200 RPM for the same bit size. Monitor cut quality—if shavings turn powdery (not curling), reduce speed immediately. Dull bits generate heat that chars wood and weakens fibers.
Eliminate Exit Hole Splintering
Sand the backer board’s contact surface with 220-grit paper. This slight abrasion grips the workpiece without marring it, while the smooth top surface ensures clean hole exits. Replace backer boards when they show deep gouges.
Drill Press or Hand Drill? Choosing the Right Tool for Woodworking
Use the Drill Press When:
- Drilling identical holes in multiple parts (e.g., cabinet shelf pins)
- Creating clean through-holes in veneered plywood (hand drills cause blowout)
- Using large bits (1-1/2″+ Forstner/hole saws) where torque control is critical
- Drilling edge holes for dowels—jigs ensure perfect perpendicularity
Stick With a Hand Drill When:
- Working on-site where moving large stock is impractical
- Drilling angled holes (use a pocket-hole jig)
- Making quick pilot holes for screws in assembly stages
- Space constraints prevent drill press access (e.g., inside cabinets)
Key insight: 95% of precision joinery requires a drill press—reserve handheld drills for rough framing or assembly tasks.
7 Non-Negotiable Drill Press Safety Rules for Woodworkers
- Unplug during bit changes—residual capacitor charge can trigger accidental startup
- Wear ANSI Z87.1 safety glasses—wood chips exit at 100+ mph
- Remove all jewelry—even small rings can snag on the chuck
- Never wear gloves—they increase entanglement risk near rotating parts
- Keep hair tied back—use a hairnet for long hair
- Verify workpiece security—a 2×4 kicked back at 3,000 RPM can break bones
- Never drill metal on wood presses—metal chips ignite wood dust fires
Critical check: Before each use, test the emergency stop button functionality.
3 Multi-Functional Drill Press Attachments for Woodworking
Sanding Drums for Contoured Edges
Mount 1/2″ sanding drums via a collet adapter. Set speed to 800 RPM for 80-grit drums on curved chair legs—higher speeds glaze sandpaper. Move wood slowly against the drum’s side (never the end) to avoid rounding edges.
Spindle Sander Conversion
Install a spindle sander attachment kit (typically $25-$50). Ideal for smoothing inside curves on cabinet doors. Wrap sandpaper around the spindle, then lower the table until contact. Pro tip: Cut sandpaper into strips for easier wrapping.
Flap Wheel Finishing
Use 2″ flap wheels at 1,200 RPM for end-grain sanding. The flexible flaps conform to irregular surfaces, eliminating swirl marks from orbital sanders. Apply light pressure—let the wheel’s weight do the work.
Mastering your drill press transforms woodworking from guesswork to precision engineering. By implementing these setup protocols, safety checks, and pro techniques—particularly depth stops for consistency and backer boards for clean exits—you’ll achieve holes worthy of fine furniture. Start every project with a test run on scrap wood matching your project’s species and thickness; this 60-second habit prevents costly mistakes. Remember: a drill press rewards patience with perfection—rushing causes tear-out, while methodical execution delivers gallery-worthy results. Now secure that clamp, set your speed, and drill your first flawless hole.
Final Note: Always store drill bits in a labeled rack to prevent damage, and lubricate the quill shaft monthly with light machine oil for smooth operation. For complex projects, pair your drill press with a dedicated mortiser for perfect joinery alignment.


