
Your drill suddenly stalls with a high-pitched whine, leaving a bit stubbornly embedded in your project. Forcing it could snap the bit, ruin your workpiece, or damage your drill. This guide delivers proven solutions to get a drill bit out of wood safely—no guesswork required. You’ll discover why bits bind, the exact tools needed for extraction, and foolproof methods ranging from simple reverse techniques to last-resort fixes. Most importantly, you’ll learn how to prevent this frustrating scenario from recurring in future projects.
A stuck drill bit typically occurs when wood fibers compress around the flutes or resinous sap creates a hydraulic lock. This is especially common in dense woods like oak or pine when drilling deep holes without clearing chips. The good news? Over 90% of stuck bits can be freed using the right approach without damaging your project. Whether you’re a DIY enthusiast or professional woodworker, this guide transforms panic into precision with actionable steps you can implement immediately.
Stop Power Immediately: Prevent Further Damage to Your Drill Bit
The moment your drill motor stalls or emits a strained whine, release the trigger instantly. Continuing to force the bit generates extreme heat that can permanently bind the steel in the wood fibers. For most drills, flip the direction switch to reverse (counterclockwise) before attempting extraction. This simple step leverages your tool’s built-in torque to free lightly stuck bits—often solving the problem in under 30 seconds without additional tools.
If the bit remains jammed after reversing, unplug the drill or remove the battery. Never attempt extraction while power is connected, as accidental trigger activation could cause violent tool kickback. Assess whether the bit is exposed enough to grip with tools—if less than 1/4 inch protrudes, skip to the penetrating oil method below. For bits stuck near the surface, the re-chuck technique becomes your fastest solution.
Non-Negotiable Safety Gear for Bit Extraction
Safety glasses are mandatory for every extraction attempt—metal shavings or a snapping bit can cause serious eye injury. When using wrenches or pliers, add impact-resistant gloves to protect against slippage cuts. Secure your workpiece in a bench vise with wood jaws or clamp it firmly to your workbench; a spinning workpiece during extraction creates dangerous projectile risks.
Never skip these precautions even for “simple” extractions. A single shard of broken high-speed steel bit can penetrate skin at high velocity. If extracting near finished surfaces, place scrap wood between your tools and the project to prevent marring. Remember: your vision and fingers are irreplaceable—always prioritize protection over speed.
Re-Chuck and Reverse: The Fastest Fix for Most Stuck Bits
This method works 70% of the time when the bit shank remains accessible. It requires zero extra tools and takes under a minute.
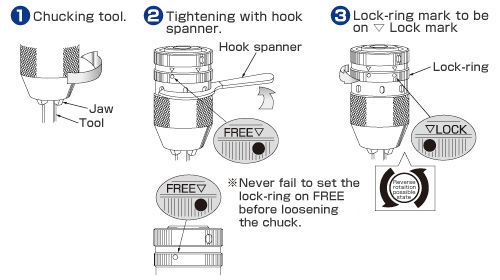
Secure the Chuck Properly for Maximum Grip
Loosen the drill’s chuck completely, reinsert the bit shank, and tighten the chuck using the key or keyless mechanism. For keyless chucks, grip the front collar firmly while tightening the rear section clockwise until fully seated. A loose chuck grip is the #1 reason this method fails—test by tugging the bit before proceeding.
Apply Reverse Torque with Controlled Pressure
Set the drill to its lowest speed and highest torque setting. Engage reverse mode, then squeeze the trigger gently while applying backward pressure on the drill body. If the motor strains, release immediately and try the “wiggle and reverse” technique: rock the drill side-to-side while reversing to break the wood’s grip. Stop after 3 seconds if no movement occurs—prolonged strain overheats motors.
Manual Extraction with Gripping Tools: When the Drill Can’t Do It Alone
For bits the drill can’t free, leverage becomes critical. This method requires 2-5 minutes and works best on exposed shanks.
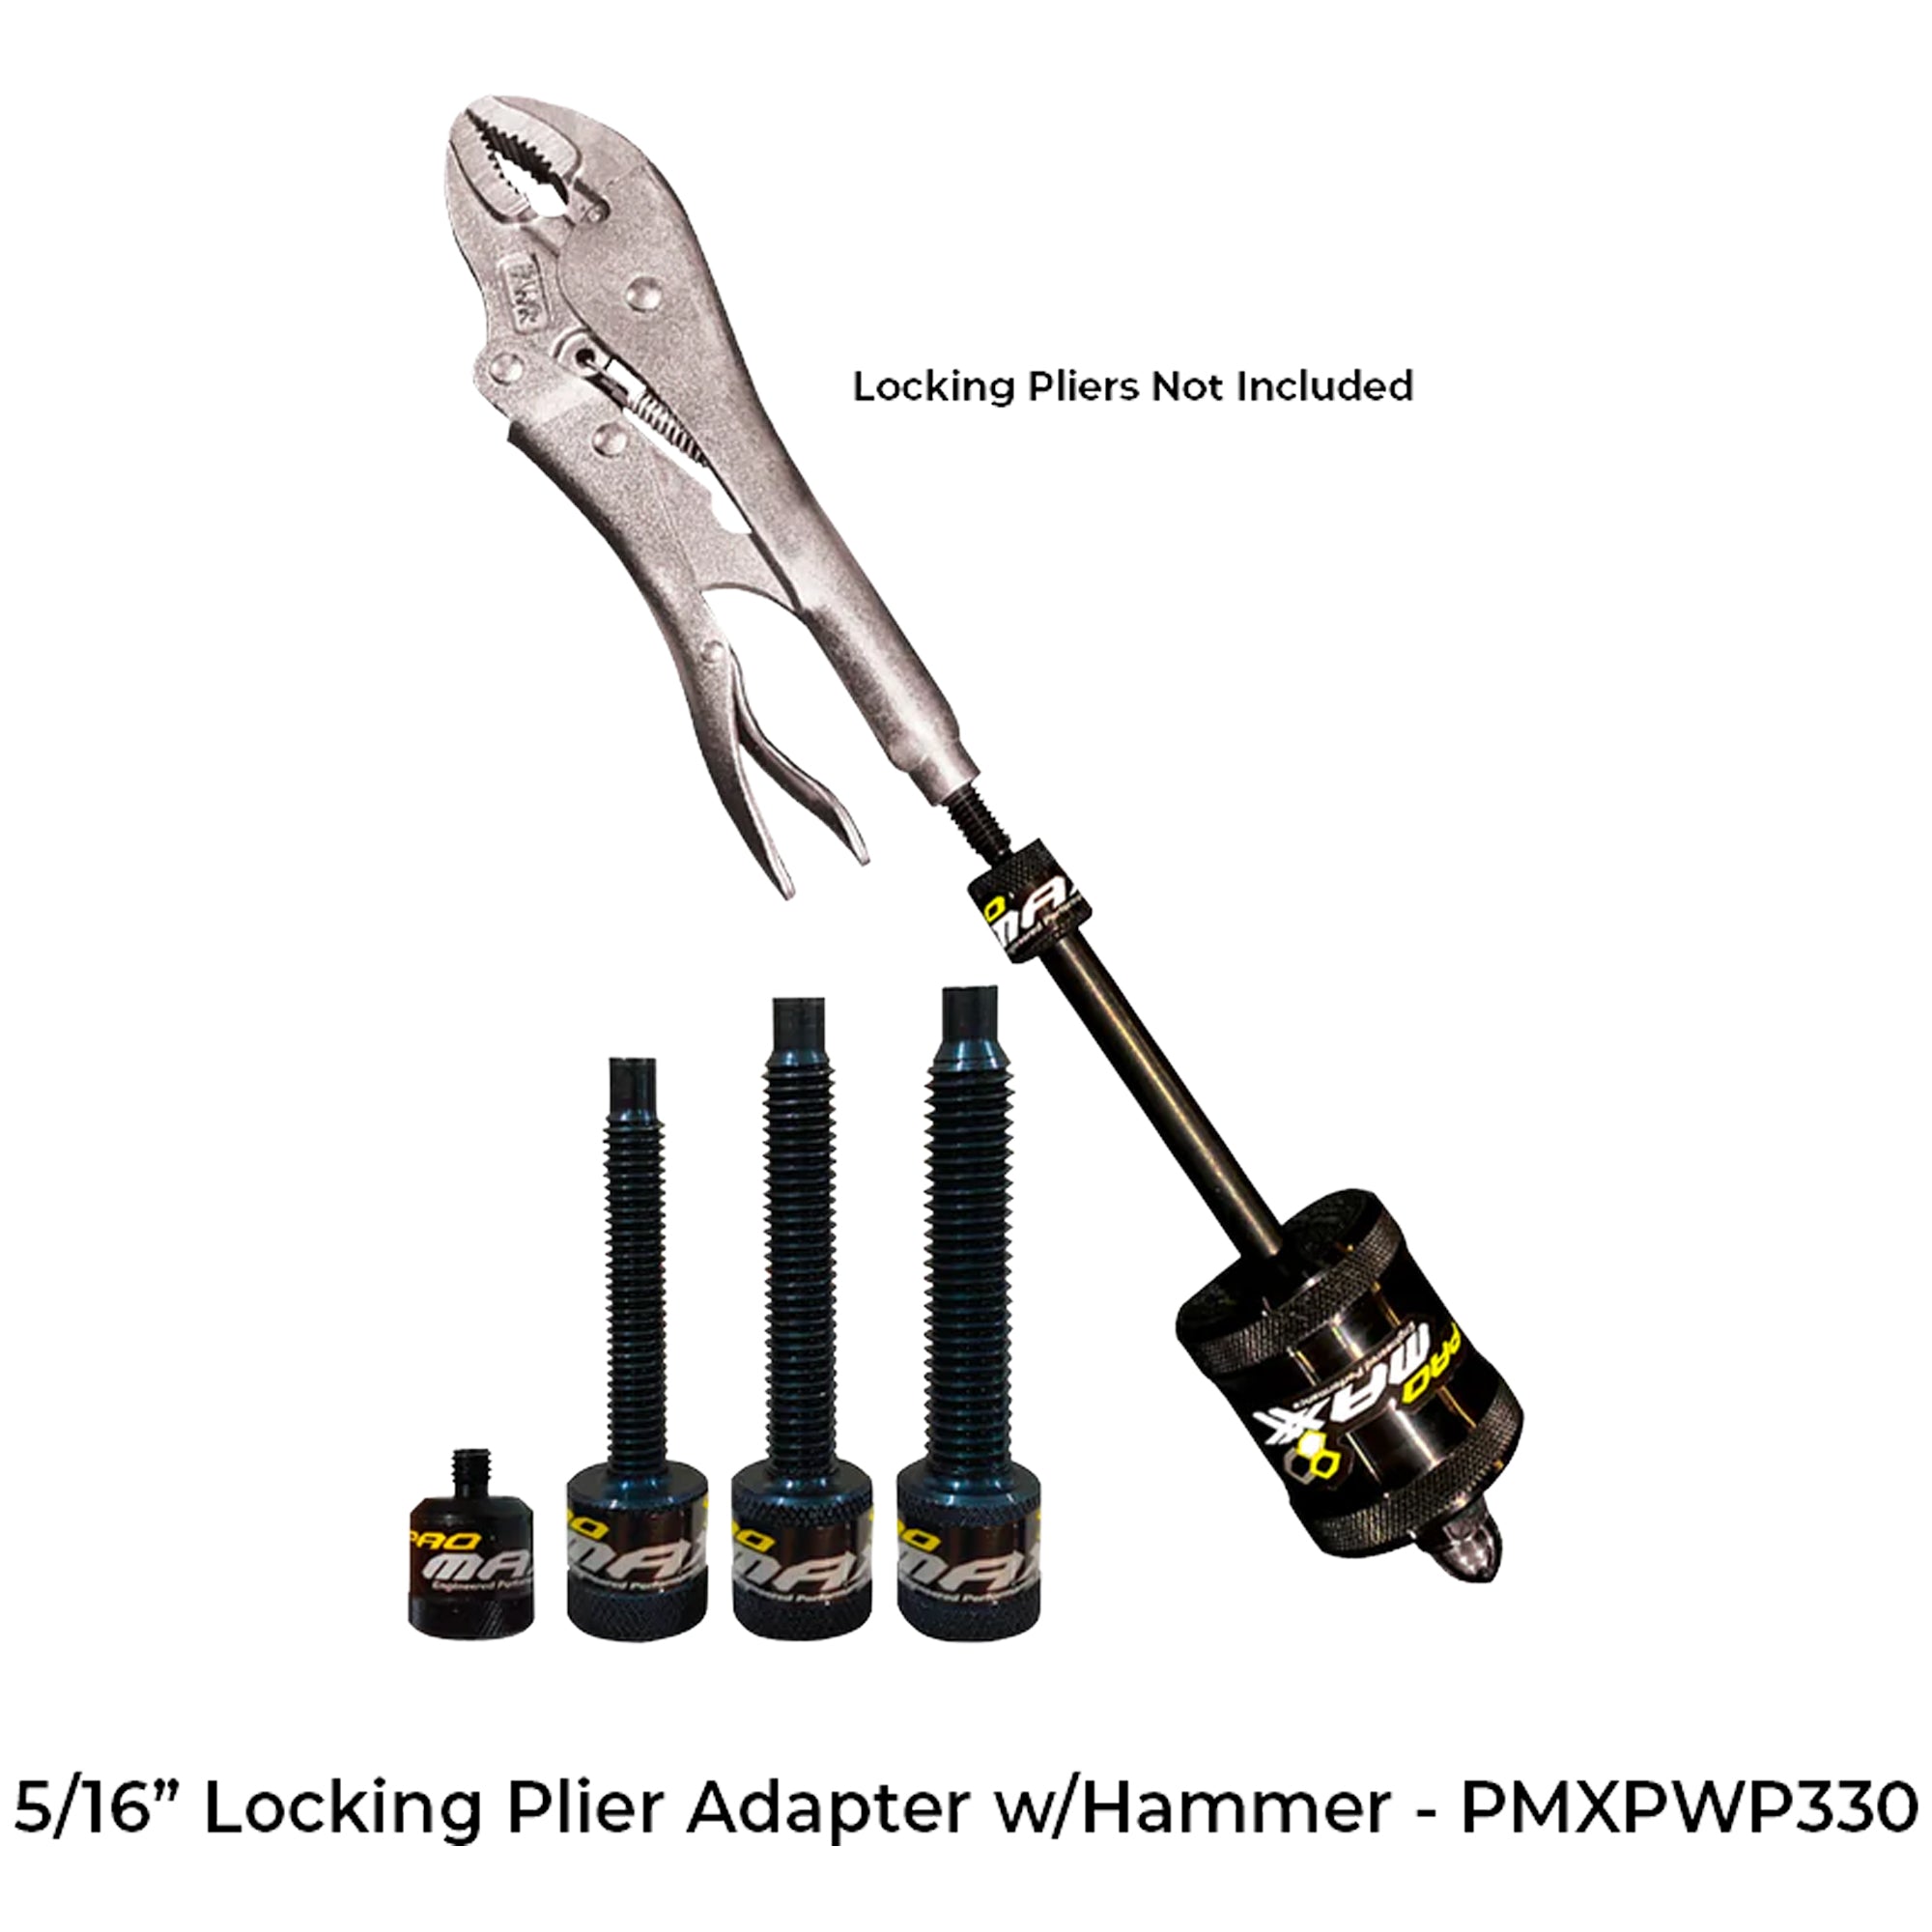
Optimal Tool Selection for Shank Grip
Use locking pliers (Vise-Grips) for twist bits under 1/2″ diameter—they clamp securely without hand fatigue. For larger auger or spade bits, a pipe wrench provides superior bite on smooth shanks. Never use channel locks—their smooth jaws slip under torque, risking injury.
Technique to Avoid Damaging the Bit
Wrap the shank in duct tape or thin metal shim before clamping to protect flutes. Position tools as close to the wood surface as possible to minimize bending stress. Apply steady counter-clockwise pressure while simultaneously wiggling the bit laterally—this “breaks the friction lock” created by compressed wood fibers. If resistance is extreme, slide a 2-foot pipe over the wrench handle for leverage (a “cheater bar”), but increase pressure gradually.
Penetrating Oil and Wiggle Method for Resinous Woods
Dense woods like pine often trap bits through sap adhesion. This technique solves hydraulic lock in 10-15 minutes.
Oil Application for Maximum Penetration
Drip low-viscosity penetrating oil (WD-40 or 50/50 acetone/ATF mix) where the bit meets the wood. Let it pool for 2 minutes, then use a toothpick to work oil into visible flutes. Wait 10 full minutes—rushing this step reduces effectiveness by 80%. For deep auger bits, tilt the workpiece to let oil travel down the flutes.
Combine with Controlled Movement
After soaking, grip the bit with locking pliers. Apply firm counter-clockwise pressure while gently jiggling the bit in and out 1-2mm. The lateral motion creates micro-fractures in the sap bond. Repeat this “wiggle-pull” sequence 5 times. If movement begins, continue until fully extracted—never force sudden rotation once freed.
Specialized Tools for Stubborn Bits in Tight Spaces
When standard wrenches fail, these solutions provide surgical precision.
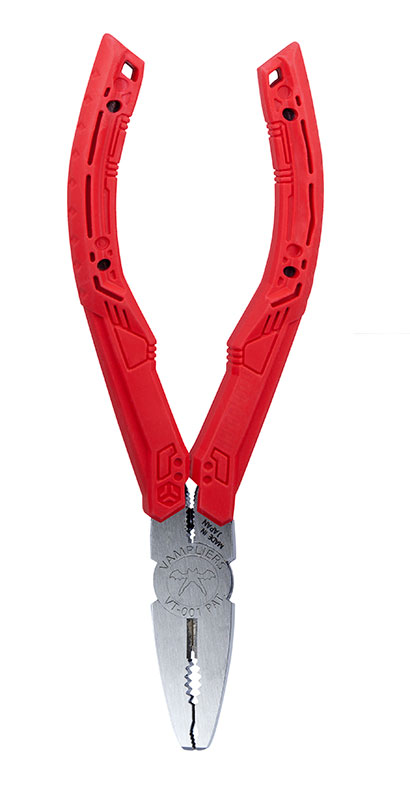
Vampliers for Maximum Bit Control
These specialty pliers feature deep serrated jaws that grip flute edges without crushing. Clamp onto the highest exposed shank section, then rotate slowly. Their ergonomic handles deliver 3x more torque than standard Vise-Grips. Ideal for bits stuck in cabinetry or furniture where space is limited.
Hex Shank Advantage with Socket Sets
For drill bits with hex shanks (common on 1/4″ bits), use a 1/2″ drive ratchet and matching socket. Slide a 3-foot breaker bar over the ratchet handle for extreme leverage. Rotate in 5-degree increments—this controlled motion prevents sudden release that could damage your wrist.
Last-Resort Methods: When Sacrificing the Bit Is Necessary
Reserve these for non-critical projects where the bit’s location won’t compromise structural integrity.
Punch-Through Technique for Through-Holes Only
Only attempt if the bit tip protrudes through the wood’s backside. Place a center punch on the bit tip and tap firmly with a hammer while holding the workpiece securely. This destroys the bit tip but preserves the workpiece. Never use on blind holes—hammering can split the wood.
Flush Cut and Repair for Hopelessly Stuck Bits
Grind the bit flush using an angle grinder with a metal-cutting wheel (wear a face shield!). Drill out the remaining metal core, then fill with a hardwood dowel glued with epoxy. For cosmetic repairs, plug the hole with matching wood and sand smooth. This takes 20 minutes but saves the project when all else fails.
Prevent Future Bit Binding with Pro Drilling Techniques
Avoid extraction emergencies entirely with these field-tested practices.
The Critical Peck-Drilling Method
For holes deeper than the bit diameter, drill 1/4″ deep, then retract completely to clear chips. Repeat until finished. This prevents “chip packing”—the #1 cause of binding in twist and auger bits. Never drill deeper than 1/2 the bit diameter without clearing in dense woods.
Speed and Pressure Rules for Different Bits
Use low RPM (400-600) for bits over 1/2″ diameter in hardwoods. Apply only enough pressure to maintain cutting—if smoke appears, you’re forcing it. For spade bits, rotate 90 degrees before extraction to free the wings from hole walls. Always start with a pilot hole for bits larger than 1/2″.
When to Call a Professional: Don’t Risk Irreplaceable Projects
If the bit is stuck in antique furniture, structural beams, or finished cabinetry, stop immediately. Professionals use ultrasonic extractors and micro-chisels that remove bits with zero damage. The $75 service fee beats replacing a $500 heirloom chair. Attempting advanced methods on valuable pieces often turns a repairable issue into a total loss.
Final Note: Successfully getting a drill bit out of wood hinges on methodical progression—from simple reverse techniques to controlled manual extraction. Always prioritize safety over speed, and implement peck-drilling to prevent future jams. Remember that 80% of extraction failures stem from rushing the process or skipping chip clearance. Keep this guide handy, and you’ll transform a project-stopping disaster into a minor speed bump. For persistent issues in expensive materials, professional help preserves both your project and peace of mind.


