
That moment when your Ryobi drill stops working mid-project can bring your entire workflow to a grinding halt. Whether you’re a weekend warrior tackling a home improvement task or a professional contractor on a tight deadline, a non-responsive drill creates immediate frustration. The good news is that most “ryobi drill not working” issues stem from common failures in the battery system, trigger switch, or mechanical components—problems you can often diagnose and fix yourself with basic tools. This guide delivers a systematic approach to identify exactly why your Ryobi 18V cordless drill won’t operate and provides step-by-step solutions to get you back to work quickly.
Essential Safety Steps Before Repairing Your Ryobi Drill
Before attempting any diagnostics or repairs on your failed Ryobi drill, prioritize safety to prevent electrical shock or accidental activation. Always remove the battery first—this simple step prevents dangerous sparks and protects you from unexpected motor engagement. Work in a well-lit, clean space where you can clearly see small components and organize disassembled parts. Wear safety glasses to shield your eyes from debris, especially when cleaning contacts or opening the housing. If you’re using contact cleaner or isopropyl alcohol for cleaning, ensure proper ventilation to avoid inhaling fumes. Never work on a plugged-in charger or with the battery inserted during disassembly—this is your primary defense against electrical hazards.
Diagnose Why Your Ryobi Drill Won’t Start

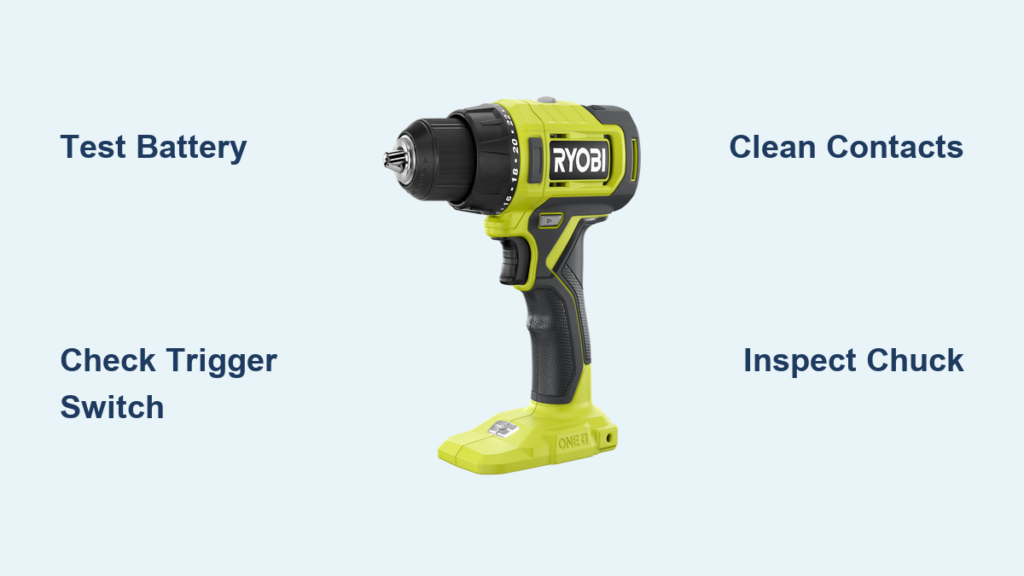
When your Ryobi drill stops working completely, systematic diagnosis prevents wasted effort on the wrong component. Start with the simplest explanations before moving to complex internal failures—most “ryobi drill not working” cases involve easily fixable issues rather than catastrophic motor failure.
Test Battery and Charger First for Ryobi Power Issues
Battery problems cause over 60% of Ryobi drill failures, so verify your power source before disassembling the tool. Inspect both battery and drill contacts for corrosion or debris using a cotton swab dipped in 90% isopropyl alcohol—dirty contacts mimic dead battery symptoms. Test with a known-good battery that works in another Ryobi tool; if your drill operates normally, your original battery has failed. Check charger functionality by plugging in a different battery—if the charger light doesn’t illuminate or the battery refuses to charge, the charger or battery management system has failed. A fully charged 18V Ryobi battery should read 19-20V on a multimeter; anything below 15V indicates a dead cell.
Check Trigger Switch Functionality on Non-Responsive Drills
If your battery tests good but the drill remains dead, the trigger microswitch is your next prime suspect. With the battery removed, pull the trigger while listening closely for a faint click—the absence of this sound usually means switch failure. Look for visible damage to the trigger mechanism, including worn pivot points or broken plastic components that prevent full activation. Test for electrical continuity using a multimeter: with the trigger released, you should have no continuity (open circuit), but when pressed, the meter should register 0 ohms or emit a beep. No continuity during trigger pull confirms a faulty switch that needs replacement.
Identify Motor and Chuck Problems in Partially Working Drills
When your Ryobi drill shows weak operation or spins inconsistently, mechanical issues are likely at fault. Listen for abnormal sounds—a humming motor with no chuck rotation typically indicates a jammed gear train or stripped planetary gears. Manually rotate the chuck while the drill is off; if it turns freely in one direction but not the other, your transmission has failed. Check for chuck slippage by tightening a hex bit and attempting to rotate it by hand—if the chuck spins independently, the internal jaws or chuck mechanism require replacement. Excessive vibration or grinding noises often point to failing bearings that need immediate attention before causing further damage.
Fix Common Ryobi Drill Failures Step-by-Step
Most “ryobi drill not working” scenarios can be resolved with these targeted repair procedures. Focus on the specific symptoms you’ve diagnosed rather than performing unnecessary disassembly.
Replace a Faulty Trigger Switch Causing Complete Failure
A non-clicking trigger is the #1 failure point in Ryobi drills, especially in models like the P208 series. Remove the battery and all housing screws using a T10-T15 security Torx bit set, carefully separating the clamshell halves while noting screw placement. Disconnect the wiring harness from the switch assembly and test continuity again to confirm failure. Install a replacement switch module (common part #RYO-1U-48A) by soldering connections to the circuit board—many DIYers find it easier to replace the entire trigger assembly rather than desoldering individual components. Reassemble while ensuring the return spring provides proper tension and test functionality before final assembly.
Repair a Stripped Gearbox or Damaged Chuck
When your motor runs but the chuck won’t spin, you’re facing a mechanical transmission failure. Remove the chuck by inserting an Allen wrench into the chuck and striking it counterclockwise with a hammer—this releases the retaining screw. Inspect the spindle and gear teeth for metal shavings or broken components; visible damage requires gearbox disassembly. Replace worn planetary gears by removing the transmission housing, noting gear orientation during removal. Apply fresh lithium grease to all moving parts during reassembly—using the wrong grease type causes premature failure. For chuck issues, replace the entire chuck assembly if jaw threads are stripped or the mechanism binds.
Fix Battery Connection Problems Preventing Power Delivery

Many “ryobi drill not working” cases stem from poor electrical connections rather than component failure. Clean all contact points with isopropyl alcohol on a cotton swab, focusing on the three metal contacts inside the battery compartment. Check for bent contacts that prevent proper connection—gently bend them back into position using needle-nose pliers. Test voltage at the drill’s battery terminals with a multimeter; if power reaches the terminals but the drill remains dead, the issue lies within the tool’s internal circuitry rather than the battery. For persistent connection issues, replace the battery terminal assembly inside the drill housing.
When to Repair Versus Replace Your Ryobi Drill
Weigh these factors before investing time and money into repairing your malfunctioning Ryobi drill. For basic models like the P208, replace rather than repair if the motor windings show burn damage, the gearbox has multiple stripped gears, or the control board displays visible scorching. Repair is cost-effective when you’re dealing with a simple trigger switch replacement ($15-25 parts), chuck issues, or battery contact problems—especially on newer brushless models where components are more valuable.
Cost Comparison for Ryobi Drill Repairs
| Repair Type | DIY Cost | Professional Cost | New Drill Cost |
|---|---|---|---|
| Trigger Switch | $15-25 | $45-75 | $60-100 |
| Chuck Replacement | $15-30 | $60-90 | $60-100 |
| Motor Replacement | $25-40 | $75-100 | $60-100 |
| Gearbox Repair | $30-60 | $90-120 | $60-100 |
If your repair costs exceed 60% of a new drill’s price, replacement becomes the smarter choice. However, if your Ryobi drill is under warranty (typically 2 years), contact Ryobi support with your proof of purchase before attempting any disassembly.
Prevent Future Ryobi Drill Failures with Proactive Maintenance
Avoid recurring “ryobi drill not working” issues by implementing these maintenance practices. Clean battery contacts monthly with isopropyl alcohol to prevent connection failures—the most common cause of sudden drill death. Lubricate the chuck mechanism quarterly with light machine oil to prevent seizure. Store your drill with the battery removed in a temperature-controlled environment, as extreme heat or cold degrades both battery and internal components. Never run your drill continuously for more than 15 minutes without a cool-down period—overheating causes premature motor and switch failure.
When your Ryobi drill stops working, methodical diagnosis beats random part replacement every time. Start with battery verification, move to trigger switch testing, then investigate mechanical components—this approach solves 90% of failures without opening the gearbox. Keep your repair toolkit stocked with a multimeter, Torx bits, contact cleaner, and replacement switches to handle most emergencies. Remember that safety always comes first: never work on a connected battery or charger, and wear eye protection during disassembly. With these proven techniques, you’ll transform from frustrated user to confident drill doctor, saving both time and money on future repairs.


