
Your Ryobi drill won’t make a dent in your project until you correctly install the drill bit—a critical step many DIYers rush through with frustrating consequences. A loose bit wobbles, overheats, and can shatter on contact, while improper installation risks damaging your chuck’s precision jaws. Whether you’re using Ryobi’s popular ONE+ 18V cordless drill or a brushless model, knowing exactly how to put a drill bit into Ryobi drill ensures clean holes, prevents tool damage, and keeps you safe. This guide cuts through the confusion with model-specific techniques for both standard drills and impact drivers, so you’ll complete your project without mid-task bit slippage or dangerous projectile failures.
Most users assume all drill bits install the same way, but Ryobi’s ecosystem includes three distinct chuck systems requiring different approaches. Getting this wrong means wasted time wrestling with stuck bits or ruined materials. By the end of this guide, you’ll confidently handle keyless chucks, keyed chucks, and hex-shank impact drivers—plus troubleshoot common issues when bits refuse to seat properly. Let’s transform that confusing first step into a 10-second routine that sets up every project for success.
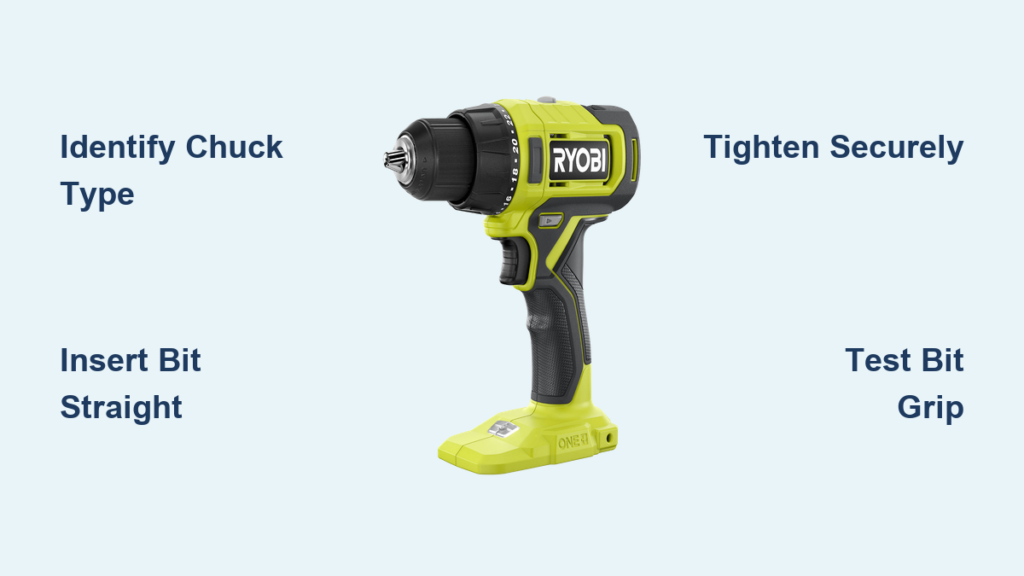
Identify Your Ryobi Drill’s Chuck Type Before Inserting Bits
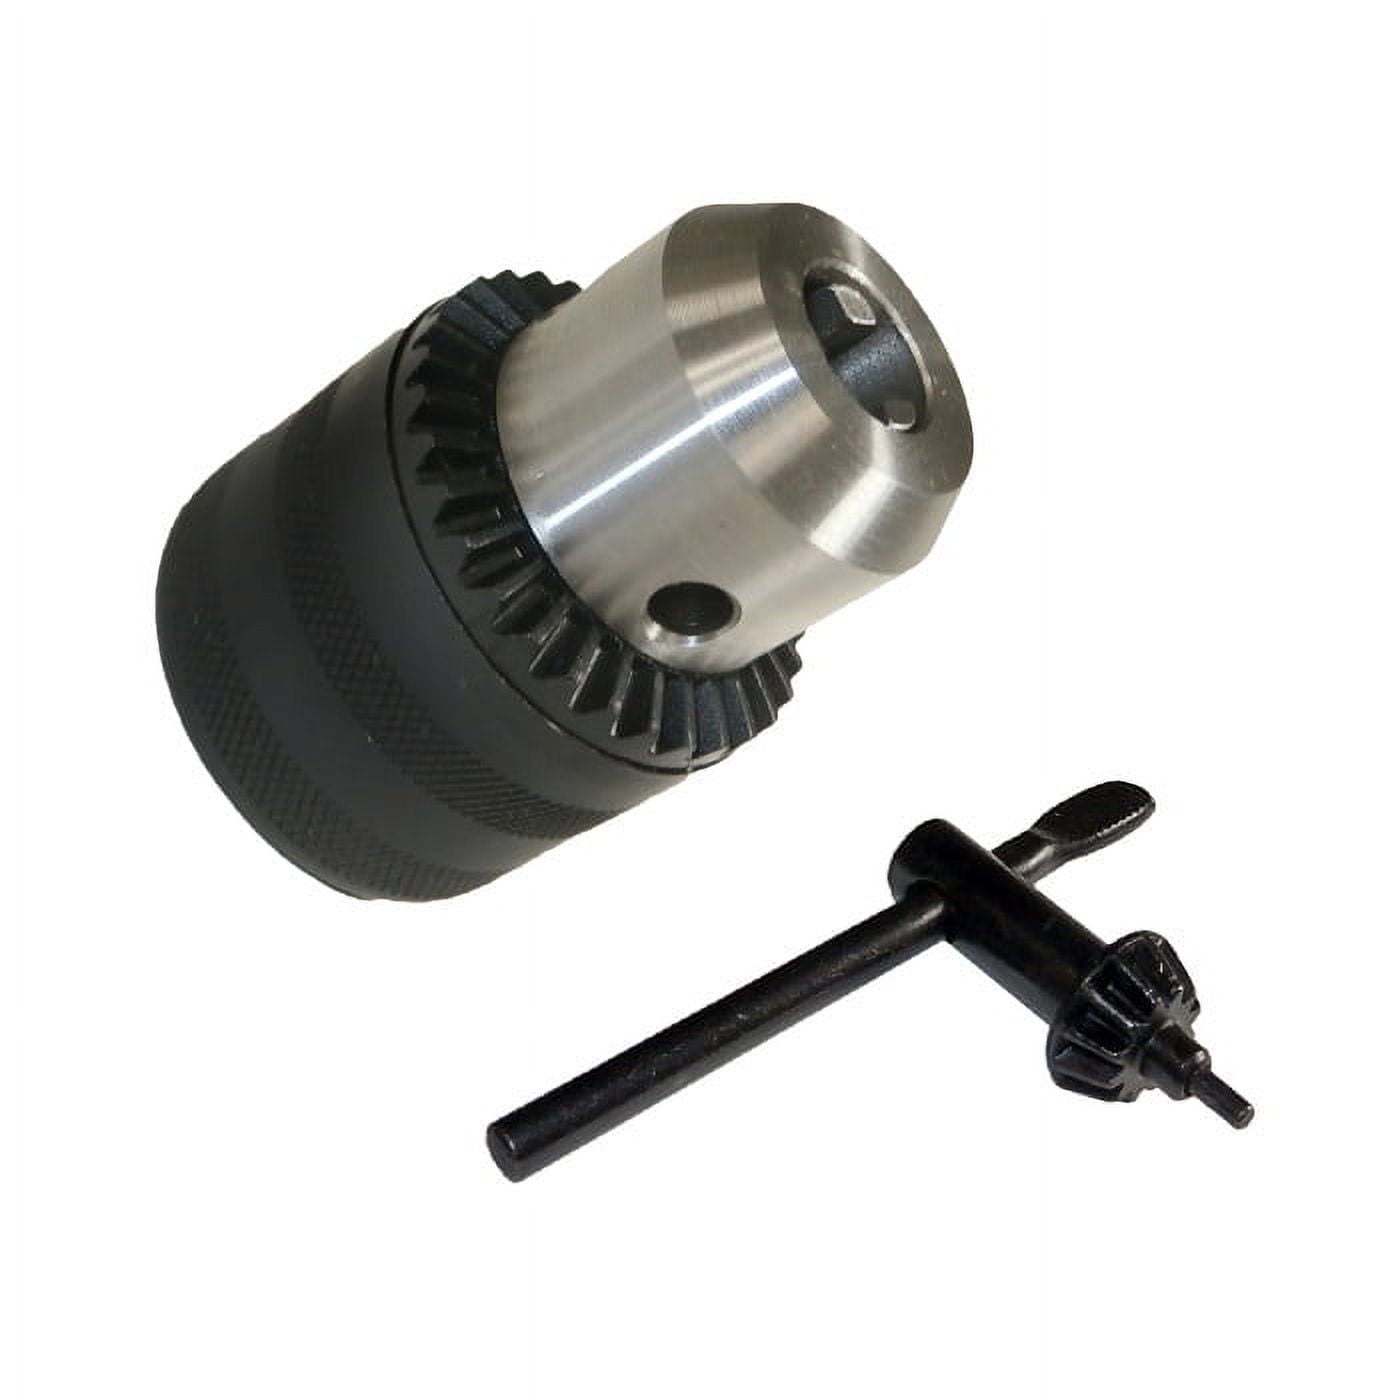
Don’t grab the first bit you see—your Ryobi drill’s chuck type determines your installation method. Modern ONE+ drills almost exclusively use keyless chucks with knurled collars you twist by hand, eliminating the need for a separate tool. These feature a rotating front collar that opens the three-jaw mechanism when turned counterclockwise. Older Ryobi models or industrial-grade units may still use keyed chucks requiring the L-shaped metal key stored in your battery slot or tool bag. If you see three small gear holes evenly spaced around the chuck, you need that key.
Keyless chucks dominate Ryobi’s current lineup for good reason: they allow bit changes in under five seconds during projects. You’ll recognize them by their smooth, continuous collar without gear teeth. Keyed chucks, while rarer now, provide superior torque transfer for heavy-duty applications—their gear teeth lock precisely with the chuck key for rock-solid bit retention. Never force a key into a keyless chuck; the smooth surface means the key won’t engage. If your chuck has visible gear teeth but no key, contact Ryobi support—they’ll often mail a replacement free of charge. Always identify your chuck type before inserting any bit to avoid cross-threading or jaw damage.
How to Insert a Drill Bit in a Ryobi Keyless Chuck in 30 Seconds
Keyless chucks make installing bits effortless once you know the correct grip technique. Start by removing your battery—a critical safety step many skip. Hold the drill firmly against your workbench with your non-dominant hand, gripping the housing just behind the chuck. With your dominant hand, place your thumb and forefinger on the knurled collar. Rotate the collar counterclockwise while applying gentle forward pressure toward the bit end. You’ll feel the jaws open with a distinct clicking sensation—stop when gaps between jaws exceed your bit’s shank diameter.
Insert the drill bit’s smooth shank straight into the chuck, pushing until it bottoms out against the internal stop. Wiggle it slightly to center the bit—misalignment causes premature bit wear. Now, reverse your grip: hold the drill body stationary with your non-dominant hand while twisting the collar clockwise with your dominant hand. Apply firm, even pressure until you feel strong resistance—this hand-tightening secures 90% of bits adequately. For high-torque applications like masonry drilling, add one final quarter-turn using pliers on the collar flats (never the drill body). Test security by trying to rotate the bit with your fingers; it shouldn’t budge.
Why Your Bit Won’t Stay Tight in a Keyless Chuck
Common mistakes include insufficient insertion depth and improper chuck rotation. If your bit slips during use, open the chuck and push the shank in until only 3/8 inch remains visible—Ryobi chucks require at least 3/4 inch of shank engagement. Another frequent error: rotating the entire drill body instead of just the collar. Your non-dominant hand must anchor the drill housing while your dominant hand turns only the collar. If the chuck feels loose even when tightened, inspect the jaws for debris; blow compressed air through the gaps to clear sawdust or metal shavings. Never lubricate the chuck—grease attracts debris that compromises grip.
Install Drill Bits in Ryobi Keyed Chucks Without Damaging Gears
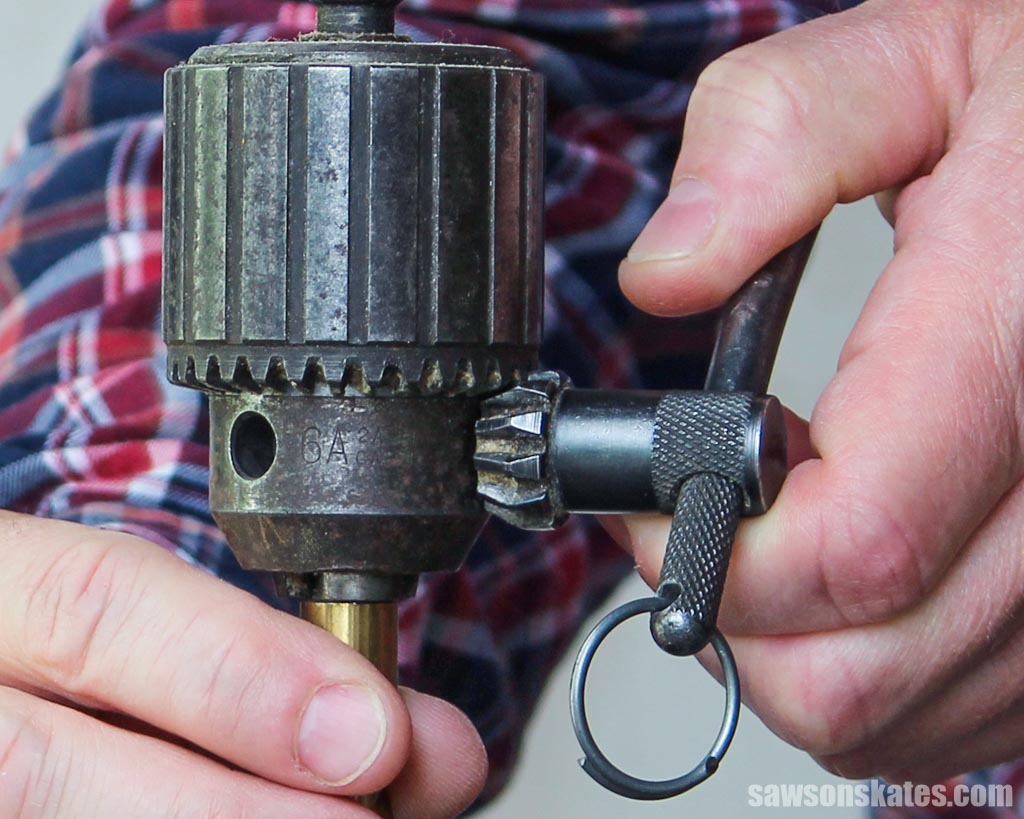
Keyed chuck installation demands precision to avoid stripping delicate internal gears. After removing the battery, insert the chuck key fully into any of the three gear holes—you’ll hear a metallic clink when seated properly. Hold the key perpendicular to the chuck face, then rotate it counterclockwise while applying steady pressure. Stop when jaw openings accommodate your bit shank. If the key resists turning, don’t force it; rotate the chuck slightly by hand to align gear teeth.
Insert your bit straight into the center, pushing firmly until it seats against the chuck’s internal shoulder. Now reinsert the key and rotate clockwise to tighten. Apply even pressure through the full rotation—uneven tightening misaligns jaws. After three full turns, give one final firm push to ensure maximum grip. Crucially, remove the key immediately; leaving it inserted can shatter the key during operation. Test tightness by attempting to rotate the bit with pliers—if it moves, repeat the tightening sequence. Never use impact drivers with keyed chucks; the hammering action will destroy gear teeth.
Secure 1/4-Inch Hex Bits in Ryobi Impact Drivers Correctly
Ryobi impact drivers use a completely different quick-change system designed for speed. Locate the silver collet ring near the nose—it slides forward to release bits. Pull this collet toward you while inserting the hex shank straight in. You’ll feel it snap into place with an audible click when fully seated. Release the collet to lock the bit—no twisting required. To verify security, tug firmly on the bit; it shouldn’t move more than 1/16 inch.
Hex shanks work exclusively with impact drivers and cannot be used in standard drill chucks. If your bit won’t lock, check for debris in the collet—compressed air usually clears it. Never force a round-shank bit into an impact driver; the collet won’t grip properly and will eject the bit violently. When removing bits, pull the collet forward while wiggling the bit side-to-side—this releases tension on any swarf (metal shavings) that may be jamming the mechanism.
Match Ryobi Drill Bit Shanks to Your Tool’s Requirements
Using incompatible bits causes 70% of installation failures. Round-shank bits (most twist drills) require standard 3-jaw chucks—insert at least 3/4 inch for security. Hex-shank bits have six flat sides that prevent slipping in chucks; they work in both standard drills and impact drivers but require full insertion. Quick-release hex bits (1/4-inch shank) only fit impact drivers—these lack flutes and feature color-coded tips for screw driving.
Never use adapter sleeves unless specified by Ryobi; cheap adapters cause dangerous bit wobble. For masonry bits, confirm they have SDS-Plus shanks only if your Ryobi model supports them—most standard drills don’t. When in doubt, check your bit packaging: “For keyless chucks” means round or hex shank, while “Impact-ready” indicates hex shank compatibility. Discard bent shanks immediately—they create uneven pressure that cracks chuck jaws.
Select Correct Drill Bits for Wood, Metal, and Fastening Tasks
Choosing the wrong bit guarantees installation issues. For wood drilling, use brad-point bits with sharp spurs that cut clean holes—their round shanks insert normally. Metal drilling requires cobalt or titanium-coated twist bits with split points; insert these deeper (1 inch minimum) to prevent walking. When driving screws, always use 1/4-inch hex-shank driver bits in your impact tool—never force them into a drill chuck.
Pilot holes need specialized bits slightly smaller than your screw diameter. Insert these just like standard bits but verify depth markings—shallow insertion causes stripping. For ceramic tile, use spear-point bits with diamond-tipped edges; their brittle shanks require gentle chuck pressure to avoid cracking. Ryobi’s own bit sets solve compatibility issues—look for the “ONE+” logo indicating chuck-optimized shanks.
Fix Common Ryobi Drill Bit Installation Failures Immediately
Stuck bits often result from over-tightening or swarf buildup. For keyless chucks, grip the drill in a vise with soft jaws, wrap the collar in cloth, and use adjustable pliers for counter-clockwise rotation. If the bit won’t release from an impact driver, pull the collet while tapping the bit end with a rubber mallet—this breaks tension from metal shavings. Never use heat; it warps precision chuck components.
Bits that spin during use mean insufficient insertion depth. Remove and push the shank 1/4 inch deeper before re-tightening. If jaws won’t open, inspect for stripped threads—this requires professional repair. For keyless chucks that won’t tighten, clean internal threads with a toothpick; dried lubricant often causes this. When bits eject during operation, replace the chuck immediately—worn jaws can’t maintain grip.
Critical Safety Steps Before Installing Any Ryobi Drill Bit
Battery removal isn’t optional—accidental trigger pulls during bit changes cause severe hand injuries. Always eject the battery before touching the chuck. Wear ANSI-approved safety glasses; metal shavings from bit insertion can cause eye damage. Verify bit integrity first: discard any with bent shanks or cracked flutes—they’ll shatter under load.
Tighten chucks on a stable surface, never while holding the drill in mid-air. For high-torque applications, add one final quarter-turn with chuck key or pliers after hand-tightening. Store bits in magnetic trays to prevent damage—dented shanks won’t seat properly. After installation, run the drill at low speed off-material for 5 seconds to confirm bit security. If you hear grinding, stop immediately—misaligned bits damage chuck bearings permanently.
Final Note: Mastering how to put a drill bit into Ryobi drill transforms frustrating setup into a seamless workflow. Remember the golden rule: full shank insertion plus proper chuck tightening prevents 95% of installation failures. For keyless models, that firm clockwise twist until resistance peaks is non-negotiable—don’t settle for “good enough” tightness. Keep your chuck clean with regular air blasts, and always match bit types to your specific Ryobi tool. Now that you’ve secured your bit correctly, you’re ready to drill with confidence knowing your setup won’t fail mid-project. Next time you tackle that stubborn deck repair or cabinet installation, you’ll appreciate the rock-solid grip that starts with this fundamental step.


