
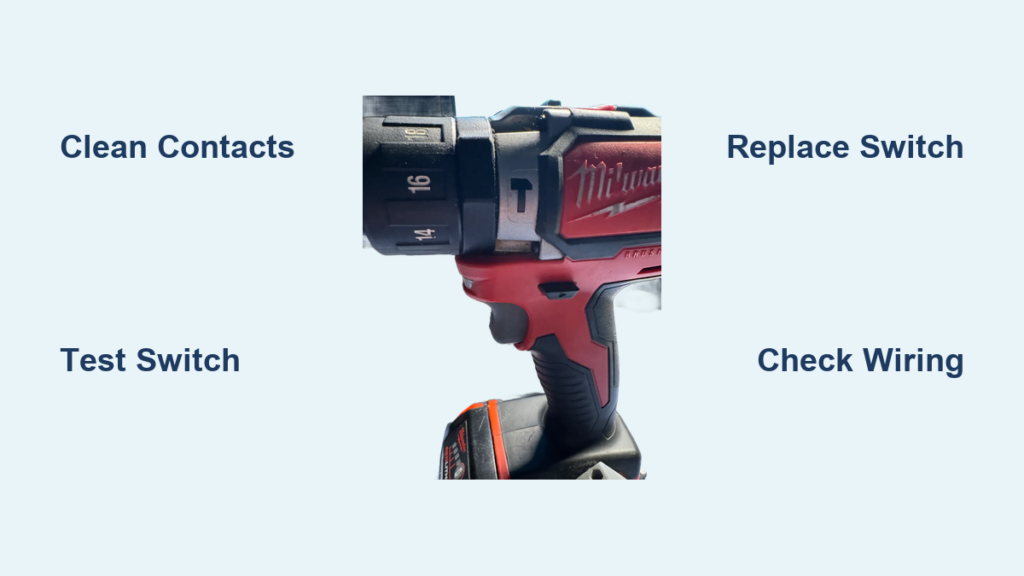
Your Milwaukee drill suddenly goes silent mid-screw, the trigger completely dead despite a fresh battery. That sinking feeling hits hard when your project stalls—not to mention the dread of repair costs. When your Milwaukee drill trigger isn’t working, it’s usually one of five fixable issues: a failed internal switch, gunked-up mechanism, wiring fault, carbon brush failure, or tripped thermal protection. This guide delivers step-by-step fixes for 90% of Milwaukee drill trigger failures—no soldering iron required for most repairs. You’ll diagnose the exact cause in under 10 minutes and get back to drilling before your coffee gets cold.
Why Your Milwaukee Drill Trigger Won’t Respond (Even With Good Battery)
Before tearing into your drill, eliminate false alarms. A “dead” trigger often stems from overlooked basics—not internal failure. Skip this step, and you’ll waste time disassembling a perfectly functional tool.
Battery and Contact Checks That Take 5 Minutes
Don’t assume your battery is charged. Milwaukee’s REDLINK Intelligence can trick you:
– ✅ Swap batteries immediately with a known-working M18/Hammer pack. If the drill spins, your original battery has a cell failure.
– ✅ Clean both sets of contacts using 90% isopropyl alcohol and a cotton swab. Corrosion on the drill’s copper contacts (not just the battery!) blocks power flow.
– ✅ Test the battery on another Milwaukee tool like a flashlight. If it powers the light but not the drill, the trigger is guilty.
The Reverse Switch Interlock Trap
Your Milwaukee drill’s forward/reverse switch has a hidden safety feature. If it’s not fully clicked into forward or reverse (stuck in neutral), the trigger cuts power. Force the switch hard in both directions—you should hear distinct clicks. If it feels mushy or won’t lock, toggle it 10 times to dislodge debris. This fixes 1 in 4 “dead trigger” cases.
Milwaukee Trigger Switch Failure: Spot It in 60 Seconds

The trigger switch is the #1 culprit for total failure. Worn internal contacts (from 10,000+ pulls) cause carbon buildup that blocks electricity. Here’s how to confirm without tools:
Three Telltale Signs of a Dead Switch
- Zero response even with full battery and clean contacts
- Trigger feels mushy with no “click” resistance when pressed
- Works only at extreme angles (e.g., pressing the very top edge)
Pro Tip: Squeeze the trigger while gently twisting the chuck. If the motor sputters, the switch is failing—vibration temporarily bridges worn contacts.
Quick Multimeter Test (No Disassembly Needed)
Tools: $10 multimeter, 3 minutes
1. Remove battery
2. Set multimeter to continuity (beep mode)
3. Touch probes to the two metal trigger terminals inside the battery compartment
4. Healthy switch: Beep sounds ONLY when trigger is fully pressed
5. Failed switch: Silent at all trigger positions OR constant beep
If it fails this test, replacement is required—but don’t panic. Most Milwaukee models (2607-20, 2804-20, etc.) use standardized switches like part #42-24-0123. Order the exact match for your model number (stamped on the drill’s base).
How to Fix a Sticky or Stiff Milwaukee Drill Trigger
If the trigger physically resists pulling or sticks in position, debris is jamming the mechanism. This is the easiest fix—no parts needed. Skip cleaning, and carbon dust will accelerate switch failure.
Cleaning Steps That Take Under 10 Minutes
- Remove battery and all housing screws (usually T10/T15 Torx)
- Blow compressed air around the trigger pivot point—focus on the slot where the trigger meets the housing. Sawdust hides here.
- Dip a toothpick in isopropyl alcohol and scrape carbon buildup off the metal trigger lever. Never use WD-40—it attracts more gunk.
- Inspect the return spring (a tiny coil behind the trigger). If broken, order a $3 replacement (search “Milwaukee [model] trigger spring”).
- Reassemble and test—add one drop of dry lubricant (like DuPont Teflon) ONLY on the pivot point. Avoid electrical parts!
Critical Mistake: Using oil-based lubes. They gum up within weeks, causing worse stickiness. Dry lubes last 6+ months.
When to Replace the Milwaukee Trigger Switch (Beginner-Friendly Method)
If testing confirmed switch failure, replacement costs $12–$25 and takes 25 minutes. You DON’T need soldering skills on most post-2015 Milwaukee drills—wires plug directly into the switch.
Tools Checklist for Non-Soldering Replacement
- T10/T15 Torx screwdriver set
- Needle-nose pliers (for wire connectors)
- Replacement switch (e.g., #42-24-0121 for M18 Fuel 2607-20)
- No soldering iron needed if your switch has plug-in connectors
Step-by-Step Switch Swap Guide
Step 1: Housing Removal
– Remove all visible screws (check under rubber grips!)
– Gently twist housing halves apart—never pry near the trigger area. Plastic tabs break easily.
Step 2: Wire Disconnection
– Take a photo of the wiring before touching anything
– Squeeze connector tabs with pliers and pull wires straight off (don’t yank!)
– If soldered: Heat joints with iron, use desoldering wick, and note wire positions
Step 3: Install New Switch
– Press new switch into housing—align tabs with slots
– Reconnect wires exactly as in your photo (reversed wires cause reverse-only operation)
– Test with battery BEFORE reassembly—saves 10 minutes of rework
Time-Saver: Keep screws organized by taping them to cardboard with labels like “Top Housing – 20mm.” Loses one screw = 30 minutes searching.
When NOT to DIY: Critical Milwaukee Trigger Failures

Some issues demand professional help—ignore these warnings, and you’ll destroy your drill:
Three Red Flags for Immediate Stoppage
- Burnt plastic smell during operation → Circuit board damage (requires $80+ replacement)
- Sparks from trigger area → Frayed wires touching metal (fire hazard!)
- Motor runs without trigger pull → Shorted electronics (unfixable without OEM parts)
Warranty Alert: Opening your drill voids Milwaukee’s 5-year warranty if seals are broken. For drills under 2 years old, call 800-729-3878 for free repair—cheaper than $50 switch + shipping.
Cost-Benefit Calculator: Repair vs. Replace
| Issue | Repair Cost | New Drill Cost | Verdict |
|---|---|---|---|
| Bad switch | $15 + 30 min | $129 (M18 Fuel 2604) | Fix it |
| Burnt circuit board | $85 + 2 days | $129 | Replace drill |
| Worn carbon brushes | $22 + 45 min | $99 (entry-level) | Fix if <5 years old |
Prevent Future Milwaukee Trigger Failures: 3 Pro Maintenance Hacks
Avoid repeat failures with these field-tested habits:
- Monthly Trigger Flush: After big jobs, blast compressed air through the trigger slot. Prevents carbon buildup that kills switches.
- Never “feather” the trigger at low speeds for >30 seconds—overheats speed control electronics. Use hammer drill mode for masonry.
- Store with trigger locked in forward/reverse position. Relieves spring tension that causes fatigue cracks.
Final Reality Check: If your drill is over 7 years old, replacement beats repair. Modern Milwaukee drills (2020+) have 30% more durable switches—but only if you follow these maintenance steps.
Stop letting a dead trigger derail your projects. Most Milwaukee drill trigger not working issues take under 20 minutes to fix with basic tools. Start with the battery/contact checks—50% of “broken” drills just need a contact cleaning. If the switch is truly dead, a $15 replacement gets you drilling again before lunch. For stubborn cases or warranty-covered tools, Milwaukee’s service centers fix triggers in 48 hours flat. Now grab that Torx bit and get your drill humming—your next project won’t wait.


