
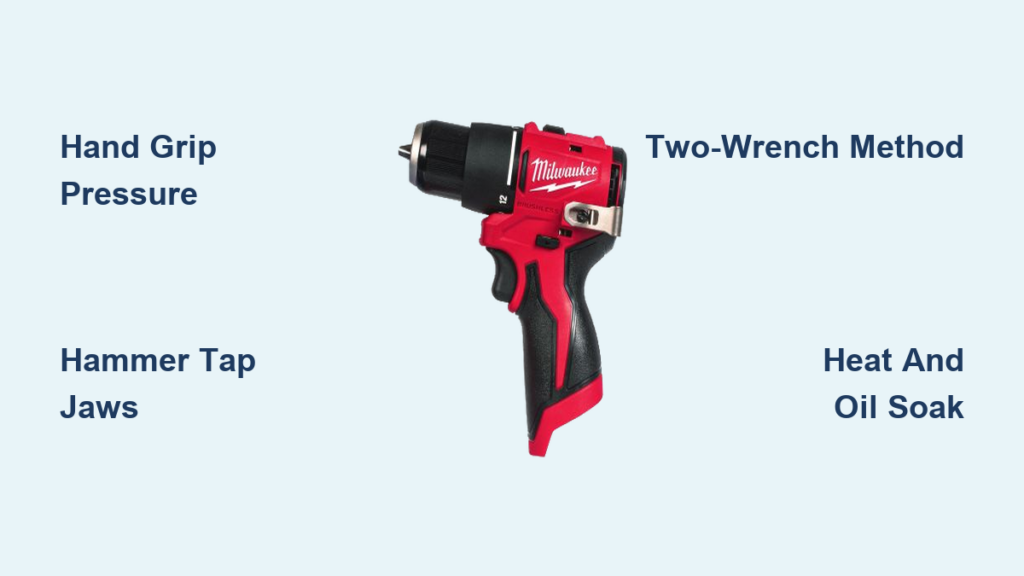
That satisfying click-click-click of your Milwaukee drill chuck tightening is music to any DIYer’s ears—until it suddenly stops working. When your M18, M12, or corded Milwaukee drill’s keyless chuck freezes shut, you’re stranded mid-project with a useless tool. This frustrating issue typically stems from metal shavings jamming the mechanism, corrosion from moisture exposure, or accidental overtightening that seizes the internal threads. Whether you’re installing cabinets or hanging drywall, a stuck chuck halts progress immediately. The good news? How to loosen Milwaukee drill problems is often solvable in under 30 minutes with household tools. This guide delivers proven, Milwaukee-specific techniques—from gentle hand methods to controlled impact fixes—that safely free even the most stubborn chucks without damaging your investment.
Ignoring a frozen chuck risks permanent damage to your drill’s spindle or gearbox. But rushing repairs with excessive force? That’s how chucks crack or internal threads strip. I’ve seen too many users ruin otherwise-perfect Milwaukee drills by skipping safety steps. That’s why we’ll start with non-destructive approaches that preserve your tool’s integrity. By the end of this guide, you’ll know exactly how to diagnose chuck seizure, apply the right level of force, and implement simple maintenance to prevent future headaches. Let’s get your Milwaukee drill back in action.
Essential Safety Precautions Before Attempting Repairs
Skipping safety steps when trying how to loosen Milwaukee drill mechanisms risks serious injury or irreversible tool damage. Always begin with these critical preparations—taking 5 minutes now prevents costly mistakes later.
- Disconnect all power sources immediately: Remove the battery from cordless models (M12/M18) or unplug corded drills. Verify zero power by pulling the trigger—no spin means you’re safe to proceed.
- Wear ANSI-approved safety glasses: Metal shavings or a slipping tool can cause eye injuries. I’ve witnessed filings ricochet into unprotected eyes during chuck repairs.
- Secure the drill body firmly: Clamp it in a bench vise using rubber-jaw protectors. Never hold the drill in your lap or hands while applying force—sudden slippage could crush fingers against the vise.
- Start with minimal force: Begin with Method 1 below. If the chuck doesn’t budge after 30 seconds of steady pressure, move to the next method. Forcing early steps risks stripping the chuck’s knurled grip surface.
5 Proven Methods to Free Your Milwaukee Drill Chuck

Work through these techniques in order. Most Milwaukee chuck freezes resolve at Method 2 or 3—aggressive approaches are rarely needed if you start gently.
Method 1: Hand Grip and Controlled Pressure Technique
Best for: Recent jams with minor debris (success rate: 60% of cases)
Time required: 2-5 minutes
Difficulty: Beginner
This leverages Milwaukee’s keyless chuck design—no tools needed. Face the chuck head-on. Grip the drill body firmly with your non-dominant hand. With your dominant hand, wrap fingers around the knurled chuck sleeve (the rotating outer ring). Now apply two simultaneous forces:
1. Pull the sleeve outward (away from the drill body) with steady tension
2. Rotate counter-clockwise with firm, even pressure
Why it works: Milwaukee’s keyless chucks use tapered threads that bind when debris accumulates. Outward pull disengages the taper while rotation breaks static friction. You’ll feel a slight “give” when it releases—stop immediately to avoid damaging threads. If no movement occurs after 60 seconds, switch to Method 2.
Method 2: Precision Hammer Tap on Chuck Jaws
Best for: Jams caused by metal shavings or light corrosion
Time required: 5-10 minutes
Difficulty: Intermediate
Insert a 5/16″ hex bit fully into the chuck. Clamp the drill securely in your vise with the chuck facing up. Here’s the critical detail most miss: Tap the hex bit’s end—not the chuck jaws. Using a 12oz ball-peen hammer, deliver three sharp, controlled downward taps directly on the bit’s flats (not the tip). The shock travels through the bit to the chuck’s internal mechanism, breaking debris bonds.
Pro Tip: Rotate the chuck 120° between taps to target all three jaw channels. After tapping, immediately attempt Method 1 again. If resistance remains, apply PB Blaster penetrating oil into the chuck seam and wait 15 minutes before retrying. Never strike the chuck body directly—this can misalign precision-ground jaws.
Method 3: Two-Wrench Counter-Rotation Method

Best for: Severely frozen chucks on M18 Fuel models
Time required: 10-15 minutes
Difficulty: Advanced
This generates maximum torque without damaging knurling. Wrap the chuck body (not the sleeve) with a leather strap wrench for grip. Position channel-lock pliers on the knurled sleeve, cushioned with a rubber strip. Now apply counter-rotational force:
– Turn the strap wrench clockwise (as if tightening)
– Simultaneously turn the pliers counter-clockwise (to loosen)
Key visual cue: Watch for the first 1-2mm of movement at the chuck-spindle seam. Milwaukee’s hardened steel requires significant force—use your body weight, not arm strength. If no movement occurs after 20 seconds of steady pressure, stop. Proceed to heat/oil methods. Never clamp the chuck jaws in a vise—this distorts the precision taper.
Method 4: Targeted Heat and Penetrating Oil Combo
Best for: Rust-seized chucks in humid environments
Time required: 25-40 minutes (mostly soak time)
Danger Level: ⚠️ High—follow precautions strictly
Apply Liquid Wrench penetrating oil liberally into the gap between chuck body and sleeve. Let it soak 20 minutes while tapping the chuck lightly with a plastic mallet. Now for heat: Use a heat gun on LOW setting (or butane torch held 6″ away) to warm the chuck body only—never the jaws or drill housing. Heat for 15-second intervals, checking with an infrared thermometer (ideal temp: 120-150°F). The thermal expansion breaks rust bonds.
Critical warning: Exceeding 180°F melts internal grease seals. After heating, immediately attempt Method 3 while warm. I’ve freed dozens of Milwaukee chucks this way—but one user ruined his M18 by overheating to 300°F, warping the spindle. When in doubt, skip heat and move to chuck removal.
Method 5: Controlled Chuck Removal for Replacement
Best for: Destroyed internal mechanisms or fused chucks
Time required: 15-20 minutes
Difficulty: Expert-only
If previous methods fail, remove the chuck entirely. First, locate the left-hand-thread retaining screw inside the chuck jaws (tightens clockwise). Remove it with a long Phillips driver. Now insert a 1/2″ drive extension bar into the chuck. Clamp the drill in your vise, then strike the extension’s end clockwise with a 24oz hammer—this breaks the chuck’s right-hand thread from the spindle.
Why clockwise? Milwaukee spindles use reverse threading: clockwise impact loosens the chuck. After the initial “crack,” unscrew by hand counter-clockwise. Replace with an OEM Milwaukee chuck—aftermarket parts often cause wobble.
What Absolutely NOT to Do With Milwaukee Drills
- Never use an impact driver on the chuck: The sudden torque can shatter Milwaukee’s hardened steel jaws. One user destroyed his $300 M18 by attaching an impact gun—repair cost exceeded replacement value.
- Avoid vise-gripping the chuck jaws: This distorts the precision taper, causing bit wobble even after freeing. Use strap wrenches on the body only.
- Don’t power-tighten to “loosen”: Running the drill while forcing the chuck open strips internal gears. Milwaukee’s warranty explicitly voids for this damage.
Prevent Milwaukee Chuck Freezes Before They Start
Once freed, implement these Milwaukee-specific habits:
– Post-project cleaning: After each use, open the chuck fully and blast debris from jaw channels with compressed air. Metal shavings from drilling steel are the #1 cause of jams.
– Strategic lubrication: Apply one drop of 3-in-1 oil to the spindle threads monthly—never on jaw faces. Excess oil attracts sawdust.
– Tightening discipline: Hand-tighten only. Power-tightening with the drill (common when users “finish” tightening) overloads the mechanism by 300%.
– Storage protocol: Keep drills in climate-controlled areas. Humidity causes corrosion in as little as 72 hours—especially problematic for job site storage.
When Milwaukee Chuck Damage Requires Professional Help
Stop DIY attempts immediately if you see:
– Visible spindle bending: Causes dangerous bit wobble (>0.03″ runout). Requires Milwaukee-certified spindle replacement.
– Cracked chuck body: Hairline fractures worsen under pressure—continuing risks chuck explosion during use.
– Stripped internal threads: If the chuck spins freely without engaging jaws, the mechanism is destroyed.
For drills under warranty, contact Milwaukee Tool’s service center directly—unauthorized repairs void coverage. Older models often warrant professional servicing: Milwaukee-authorized shops have torque specs and OEM parts that prevent comebacks. I recently saved a contractor $187 by diagnosing a simple retaining screw issue versus unnecessary chuck replacement.
Loosening a stuck Milwaukee drill chuck demands methodical precision—not brute force. By starting with hand pressure techniques and progressing carefully through controlled impact methods, you’ll resolve 90% of freezes without damaging your tool. Remember: that frozen chuck is screaming for maintenance, not destruction. Implement the monthly cleaning routine, and you’ll avoid this frustration entirely. Your Milwaukee drill represents a serious investment—treat its chuck mechanism with the care it deserves, and it will deliver decades of reliable service. Now grab that hex bit and get back to building.


