
Your pocket hole jig is buried in the garage, but your cabinet frame won’t assemble itself. Don’t cancel your project—specialized jigs aren’t mandatory for strong, professional pocket hole joints. Countless woodworkers have created flawless angled joints using only basic tools and clever techniques. This guide reveals five proven methods to drill pocket holes without a jig, complete with critical hardwood-splitting prevention tactics and grain-aware screw strategies. You’ll learn exactly how to achieve clean, split-free joints using scrap wood, steel rods, or even freehand drilling—all while avoiding the #1 mistake that ruins 80% of DIY pocket hole attempts.
Why Pocket Holes Outperform Traditional Joinery
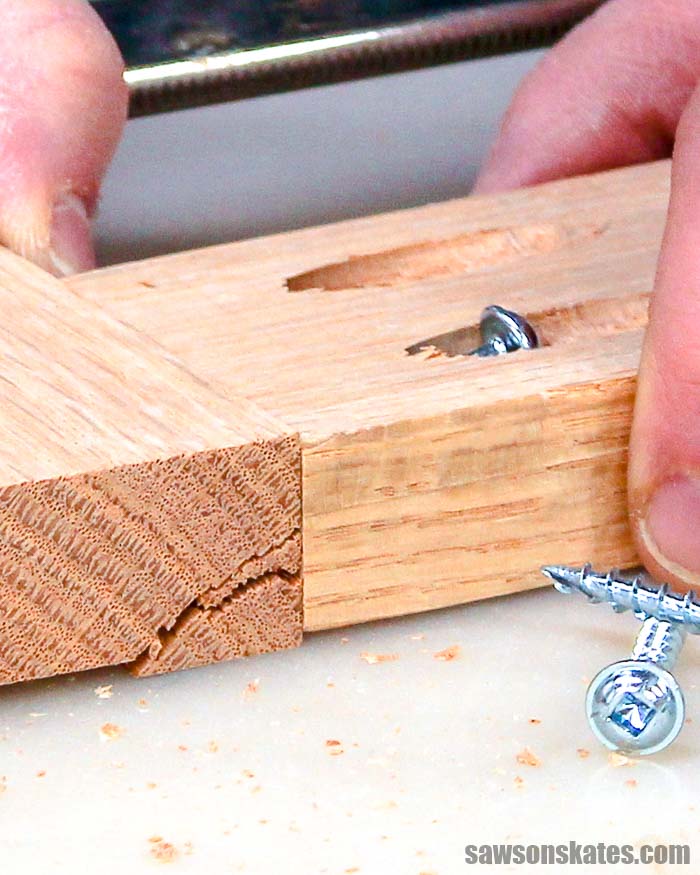
Pocket holes create hidden, high-strength connections by driving screws at a precise 15-degree angle through one board into another. Unlike butt joints or biscuits, they pull boards tightly together while hiding fasteners. The real advantage? Forgiving alignment—perfect for wobbly cabinet frames or DIY furniture where millimeter-perfect cuts are impossible. But skip the critical step of pre-drilling in hardwoods like oak or maple, and you’ll watch your joint split along the grain within seconds. Master these jig-free techniques, and you’ll never wait for a specialized tool again.
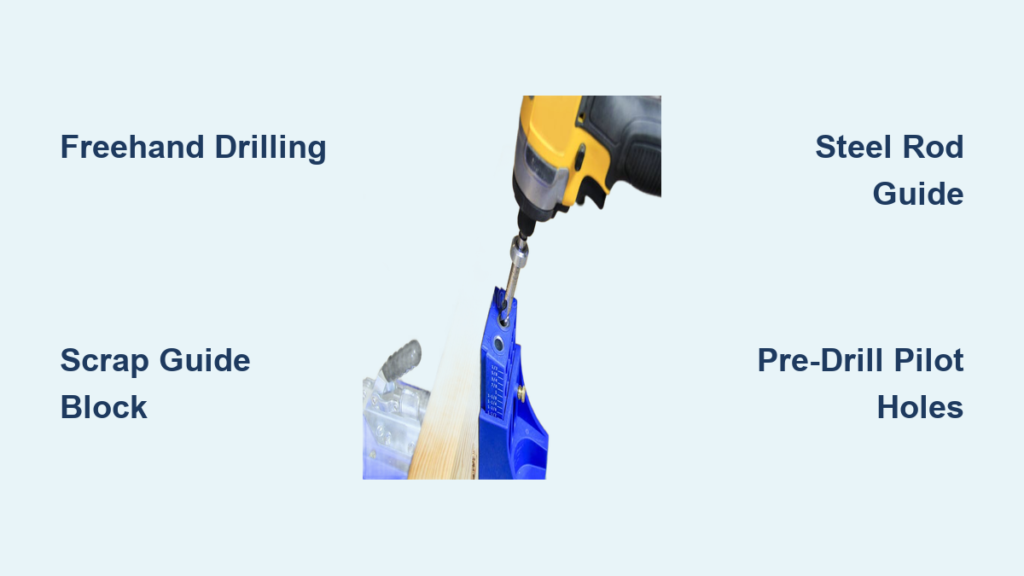
Freehand Angle Drilling: The One-Off Project Savior
When you need one pocket hole now, this method delivers with just a drill and angle guide. It’s ideal for emergency repairs or single joints but demands serious focus—drifting even 2 degrees off-angle weakens the joint significantly.
Critical Setup Steps to Avoid Drift
- Mark with Military Precision: Use a combination square to draw a 15-degree line from your drilling point toward the board edge. This isn’t optional—freehand guessing causes 90% of failed attempts.
- Build a Visual Barrier: Clamp a scrap block against your workpiece, aligning its edge with the 15-degree line. This block physically stops your drill bit from wandering toward the board edge.
- Drill in Two Stages: First, use a brad-point bit to create a clean pilot hole along the guide line (critical for hardwoods). Then switch to a 3/8″ Forstner bit for the counterbore. Drill slowly—forcing the bit causes tear-out.
Pro Safety Tip: Always clamp your workpiece to a bench. Hand-holding while drilling at an angle guarantees slippage and injury. Practice on pine scraps first to build muscle memory before tackling expensive hardwoods.
Scrap Wood Guide: The Zero-Cost Disposable Jig
This method turns scrap cutoffs into a precision guide for identical joints—perfect for building multiple cabinet frames. Unlike commercial jigs, it costs nothing and takes 90 seconds to make. The angled face forces your drill bit into perfect alignment every time.
Building Your Sacrificial Guide Block
- Cut the Critical Angle: Set your miter saw to 15 degrees and slice a 2″x2″ scrap block. The resulting angled face becomes your drill guide—no measurements needed.
- Clamp Like a Pro: Position the block so its angled face touches your marked drilling point. Add a second clamp across the block’s top to prevent rotation during drilling.
- Drill Through the Guide: Press your drill bit firmly against the block’s angled surface before triggering the drill. Let the bit penetrate 1/8″ into the workpiece to create a starter dimple—this prevents walking.
Hardwood Hack: If drilling red oak or maple, drill a pilot hole through the guide block itself first. This creates a perfect sleeve that guides both the pilot and counterbore bits, eliminating splitting risks.
Reusable Hardwood Guide Block: Your Permanent DIY Jig

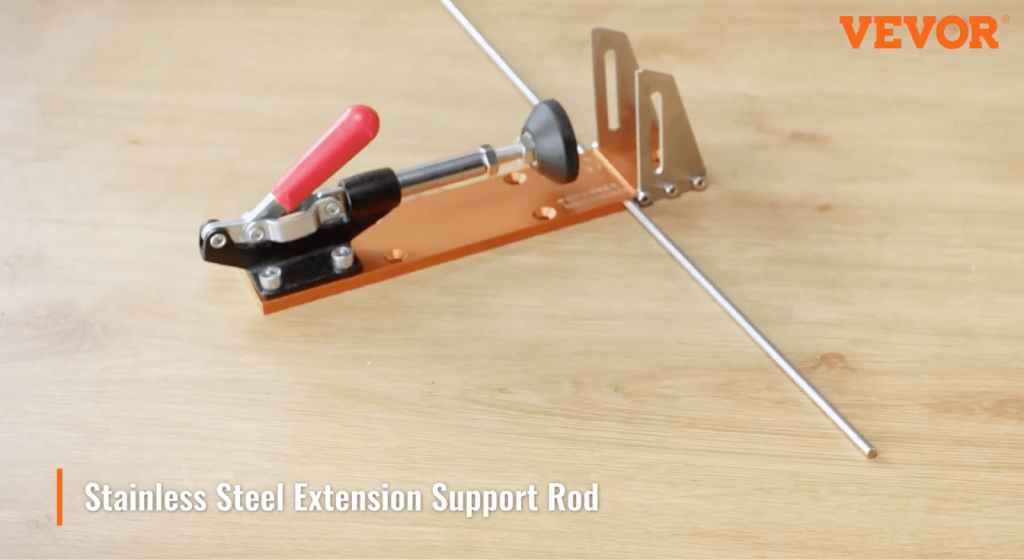
For workshop longevity, this hardwood block outperforms cheap jigs. The secret? A steel rod that maintains angle accuracy through hundreds of uses. It’s the goldilocks solution—more precise than freehand drilling but cheaper than commercial systems.
Construction That Beats Store-Bought Jigs
- Drill the Foundation Hole: Bore a straight 3/8″ hole through a 3″x3″x2″ hardwood block using a drill press for absolute perpendicularity.
- Cut the Magic Angle: Slice the block at 15 degrees along the hole’s centerline. This exposes the hole at the precise pocket hole angle.
- Insert the Steel Lifesaver: Slide a 6″ 3/8″ steel rod through the hole. The rod acts as a rigid guide—keep it inserted while drilling to prevent bit deflection.
Pro Tip: Wrap tape around the rod at 1-1/4″ from the end. This creates a depth stop for consistent pocket depth across multiple joints. Always pre-drill pilot holes in hardwoods before driving screws.
Drill Press Precision Method: Factory-Accurate Results
Own a drill press? This technique delivers Kreg-level consistency for batch production. Tilt your table or build a wedge sled—either achieves flawless repeatability for cabinet runs.
Setting Up Your Micro-Factory
- Build the Sled: Screw a 1/4″ plywood fence to an MDF base. Clamp workpieces against the fence for identical positioning.
- Angle the Attack: Tilt your drill press table to 15 degrees or place a 15-degree wedge under workpieces. Verify with a digital angle gauge—14 or 16 degrees compromises joint strength.
- Lock the Depth: Drill a test hole in scrap, then set the depth stop so the counterbore stops 1/8″ from the board face. Over-drilling causes screw heads to blow out.
Critical Check: After drilling 5 holes, inspect for tear-out on the exit side. If present, reduce drill speed by 30%—high RPMs shred end grain.
Steel-Sleeve DIY Jig: The Tinkerer’s Dream
For permanent jig-free drilling, embed a steel sleeve in hardwood. This eliminates wood wear in the guide hole, maintaining accuracy for years. Industrial-grade results for under $10.
Building Your Bulletproof Guide
- Drill and Angle: Create a 3/8″ hole through a hardwood block, then cut it at 15 degrees as in Method 3.
- Install the Sleeve: Epoxy a 1-1/2″ length of 3/8″ steel tubing into the angled hole. The sleeve must protrude 1/4″ past the block face.
- Test Rigorously: Drill through the sleeve into scrap wood. If the bit binds, sand the sleeve’s interior with 400-grit paper—burrs ruin accuracy.
Pro Insight: Use brass sleeves for non-marring guidance on finished surfaces. Always drive screws with a wax-coated bit—beeswax reduces torque by 40%, preventing cam-outs.
Screw Secrets That Prevent Splitting (Most Woodworkers Skip #3)
The hole is meaningless without perfect screw execution. These three non-negotiables make or break jig-free joints:
- Pre-Drill Pilot Holes Religiously: In red oak, maple, or hickory, skip this and splitting is inevitable. Use a 3/32″ bit for the screw’s shank diameter—only threads should grip the wood.
- Wax Every Screw Thread: Rub beeswax along the entire thread length. This reduces driving resistance so dramatically you’ll feel screws “float” into place, eliminating split-inducing torque.
- Stop Driving at Flush Depth: Overtightening cracks pocket holes. Set your drill’s clutch to 5 and stop when the screw head sits 1/16″ below the surface—no deeper.
Grain Rule You Must Memorize: Never drive screws parallel to the wood grain. Reposition your workpiece so screws enter across the grain. This single adjustment prevents 95% of hardwood splits.
Splitting Disasters & How to Fix Them
Even experts encounter splits—here’s how to recover:
- The Splitting Emergency Kit: Keep cyanoacrylate glue and baking soda nearby. Inject glue into the crack, sprinkle baking soda to thicken it, then clamp until set. The joint regains 80% strength.
- Screw Cam-Out Fix: If a screw head strips, back it out and fill the hole with a toothpick bundle dipped in glue. Let cure 2 hours, then redrill 1/8″ away from the original hole.
- Prevention Over Cure: For end-grain joints (like tabletop frames), abandon pocket holes entirely. Switch to floating tenons—pocket screws lack holding power here.
Pro Tip: Apply wood glue only to the mating faces—not inside pocket holes. The screw’s job is clamping force; glue creates the permanent bond. Wipe excess immediately to avoid messy squeeze-out.
Mastering jig-free pocket holes comes down to three non-negotiables: respect the grain direction, pre-drill religiously for hardwoods, and never skip screw lubrication. These methods prove you don’t need expensive tools for professional results—just precision in your angles and patience with pilot holes. Next time your jig’s missing, grab a scrap block and steel rod. You’ll finish stronger joints faster than waiting for a shipment, with the deep satisfaction of solving the problem with what’s already in your shop. Remember: the strongest joints aren’t made by tools, but by woodworkers who understand why each step matters.


