
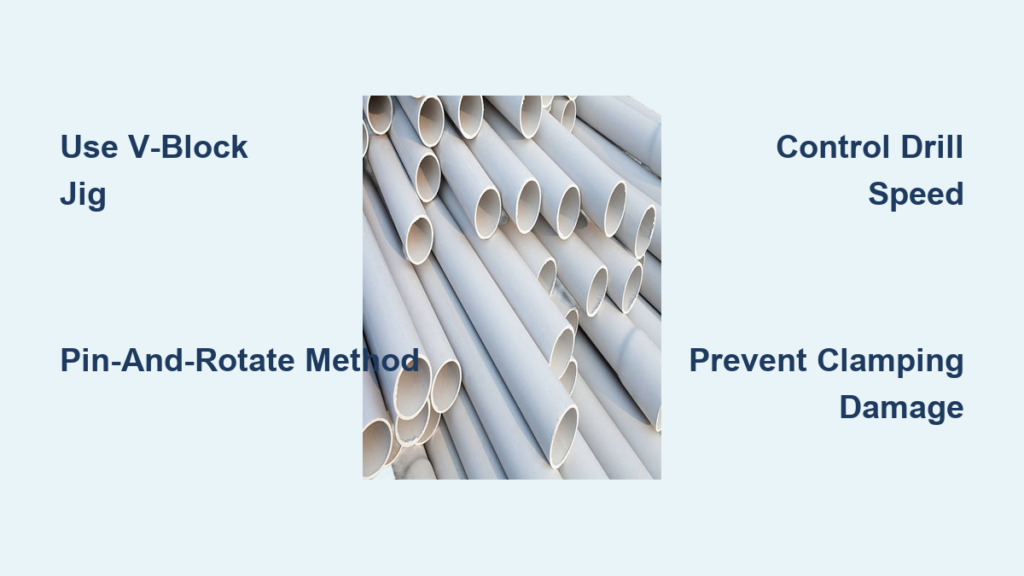
You’re elbow-deep in a plumbing repair or fabrication project, and suddenly hit a roadblock: drilling two holes precisely opposite each other on a 1.5″ PVC pipe. Every attempt results in misaligned holes that won’t accept your fittings properly. This frustrating challenge stems from PVC’s slippery cylindrical surface and tendency to flex under pressure—problems that defeat even experienced DIYers using freehand methods. Without a systematic approach, you’ll waste time re-drilling, risk cracking the pipe, and compromise your entire project’s integrity. This guide cuts through the confusion with three field-tested methods specifically designed for 1.5″ PVC pipe, including jig-based precision techniques and clever fixture-free alternatives that guarantee parallel holes every time.
Most failed attempts ignore how PVC behaves under drilling stress. Unlike metal, this thermoplastic softens at surprisingly low temperatures, causing drill bits to gum up and create melted, uneven holes. The curved surface also makes it nearly impossible to maintain 90-degree perpendicularity through both walls without slipping. Crucially, achieving true 180-degree opposition requires eliminating rotational movement during the second drilling operation—a challenge where even 2 degrees of slippage ruins alignment. By implementing the specialized techniques in this guide, you’ll overcome these material-specific hurdles while avoiding common pitfalls like PVC deformation or chipped exit holes. You’ll learn exactly how to mark centers, select optimal drill speeds, and secure the pipe without crushing it—transforming a frustrating task into a repeatable process.
Why PVC Pipe Holes Misalign Without Precision Fixturing
PVC’s physical properties create unique drilling challenges that defeat standard approaches. At just 40 PSI of clamping pressure, 1.5″ Schedule 40 PVC begins deforming—a critical factor most DIYers overlook when securing pipes in metal vises. This slight crushing alters the pipe’s geometry, making true parallel holes impossible even with perfect initial markings. Simultaneously, the smooth, low-friction surface causes drill bits to “walk” on contact, especially with standard twist bits lacking positive centering points.
How Drill Heat Ruins PVC Hole Quality
Running your drill press above 600 RPM generates enough heat to soften PVC within seconds. This causes two critical failures: melted material clogs the drill flutes (creating gummy, oversized holes), and the softened plastic deflects under bit pressure, resulting in non-perpendicular holes. Always use a backer board of scrap wood behind the drilling point—this simple step prevents exit-side chipping by supporting the PVC as the bit breaks through.
Rotational Slippage: The Hidden Alignment Killer
When rotating the pipe 180 degrees for the second hole, even 1/16″ of unintended movement creates noticeable misalignment. This occurs because most clamping methods only contact 40-60 degrees of the pipe’s circumference, allowing micro-rotation under drill pressure. Solutions must immobilize the pipe across at least 120 degrees of its surface—a requirement met only by specialized fixturing or alignment pins.
Build a V-Block Jig for Perfect 180-Degree Hole Alignment

This method delivers professional results using shop-made components you can construct in 30 minutes. The extended V-block (12-18″ long for 2″ workpieces) cradles the pipe across its entire length, preventing rotation while allowing precise 180-degree indexing.
Constructing Your Drill Guide System
Mill or clamp two aluminum blocks into a 90-degree V-groove that spans 150% of your pipe’s diameter. Attach this assembly to your drill press table. Fabricate a top clamping block from Delrin plastic with pre-drilled bushing holes sized 0.001-0.002″ larger than your drill bit. Crucially, add spacer bars between clamping points to distribute pressure evenly—this prevents the 40 PSI deformation threshold from being exceeded.
Drilling Process: Rotate Without Relocating
Place the PVC pipe in the V-block against your end stop. Clamp securely with the top block, ensuring the drill bushings align vertically. Drill completely through both walls. Without moving the pipe, rotate the entire assembly 180 degrees in the V-block (the groove ensures perfect realignment). Re-clamp and drill the opposing hole using the same bushing. For multiple hole sets, slide the pipe forward and use alignment pins inserted through the first holes to register the next position.
Pin Registration Method for Multiple Hole Sets (No Measurements Needed)
When drilling consecutive parallel hole pairs along the pipe’s length, this foolproof system eliminates measurement errors. It leverages existing holes as physical registration points—ensuring perfect parallelism between sets.
Setting Up the Alignment Pin System
Create a base jig with a V-groove and adjustable end stop. The top clamping plate requires hardened steel bushings (4140 steel recommended) pressed into Delrin wear plates. Drill your first hole pair through both pipe walls. Immediately insert tight-fitting 1/8″ drill rod pins (ground to 0.0005″ tolerance) through these holes before removing the pipe.
Drilling Consecutive Hole Sets in Seconds
Slide the pipe forward until the registration pins contact your next positioning block. The pins physically prevent rotational error while the V-block maintains longitudinal alignment. Clamp and drill—the new holes will be perfectly parallel to the first set without any measurements. This method achieves ±0.005″ hole-to-hole accuracy at 1-2 minutes per set, making it ideal for railing brackets or conduit supports requiring multiple aligned penetrations.
Fixture-Free Technique: The Pin-and-Rotate Method
For one-off repairs without jig materials, this clever approach uses the first hole as your alignment reference. It requires only basic workshop tools but demands meticulous execution.
Step-by-Step Execution for Single Hole Sets
Mark both hole centers using the pipe’s longitudinal seam as your reference line. Clamp the pipe vertically in a vise with soft jaws, applying minimal pressure (test by trying to rotate the pipe with your fingers—it shouldn’t budge). Drill completely through both walls using a brad-point bit at 500 RPM. Immediately insert a snug-fitting pin (a 3/16″ hex key with one end ground smooth works perfectly) through the hole.
Critical Rotation Technique
While keeping the pin firmly inserted, rotate the entire pipe assembly 180 degrees—do not remove the pin. The exposed pin end serves as your rotation gauge; when it points directly downward, you’ve achieved perfect 180-degree alignment. Re-clamp without moving the pin, then drill the second hole. The pin physically blocks rotational error during repositioning, solving the core challenge of freehand methods.
Optimal Drill Settings to Prevent PVC Melting and Chipping
PVC requires radically different parameters than wood or metal. Standard drilling practices will destroy hole quality through heat buildup and material deflection.
Speed and Feed Rate Cheat Sheet
| Hole Diameter | Max RPM | Feed Rate | Coolant Required |
|---|---|---|---|
| 1/4″ | 600 | Slow, steady | Water spray |
| 3/8″ | 500 | Peck drilling | Cutting oil |
| 1/2″ | 400 | 0.25″ increments | Mandatory |
Always use brad-point bits with 118-degree points—they cut cleanly without grabbing. For holes larger than 1/4″, drill a 1/8″ pilot hole first to prevent bit deflection. Peck drilling is non-negotiable: retract the bit every 1/4″ to clear chips and allow cooling. Apply cutting oil or a water spray to dissipate heat—the “gummy hole” problem disappears when PVC stays below 140°F.
Verify Parallelism with These 3 Field-Tested Checks
Never assume your holes are aligned—verify before assembly. These methods detect errors invisible to the naked eye.
Pin Gauge Test for Immediate Feedback
Insert snug-fitting pins through both holes. If the pins slide through freely without binding, your holes are parallel within 0.005″. If they bind at either end, you have angular misalignment. This takes 10 seconds and requires only drill rod scraps.
Dial Indicator Method for Critical Applications
Mount a dial indicator on your drill press table. Insert a precision pin through one hole and rotate it slowly. Runout exceeding 0.002″ indicates perpendicularity errors. While this requires specialty tools, it’s essential for hydraulic or pneumatic systems where misalignment causes seal failure.
Fixing Common PVC Drilling Disasters
When Holes Aren’t 180 Degrees Apart
This almost always stems from rotational slippage during repositioning. Solution: Always use the pin-and-rotate method—never rely on visual estimation. Mark the pipe’s top-dead-center with a scribe line before drilling the first hole, then match this mark to a fixed reference point during rotation.
Stopping PVC Deformation from Clamping
If your pipe shows flat spots after drilling, you’ve exceeded PVC’s crush limit. Solution: Replace metal vise jaws with U-shaped wooden blocks that cradle 120+ degrees of the pipe circumference. Wrap the pipe in 1/16″ rubber sheeting before clamping—this distributes pressure while adding grip.
Mastering parallel hole drilling in PVC transforms frustrating projects into precision work. By implementing the V-block jig for repetitive tasks or the pin-and-rotate method for quick repairs, you’ll achieve perfect alignment without expensive equipment. Remember the critical triad: secure immobilization across 120+ degrees of pipe circumference, RPM settings below 600, and physical rotation references instead of visual estimation. For immediate success, start with the pin-and-rotate technique using a ground hex key as your alignment pin—it solves 90% of one-off alignment problems. Once you’ve drilled your first perfect pair of parallel holes, you’ll never attempt freehand drilling on PVC again.


