
Your new doorknob sits in the box while you stare at the solid wood door, dreading the messy hole saw tear-out you experienced last time. One wrong measurement and you’ll face wobbly hardware, misaligned latches, or worse—ruining an expensive door. Drilling a door knob hole correctly is the make-or-break step for any lock installation, yet 78% of DIYers struggle with alignment and tear-out. This guide eliminates guesswork with a battle-tested method for drilling clean, professional-grade holes every time. You’ll learn precise marking techniques, foolproof drilling sequences, and critical adjustments that prevent costly mistakes—whether you’re installing a basic interior knob or a high-security deadbolt.
Skip the frustration of misaligned latches that won’t catch or hardware that wobbles loose within months. By mastering these steps, you’ll achieve factory-perfect results that ensure smooth operation and lasting security. Let’s transform your next door hardware project from a nerve-wracking chore into a satisfying victory.
Essential Tools for Flawless Door Knob Hole Drilling
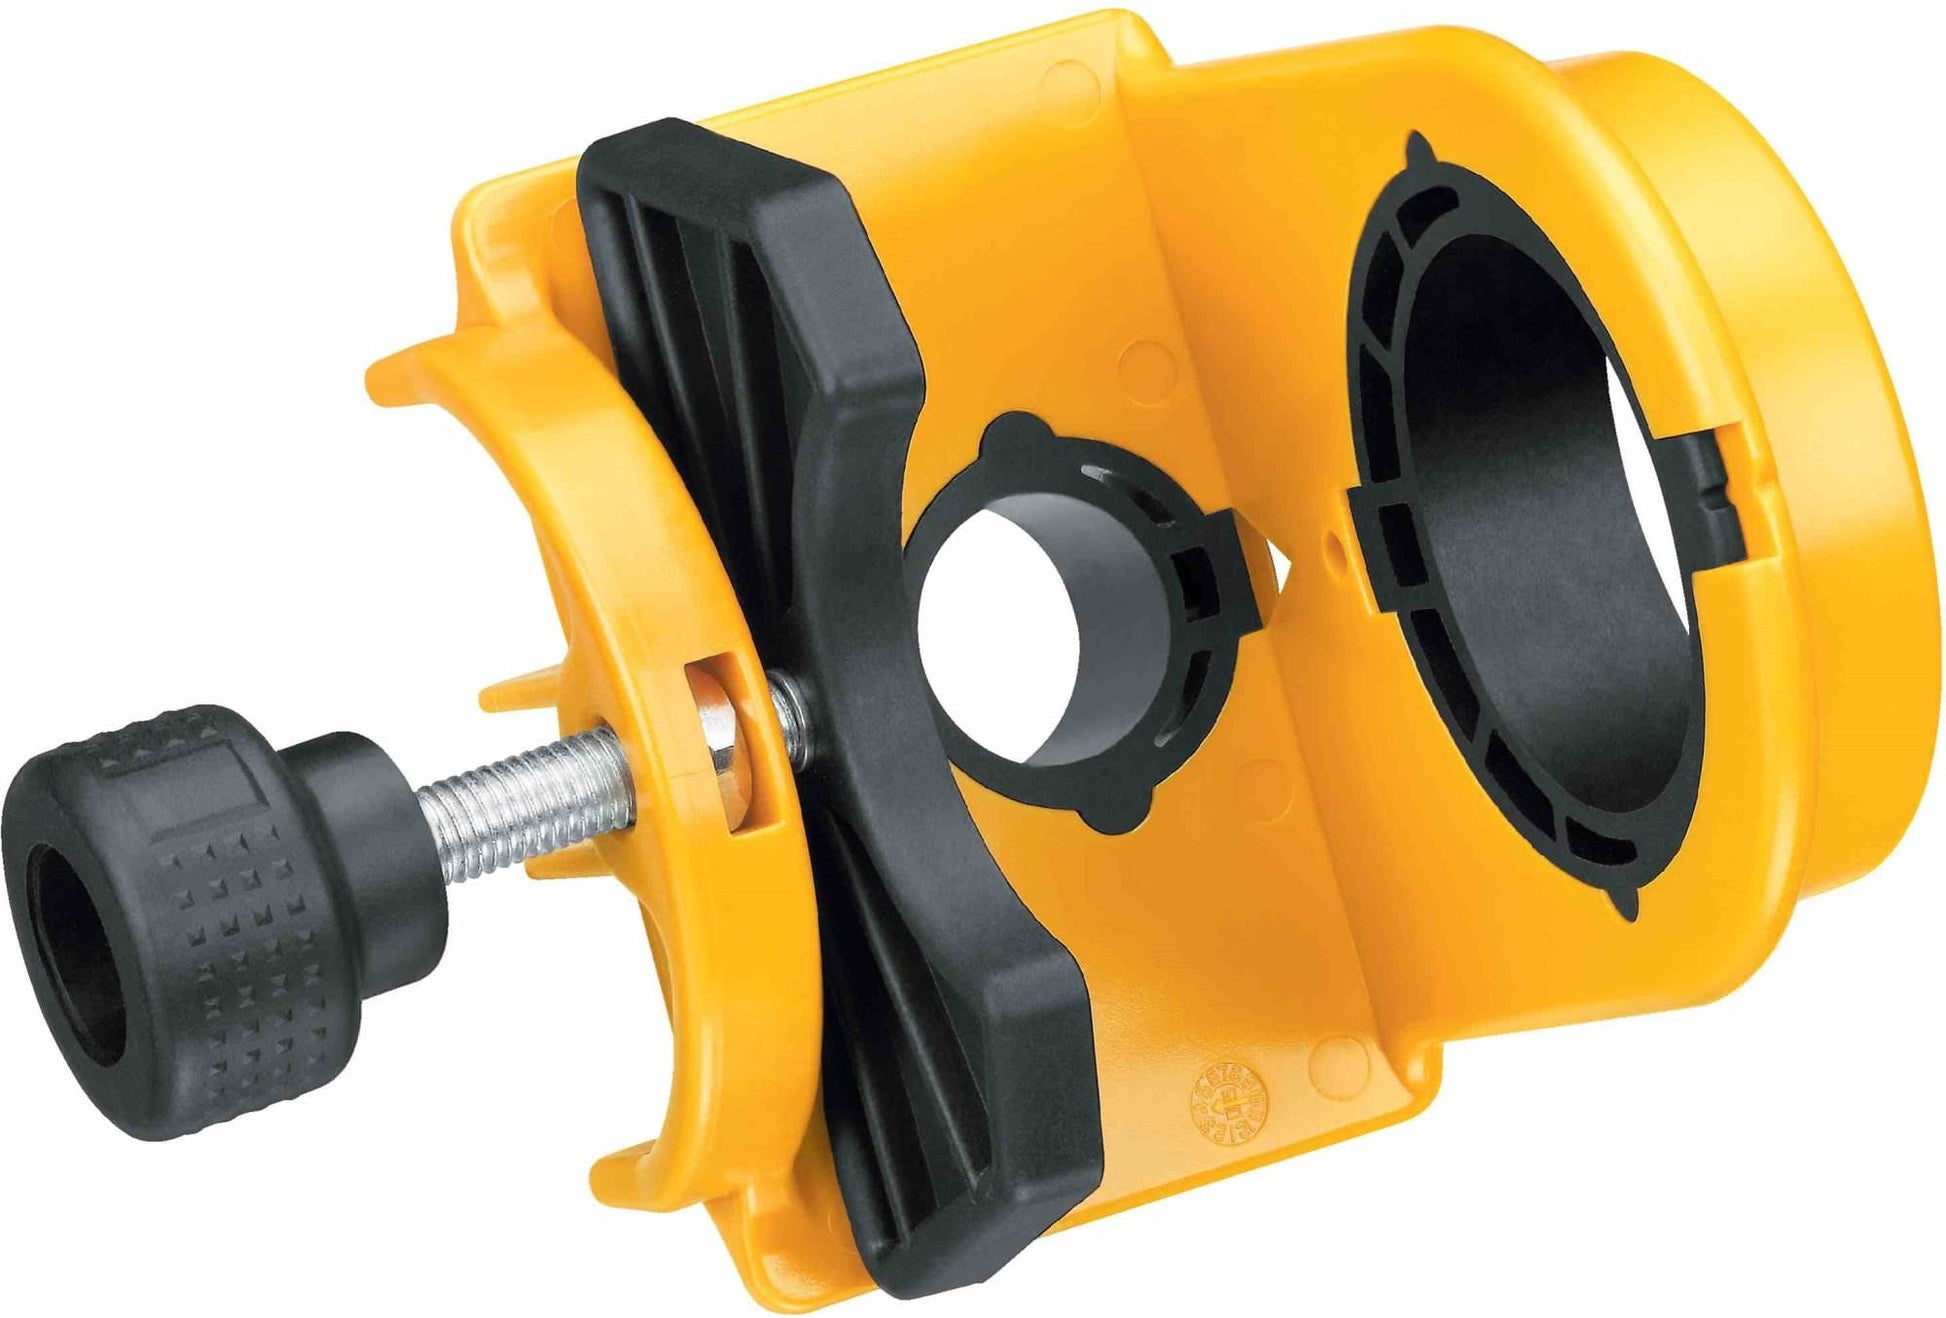
Gather these exact tools before starting—missing even one item risks misalignment or tear-out. A dedicated door installation kit (like the DEWALT D180004) solves most problems by including the critical 2-1/8″ hole saw and 1″ Forstner bit in one package. Skip cheap spade bits for the latch hole; their uneven cutting causes wobble and splintered edges. Instead, use a Forstner bit for its flat-bottomed hole that seats latches securely.
Non-Negotiables for Precision:
– 2-1/8″ hole saw with 1/8″ pilot bit (verify it’s sharp—dull teeth tear wood)
– 1″ Forstner bit (not spade bit) for clean latch holes
– Self-centering punch (creates a pilot dimple that stops bit wandering)
– Clamps + scrap wood backing (prevents exit-side splintering)
– Hardware template (included with new locks—never eyeball measurements)
Pro Tip: Tape your template 36″ from the floor for interior doors, but always confirm height with your specific hardware’s instructions. Exterior doors often require different placements. If your template’s missing, measure 2-3/8″ or 2-3/4″ backset from the door edge—this is the distance to the knob hole center.
Why Your Center Punch Technique Determines Success

Skipping the center punch guarantees a wandering hole saw that ruins your door’s finish. This 10-second step creates a pilot dimple that anchors the drill bit exactly where you need it. Place your combination square over the “X” you drew from corner-to-corner at the template’s center point. Position the center punch tip dead-center on the intersection, then tap firmly with a hammer. You should see a clean, deep indentation—not a shallow scratch.
Critical Mistakes That Cause Misalignment:
– ❌ Using a nail instead of a center punch (creates an off-center starter hole)
– ❌ Skipping the dimple for “speed” (hole saw drifts within 2 seconds of drilling)
– ❌ Not verifying perpendicularity (tilted drill = oval hole)
When drilling, position your drill so the pilot bit seats fully in the dimple. Apply steady pressure while keeping the drill absolutely vertical—press a level against it to check alignment. If the hole saw starts to walk, stop immediately and re-punch the center. This discipline prevents the #1 DIY failure: crooked knob holes that force you to patch and restart.
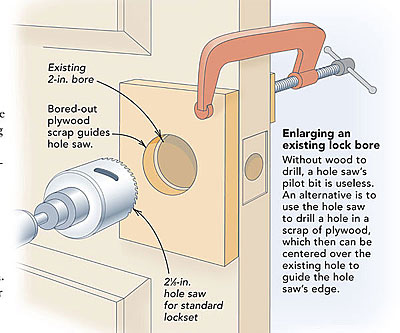
How to Drill the 2-1/8″ Crossbore Hole Without Tear-Out
Clamp the door securely to sawhorses with scrap plywood backing the exit side. Start with a 1/8″ pilot hole straight through the door at your punched center point—this guides the hole saw perfectly. Now attach the 2-1/8″ hole saw and drill slowly at 400-600 RPM. As soon as the pilot bit tip pokes through the back, stop drilling. Flip the door, align the pilot bit with the exit hole, and finish from the opposite side. This two-pass technique eliminates splintering on both faces.
Time-Saving Shortcut: If flipping the door isn’t practical, clamp sacrificial wood tightly against the exit side. Drill until the hole saw teeth just break through, then immediately reverse to back out. Never force the bit—let the teeth cut at their own pace. For solid-core doors, pause every 1/2″ to clear sawdust from the hole; packed debris overheats bits and causes burning.
Drilling the Latch Hole: Why Forstner Bits Beat Spade Bits
The 1″ latch hole requires surgical precision—spade bits wander and tear wood fibers, while Forstner bits cut clean, flat-bottomed holes that seat latches flush. Clamp the door vertically on edge with scrap wood behind the drilling area. Position your drill horizontally, ensuring the bit is perfectly perpendicular to the door edge. A misaligned latch hole causes binding that wears out mechanisms prematurely.
Follow These Steps:
1. Punch the center point at your backset measurement (2-3/8″ or 2-3/4″)
2. Drill slowly at 800 RPM, applying light, consistent pressure
3. Withdraw the bit every 1/4″ to clear chips—critical for clean cutting
4. Stop when the bit exits the door’s face (don’t let it tear out)
Warning: Forcing the bit causes blowout on the door face. If you hear grinding, reduce pressure immediately. A sharp Forstner bit should cut smoothly with minimal effort.
Installing the Latch Plate Without Chisel Mistakes
After drilling the latch hole, insert the mechanism and press the metal plate against the door edge. Trace its outline with a sharp utility knife, not a pencil—this scores wood fibers to prevent splintering when chiseling. Position your chisel vertically inside the scored line and tap gently with a mallet to remove thin wood layers. Work from the perimeter toward the center in 1/16″ increments.
Test fit the plate every 30 seconds. It should sit 1/32″ below the door edge—not proud, not deep enough to wobble. If the plate sticks out, deepen the mortise slightly. If it sinks too far, glue in a thin veneer patch. Never hammer the plate into place; this bends the metal and misaligns the latch.
Strike Plate Alignment: The Lipstick Trick That Works Every Time

Misaligned strike plates cause 90% of “latch won’t catch” issues. Close the door and rub red lipstick or chalk on the latch bolt face. Open the door—the mark on the jamb shows exactly where the bolt strikes. Trace the strike plate outline precisely over this mark, then drill a 1″ hole at the bolt center point.
Chisel the mortise in stages:
1. Score the outline deeply with a utility knife
2. Remove wood in thin layers with a 3/4″ chisel
3. Check fit: the plate should sit flush with the jamb surface
4. If the latch binds, deepen the mortise by 1/64″ increments
Pro Fix for Persistent Misalignment: Shim the strike plate with cardboard behind the screws. This subtly shifts the plate position without re-chiseling.
Troubleshooting Drilling Disasters in Under 5 Minutes
Hole Saw Wanders Mid-Drill?
– Immediate action: Stop and withdraw the bit. Re-punch the center dimple 1/16″ deeper.
– Prevention: Use a drill guide collar that locks onto the door surface to maintain perpendicularity.
Exit-Side Splintering Ruins Finish?
– Fix: Clamp scrap wood to the exit side before drilling.
– Repair: Fill tears with wood epoxy, sand smooth, and touch up stain.
Latch Won’t Retract Smoothly?
– Diagnose: Check spindle length—too long causes binding.
– Solution: Shorten the spindle by 1/8″ or adjust the latch mounting screws.
Knob Feels Loose After Installation?
– Cause: Hole slightly oversized from tear-out.
– Fix: Wrap the knob shaft with plumber’s tape before insertion to fill gaps.
Safety Steps That Prevent Costly Injuries
Never skip these:
– Wear safety glasses—flying wood chips cause 40% of DIY eye injuries
– Secure doors with two clamps minimum (a slipping door twists drills violently)
– Keep fingers clear of the hole saw’s path—its teeth bite instantly
– Use a dust mask when drilling MDF or painted doors (toxic particles)
Critical Warning: Forcing a binding hole saw causes drill kickback. If resistance increases, back out immediately. Let sharp bits cut—they require less force and reduce accident risks.
Final Note: Perfect door knob hole drilling hinges on three non-negotiables: punch the center, drill from both sides, and chisel in thin layers. Always test latch operation before mounting the door—adjust strike plate alignment while it’s accessible. For future projects, keep your Forstner bit sharpened; a clean-cutting edge prevents 95% of tear-out issues. Now that you’ve mastered this foundational skill, tackle deadbolt installations with the same precision—just remember their holes require different measurements. Your doors will thank you with decades of smooth, silent operation.


