That shattered ceramic tile isn’t your fault—it’s your drill bit’s. Using the wrong type shreds wood fibers, overheats metal, and turns concrete into rubble. Most DIYers grab whatever’s in their kit, wasting hours on tear-out holes and broken bits. This guide cuts through the confusion with exact drill bit types for wood, metal, masonry, glass, and specialty materials. You’ll learn which bits prevent splintering in hardwood, slice through stainless steel without burning out, and drill tile without cracking—and why your current “all-purpose” bit is sabotaging your work.
Wood Drill Bits That Prevent Splintering and Tear-Out
Drilling wood seems simple until your hole exits like a jagged wound. Standard twist bits wander and rip fibers, but these specialized types deliver clean, precise holes every time.
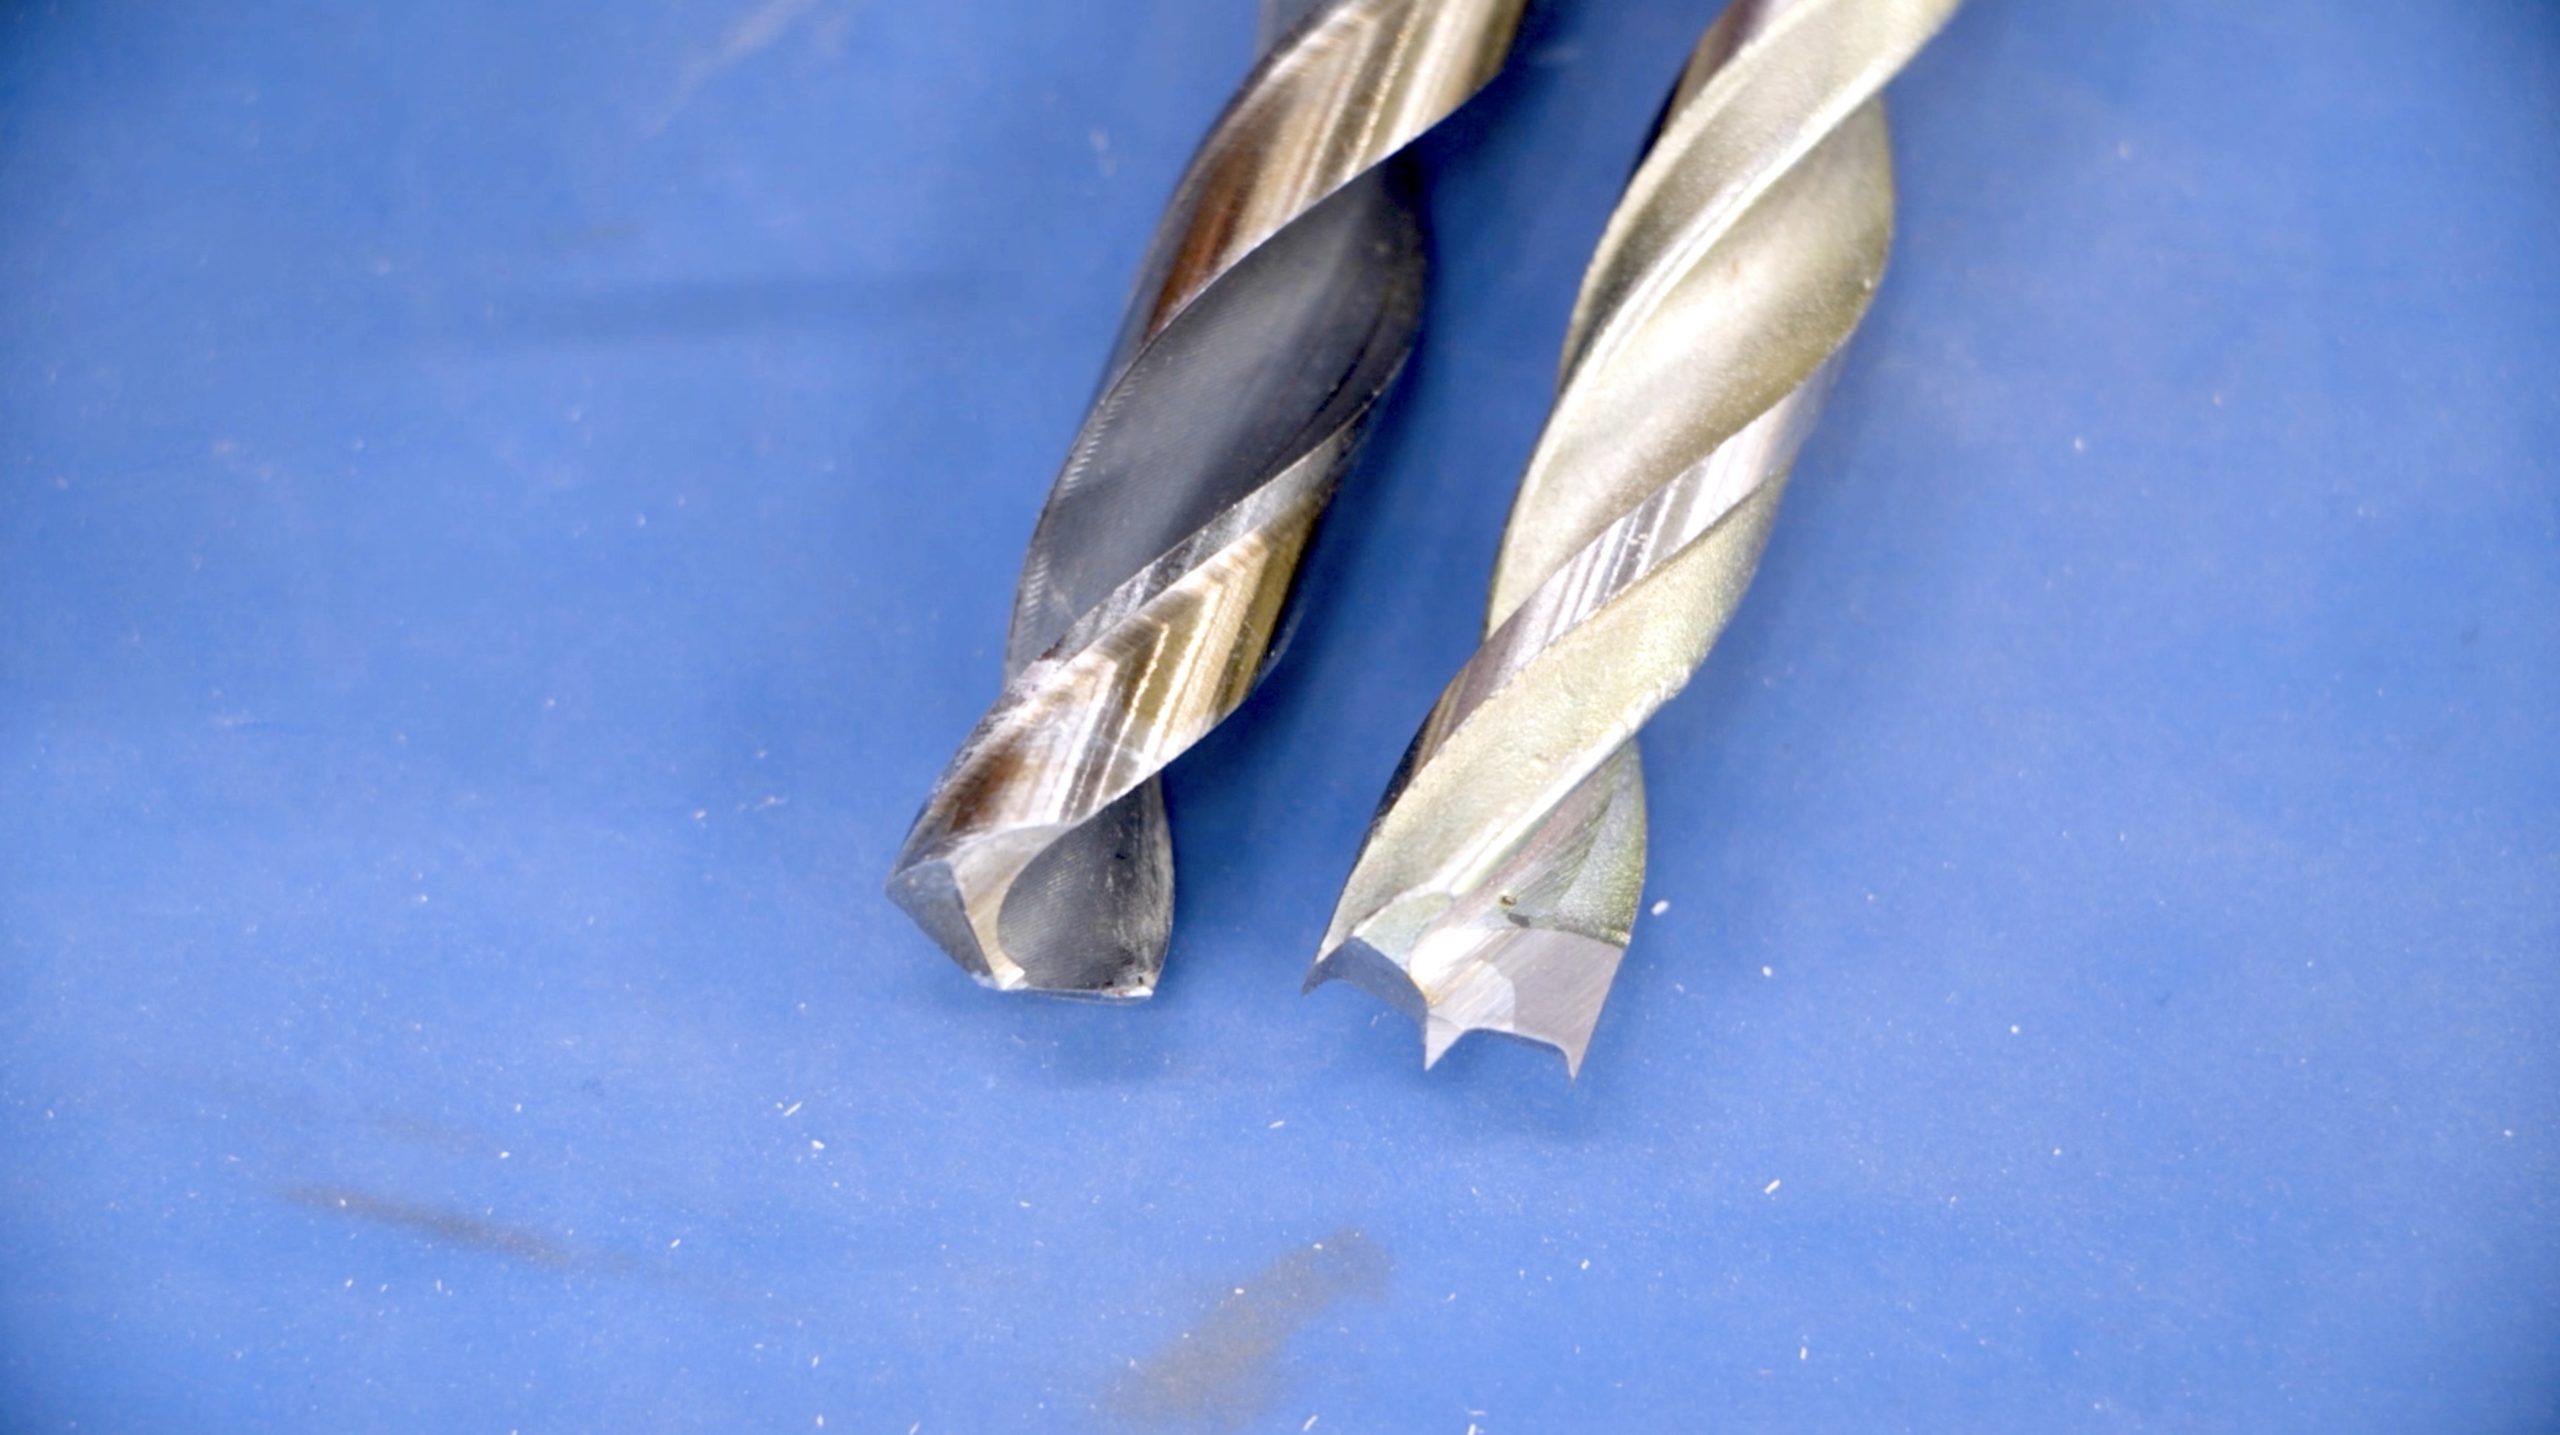
Why Brad-Point Bits Create Perfect Dowel Holes in Hardwood
Brad-point bits feature a sharp, threaded center spur that anchors the bit before cutting begins. Two outer spurs score the wood perimeter, preventing splintering as the main cutters engage. This triple-action design is why cabinetmakers swear by them for fine furniture. Use them for drilling 1/8″ to 1/2″ holes in oak, maple, or cherry—especially for dowel joints where misaligned holes ruin the fit. Critical tip: Start at 800-1,200 RPM with light pressure. The center spur will pull the bit smoothly; forcing it causes burning.
Spade Bits for Fast, Large Holes in Framing Lumber (Without Blowout)
Spade bits (or paddle bits) have a flat blade with a central point and two cutting edges. They’re the fastest way to drill 3/4″ to 1-1/2″ holes in 2x4s for wiring or plumbing. But here’s what most miss: start at a 45-degree angle to carve a clean entry groove before drilling straight. This prevents the bit from “grabbing” and splintering the wood surface. Use medium speed (600-900 RPM) and back the bit out every inch to clear chips—clogged flutes cause tear-out on the exit side.
Forstner Bits for Flat-Bottomed Holes in Cabinet Doors
When you need a recess for a concealed hinge or inlay, Forstner bits are non-negotiable. Their circular rim scores the wood first, while radial cutters shave the interior to create perfectly flat, smooth-walled holes. They work for overlapping holes (impossible with other bits) and drilling near edges without breakout. Warning: Always use a drill press or guide block. Handheld drills wobble, causing uneven bases. Drill at 400-600 RPM with steady pressure—rushing creates burn marks on the hole bottom.
Metal Drill Bits That Won’t Overheat or Break in Steel
Metal punishes dull or wrong-speed bits instantly. You’ll smell burning, see blue discoloration, or snap a bit mid-drill. These types solve that with heat-resistant materials and precise geometry.
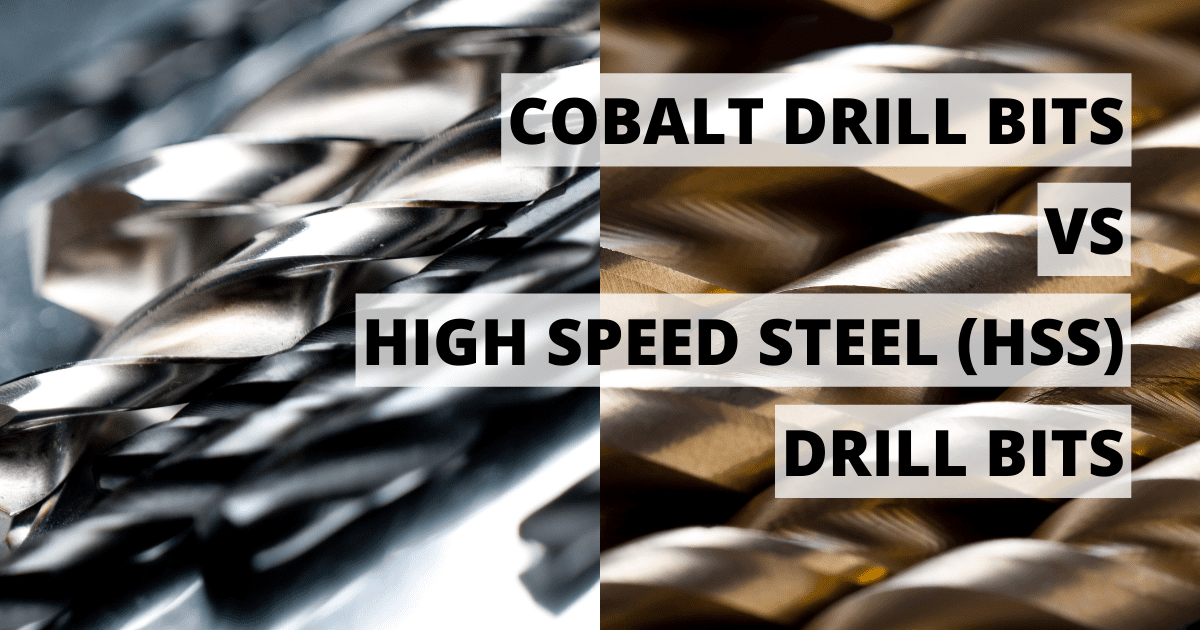
Cobalt Drill Bits for Stainless Steel That Resist Heat Buildup
Standard HSS bits turn soft and dull when drilling stainless steel—its gummy nature generates extreme heat. Cobalt bits (HSS-Co) contain 5-8% cobalt, raising their heat resistance to 1,100°F. They maintain sharpness 3x longer than HSS in stainless, aluminum, or cast iron. Pro move: Drill at 150-300 RPM with cutting fluid. Too fast = heat; too slow = work hardening. Start with a 1/8″ pilot hole to guide the bit—stainless deflects easily.
Step Drill Bits That Drill Multiple Sizes in Sheet Metal Without Burrs
Step bits (Unibits) have conical steps, each a different diameter (e.g., 1/8″ to 1/2″). They drill clean, deburred holes in thin metal (up to 1/8″ thick) without changing bits. Perfect for electrical boxes or HVAC ducts. Key technique: Apply oil, drill at 300-500 RPM, and stop when the step reaches the metal surface. Pushing deeper cracks the bit. Never use on thick steel—the steps will shatter.
Why Countersink Bits Create Flush Screw Heads in Metal Projects
Countersink bits combine a drill bit with a tapered cutter (usually 82° or 100°). They drill the pilot hole and create the conical recess for flat-head screws in one pass—critical for metal brackets or machinery. Match the angle to your screw (e.g., 82° for drywall screws). Avoid this mistake: Using a wood countersink on metal—it dulls instantly. Metal-specific versions have carbide tips.
Concrete Drill Bits That Actually Penetrate Reinforced Slab
Hammer drills alone won’t cut it in concrete. Wrong bits bounce off rebar or overheat in granite. These types combine carbide hardness with hammer-action efficiency.
SDS-Max Drill Bits for Breaking Through Rebar in Concrete
Standard masonry bits fail when hitting rebar. SDS-Max bits have a thick carbide tip and a specialized shank that locks into rotary hammers for maximum impact force. They pulverize concrete and slice through steel reinforcement. Non-negotiable steps: Use “hammer + rotation” mode (never rotation-only), drill at 200-400 RPM, and clear dust every 2 inches with a shop vac. Dust clogs flutes, causing overheating and bit failure.
Why Diamond-Tipped Drill Bits Are Essential for Tile and Glass
Glass and tile shatter under standard bits. Diamond-tipped bits have industrial diamond grit bonded to the tip, grinding—not cutting—the material. Critical setup: Use a drill press or low-speed handheld drill (100-200 RPM) with constant water drip. Dry drilling creates heat cracks. Start at a 45-degree angle to score a groove, then drill straight with feather-light pressure. Never engage hammer mode—it vibrates the brittle material apart.
Specialty Drill Bits for Uncommon Materials and Tasks

When projects involve granite countertops or hidden hardware, generic bits fail. These solve niche problems with surgical precision.
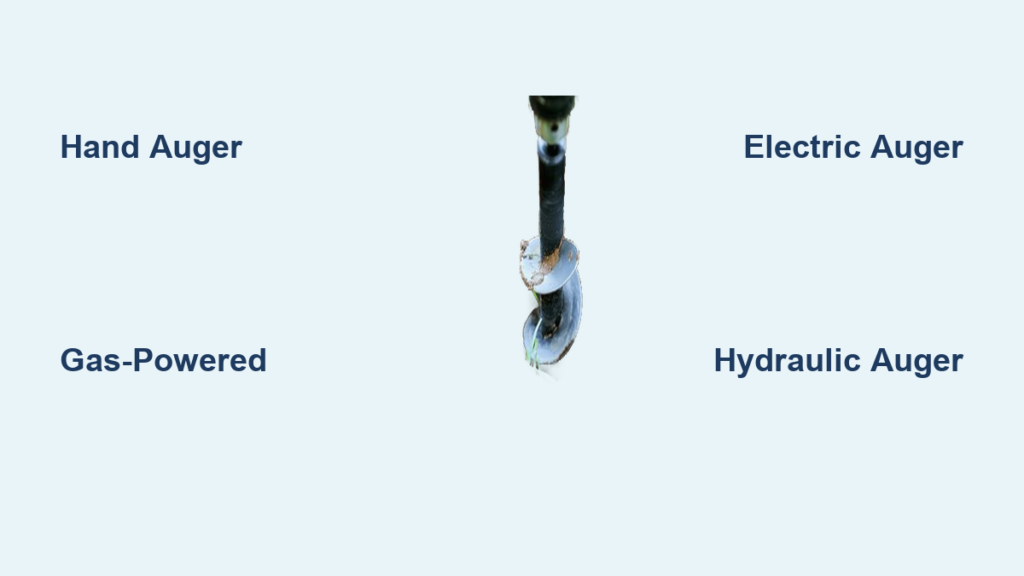
Auger Bits for Deep, Straight Holes in Structural Timber
Auger bits feature a screw-tip lead that pulls the bit into wood, ideal for drilling 12″+ deep holes in beams for wiring. Their aggressive flutes eject chips efficiently, preventing clogging. Use them when: Running conduit through floor joists. Drill at 300-500 RPM—too fast causes burning, too slow stalls the screw tip. Warning: Never use on plywood—the lead screw will tear veneers.
Multi-Material Drill Bits That Handle Wood, Metal, and Plastic (With Limits)
Some “universal” bits (like titanium-coated HSS) claim to drill everything. They work acceptably in softwoods, aluminum, and PVC—but fail in stainless steel or concrete. Only use them for: Light-duty tasks like assembling furniture with mixed materials. Stop immediately if: The bit smokes (metal) or deflects (hardwood). They’re a compromise, not a solution.
How to Match Drill Bits to Your Material in 30 Seconds
Stop guessing. Use this decision tree before drilling:
-
What’s your material?
→ Wood: Brad-point (precision) or spade (large holes)
→ Metal: Cobalt (stainless) or step bit (sheet metal)
→ Concrete: SDS-Max with rotary hammer
→ Tile/Glass: Diamond-tipped with water cooling -
What hole depth/size do you need?
→ Shallow (<1″): Twist or step bits
→ Deep (>2″): Auger (wood) or SDS (concrete)
→ Flat-bottomed: Forstner -
Check your drill settings:
→ Wood: High speed (1,500+ RPM), light pressure
→ Metal: Low speed (300 RPM), firm pressure + cutting fluid
→ Concrete: Low speed (400 RPM), hammer mode, clear dust often
Critical Drill Bit Safety Mistakes That Cause Injuries
Wrong bits create dangerous situations. Avoid these:
- Forcing a dull bit: Causes sudden “grabbing,” twisting the drill from your hands. Fix: Replace bits showing blue discoloration or rounded tips.
- Using masonry bits in rotation-only mode: The bit overheats and shatters. Fix: Always engage hammer action for concrete.
- Drilling tile without water: Heat buildup cracks the tile. Fix: Use a spray bottle or sponge to keep the area wet.
- Ignoring chuck tightness: A loose bit wobbles, creating oval holes. Fix: Tighten the chuck until it clicks—no finger-slippage.
When to Upgrade From Basic Drill Bits
Start with a quality HSS twist bit set for wood and soft metals. Then add these as projects demand:
– Brad-point set ($15): For furniture or cabinetry
– Cobalt step bit ($12): For metal electrical work
– Diamond-tipped glass bit ($8): For tile backsplashes
– Forstner bit ($20): For hinge recesses
Pro maintenance tip: Store bits in a labeled case. Tossed-in-a-drawer bits dull from contact with other tools. Clean metal bits with acetone after use to remove cutting fluid residue.
Conclusion: Stop Wasting Time on Ruined Materials
Your drill bit choice makes or breaks the project. A brad-point bit prevents hardwood splintering, cobalt handles stainless steel without burning, and diamond-tipped bits drill tile crack-free. Ditch the “one bit fits all” myth—invest in three specialized sets: wood precision, metal heat-resistant, and masonry impact-ready. Always match speed to material (high for wood, low for metal), use coolant where needed, and replace bits at the first sign of dulling. Next time you drill, you’ll get clean, professional holes on the first try—no more ruined tiles, torn wood edges, or broken bits. Start with a $20 brad-point set for your next furniture project, and feel the difference precision makes.