
You’re holding a framed photo, a sleek shelf, or maybe your kid’s latest artwork, ready to hang it perfectly on the wall. But there’s a problem: no stud where you need it, and worse—no drill in sight. Don’t panic. Installing plastic anchors without a drill isn’t just possible; it’s surprisingly simple with the right techniques. You’ll discover how to create secure mounting points using only household items like hammers, screwdrivers, and even a lighter. By the end of this guide, you’ll confidently install anchors for everything from lightweight picture frames to 40-pound mirrors—all without plugging in a single power tool.
This isn’t about makeshift hacks that fail under pressure. We’re diving into battle-tested methods that leverage physics and smart anchor selection to create reliable holds in drywall, plaster, and hollow walls. Forget the frustration of stripped holes or spinning anchors. You’ll learn exactly how to choose the right plastic anchor for your weight load, create clean pilot holes without power tools, and troubleshoot common issues on the spot. Whether you’re a complete DIY novice or a seasoned handyman without access to your toolbox, these techniques deliver professional results with minimal effort.
Essential Tools for Drill-Free Anchor Installation
You don’t need a workshop full of gear—just five items you likely already own. A claw hammer with a smooth face prevents wall damage during tapping, while a sturdy Phillips screwdriver (size #2) serves double duty for reaming holes and installing self-drilling anchors. Crucially, select plastic anchors specifically designed for your weight class: standard expansion anchors for light loads (up to 20 lbs) or self-drilling variants for medium-duty projects (20-40 lbs). A small finishing nail or awl creates precise starter holes, and painter’s tape marks your spot cleanly without damaging wall surfaces. Skip the stud finder if you’re in a pinch—use the “knock test” method instead: tap the wall with your knuckle; hollow sounds indicate drywall while solid thuds mean studs.
Critical tool tip: Use a screwdriver with a hex-shaped shank, not just a flat handle. This provides better torque control when twisting anchors into place—vital for preventing wall damage during installation.
Selecting the Right Plastic Anchor for Your Weight Load

Choosing the wrong anchor guarantees failure, so match your anchor to the exact weight you’re hanging. For lightweight items like photo frames or small mirrors (under 20 lbs), standard plastic expansion anchors (1/8″ diameter) work perfectly—they expand against drywall when you drive in the screw. Medium-duty projects like floating shelves or heavier mirrors (20-40 lbs) require self-drilling anchors with reinforced nylon construction; their sharp, threaded tips cut cleanly into drywall without pre-drilling. Never use standard plastic anchors for heavy loads—items over 40 lbs need toggle bolts or molly bolts, which mechanically grip behind the wall surface. Check packaging weight ratings carefully; a seemingly small 1/4″ difference in anchor diameter can double holding capacity.
Weight reality check: A standard 1/8″ plastic anchor holds only 18 lbs in 1/2″ drywall. For a 35-lb mirror, use two medium-duty self-drilling anchors rated for 25 lbs each—this distributes weight safely. Always choose anchors rated for 1.5x your actual load.
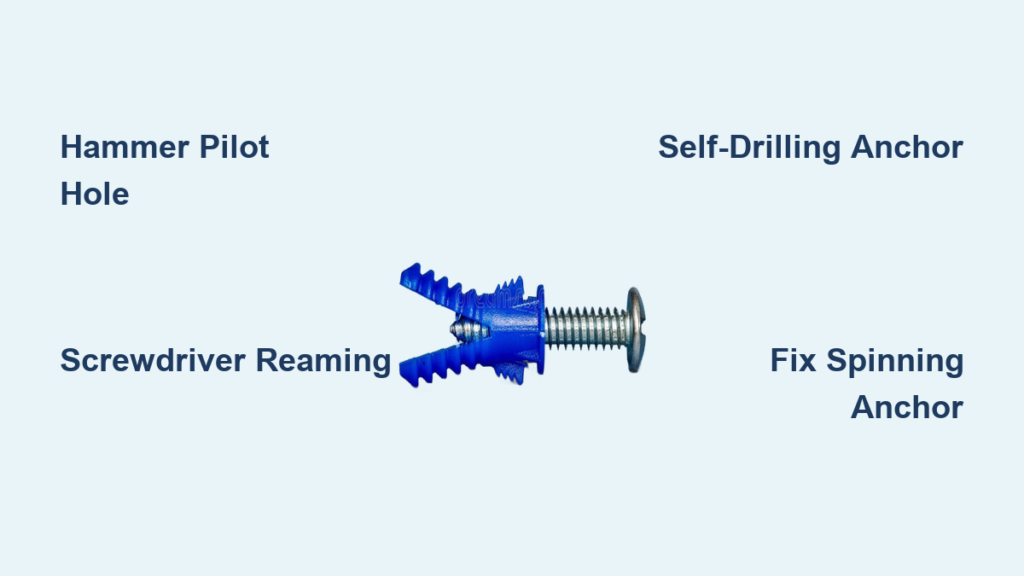
Hammering a Pilot Hole with Just a Screw (No Drill Needed)
This method creates a clean starter hole in under 15 seconds using only your mounting screw and hammer. It works because drywall’s gypsum core is soft enough to penetrate with focused force, while the paper facing guides the hole straight.
Step-by-Step: Creating the Perfect Pilot Hole
- Mark and position: Place painter’s tape over your pencil mark, then poke a tiny hole through it with an awl. Position your mounting screw (slightly smaller than the anchor’s inner diameter) vertically on the mark.
- Initial penetration: Hold the screw steady with pliers or your fingers and deliver 2-3 light hammer taps to pierce the drywall paper. Stop when the screw tip sinks 1/8″ deep—you’ll feel it “catch” the gypsum.
- Drive and remove: Apply steady downward pressure while tapping firmly 5-7 times to drive the screw through the drywall. Remove it smoothly to leave a clean, debris-free hole.
Why This Works on Drywall and Plaster
Drywall’s soft gypsum core allows screws to penetrate with minimal force, while the paper facing prevents wall material from crumbling. For plaster walls (which are harder and brittle), reduce hammer force by 50% and use a smaller pilot screw—plaster requires only a 1/16″ starter hole to avoid cracks. If you hear a “crunching” sound, stop immediately; switch to the screwdriver reaming method instead.
Screwdriver Reaming: Cutting Holes Without Power

When hammering feels too aggressive—especially near electrical boxes or on fragile plaster—this low-impact technique creates precise holes using controlled twisting motion. The screwdriver’s metal shaft acts like a manual drill bit, shaving away drywall in a clean circular path.
The Twist-and-Press Technique for Clean Holes
- Create a micro-pilot hole: Tap a finishing nail through your marked spot just deep enough to penetrate the drywall paper (1/16″ deep).
- Select the right screwdriver: Choose a Phillips #2 screwdriver with a shaft diameter 1-2mm smaller than your anchor.
- Rotate with pressure: Insert the screwdriver into the pilot hole and twist it clockwise while applying firm downward pressure. Use short, back-and-forth motions (like turning a key) to gradually widen the hole to anchor size.
Pro pressure gauge: If you feel significant resistance, stop and increase downward force slightly. If the screwdriver slips sideways, your pilot hole is too large—start over with a smaller nail.
Avoiding Wall Damage with Proper Pressure
Excessive force causes drywall to crumble around the hole, while too little pressure creates an undersized hole that won’t accept anchors. The sweet spot feels like pushing a pen through cardboard—firm but controlled. For hollow-core doors or thin drywall (common in closets), use only 50% of your normal pressure and check hole depth frequently by inserting the anchor. If drywall dust clogs the hole, clear it with the screwdriver tip before proceeding.
Self-Drilling Anchors: The Simplest No-Drill Method
These specialized anchors eliminate pilot holes entirely with their sharp, threaded tips that cut through drywall as you twist them in. They’re made from reinforced nylon (not standard plastic) and feature deep threads that grip wall material like a wood screw.
How Self-Drilling Anchors Cut Their Own Path
Unlike standard anchors that require pre-drilled holes, self-drilling variants have a pointed tip with aggressive threads that slice through drywall paper and gypsum. As you turn the anchor clockwise, the threads engage the wall material, pulling the anchor deeper with each rotation—no hammering needed. The flange stops at the wall surface, ensuring perfect depth every time. They work best in drywall over 3/8″ thick; avoid using them in plaster which can crack under the twisting force.
Installing Self-Drilling Anchors in 30 Seconds
- Position anchor: Place the anchor tip directly on your pencil mark at 90 degrees to the wall.
- Insert screwdriver: Fit a Phillips screwdriver into the anchor’s drive slot.
- Twist with steady pressure: Apply firm downward force while turning clockwise. After 3-4 rotations, the anchor will self-feed—reduce downward pressure but maintain consistent speed.
- Stop at the flange: When the anchor’s shoulder touches the wall, stop immediately. Over-tightening strips the threads.
Time-saver: For multiple anchors, draw a straight guideline with painter’s tape—this keeps your screwdriver perpendicular to the wall for straighter installation.
Fixing Spinning or Stuck Anchors Without a Drill

Anchors that spin freely or won’t seat properly ruin your mounting project, but these drill-free fixes take under two minutes. Spinning occurs when the hole is oversized, while stuck anchors usually mean the hole is too small or wall material has crumbled.
Why Your Anchor Won’t Hold (and How to Fix It)
Spinning anchor solution: Remove the anchor and insert 2-3 wooden toothpicks coated in wood glue into the hole. Break them off flush with the wall surface and wait 10 minutes for the glue to set. Reinsert the original anchor—it now grips the solid toothpicks. For plaster walls, use matchsticks instead; their larger size fills plaster’s irregular cavities better.
Stuck anchor solution: If the anchor won’t go in past 1/4″, stop forcing it. Use a screwdriver to ream the hole 10-20% wider by twisting it in a small circular motion. Clear debris with compressed air (or blow gently through a straw), then reinsert the anchor. For stubborn cases, lightly sand the anchor’s outer surface with fine-grit paper to reduce friction.
Critical Safety Checks Before Hammering Into Drywall
Ignoring these checks risks electrocution, water damage, or structural issues. Always assume wires and pipes run vertically within 6 inches of outlets and horizontally behind baseboards.
Avoiding Electrical Wires and Pipes Behind Walls
Use the “outlet probe test”: Remove a nearby outlet cover and insert a stiff wire (like a coat hanger) horizontally into the top of the electrical box. If it meets resistance within 1.5 inches, there’s likely a stud—safe to anchor. If it slides freely, assume wires run horizontally and relocate your mount at least 12 inches away. For plumbing, listen for water sounds after running taps—if you hear gurgling near your mark, move higher or lower.
Testing Anchor Strength Before Hanging Valuables
After installing an anchor but before hanging your item, perform a pull test: attach a string to the screw and gradually increase tension using gallon water jugs (each weighs 8.3 lbs). At 75% of your target weight, the anchor should show zero movement. If it shifts, remove it immediately and use the toothpick repair method before reinstalling.
Proven Techniques for Maximum Anchor Strength
These professional tricks double holding power without extra tools. They exploit physics principles like weight distribution and friction reduction to maximize your anchor’s potential.
Why Two Anchors Hold Better Than One (Weight Distribution)
A single anchor rated for 25 lbs can safely hold 40 lbs when paired with a second anchor 6-8 inches away. This distributes load across more wall surface area, preventing the “tear-out” force that rips single anchors from drywall. For shelves, install anchors at both ends—not centered—to leverage the wall’s natural rigidity. Always position the lower anchor 1 inch below the shelf bracket’s bottom edge to counteract downward pull.
The Soap Trick for Smoother Screw Installation
Rub a bar of soap or candle wax on your screw threads before driving it into the anchor. This reduces friction by 60%, preventing the screw from “grabbing” and tearing the anchor’s plastic. You’ll achieve full torque without stripping the anchor—critical for medium-duty loads. For self-drilling anchors, apply soap to the threads before installation; it acts as a lubricant during the cutting process.
By mastering these drill-free techniques, you transform frustrating mounting projects into quick, confident victories. Remember: anchor selection is 50% of success, proper hole preparation is 30%, and installation technique makes up the rest. For future projects, keep a small kit with self-drilling anchors (for drywall), molly bolts (for heavy loads), and toothpicks with glue—this covers 95% of no-drill scenarios. If you hit limitations with plastic anchors, explore toggle bolts for heavy items or French cleats for TVs—they’re the next tier of drill-free mounting power. Now go hang that artwork with confidence; your walls (and your drill) will thank you.


