
Your drill slips for the third time, leaving the screw head smooth and useless—a shiny crater mocking your progress. That critical fastener won’t budge, and you’re one frustrated twist away from abandoning your project. Knowing how to drill out a screw properly saves hours of headache and prevents costly damage to your workpiece. Whether you’re battling a stripped Phillips head in cabinet hardware or a snapped bolt in engine components, this guide delivers field-tested extraction methods using tools you likely own. Forget destructive hacks—start with precision techniques that preserve threads and materials.
Most stripped screws happen because of mismatched bits or excessive force, but extraction requires the opposite approach: patience, the right sequence, and understanding why reverse drilling works. You’ll learn to diagnose the failure type instantly, choose between non-destructive and last-resort methods, and avoid common pitfalls like cross-threading or enlarging the hole. By the end, you’ll confidently tackle even flush-broken fasteners in wood, metal, or plastic—without calling a professional.
Diagnose Your Stripped Screw Type Before Acting
Misidentifying the failure wastes time and worsens damage. A stripped screw head shows rounded edges where the driver bit slips, while a broken bolt shears off completely, leaving the shank embedded. For stripped heads, check if any recess remains—Phillips, Torx, or slotted—for grip options. Broken bolts require center-punch accuracy since no head exists to guide extraction. Work under bright light and use magnification if needed; mistaking a slightly damaged head for a clean break might make you skip simpler fixes like the rubber band trick. Always confirm the screw material—soft metals (aluminum, brass) break easier than steel—before applying force.
Can You Still Grip the Screw Head? Try These Fixes First
If any head protrudes above the surface:
– Lock vise grips tightly onto the screw’s edge and turn counter-clockwise with steady pressure.
– Place a wide rubber band between the stripped head and screwdriver; the rubber fills gaps for extra grip.
– Tap a slightly oversized bit into the damaged head with a hammer to create fresh biting edges.
Critical mistake to avoid: Forcing a stripped screw clockwise to “reset” it. This burrs metal further, eliminating future extraction options.
Why Screw Extractor Kits Outperform Destructive Methods

Hammering pliers or grinding the head ruins surrounding material, but a left-handed screw extractor kit works cleanly 90% of the time. The system combines a reverse-threaded drill bit and tapered extractor that unscrews the fastener as it bites. Unlike easy-outs (which expand and shatter), quality extractors use hardened cobalt steel to grip without slipping. You’ll need only basic tools: a drill, center punch, and wrench. This method preserves threads in wood or metal housings—crucial for reassembly. Invest in a $15 kit; it pays for itself when saving a $200 appliance part.
Drill the Perfect Pilot Hole Without Slipping
Centering the pilot hole is make-or-break. Follow these steps:
1. Punch a deep starter dimple using a center punch and hammer—this guides the drill bit.
2. Use a left-hand (LH) drill bit (marked “LH” or reverse-threaded) at low speed (200-400 RPM).
3. Apply firm downward pressure but let the bit cut naturally; forcing causes wandering.
4. Drill 1/8″ deep for small screws (under #8), or 1/4″ for larger bolts.
Pro tip: Add cutting oil for metal screws—it reduces heat and prevents bit glazing. If the LH bit loosens the screw during drilling (common with rusted fasteners), stop immediately—you’ve won without extractors.
Remove a Smooth, Rounded Screw Head Without Extractors
When no recess remains for tools, create new purchase points:
– Cut a fresh slot with a Dremel and cutoff wheel, then use a flathead screwdriver.
– Weld a nut onto the stub (for metal screws only)—the heat breaks corrosion bonds.
– Grip with locking pliers after filing two flat sides on the screw head.
Time estimate: 5-10 minutes. Difficulty: Moderate. Avoid hammering screwdrivers—this cracks plastic surfaces.
Extract a Screw Snapped Off Flush With the Surface
Broken bolts demand surgical precision. Start by cleaning debris from the break point with a toothpick. Punch dead-center in the bolt’s core—offset holes guarantee failure. Drill a pilot hole with an LH bit 70% the extractor’s diameter (e.g., 1/16″ hole for a 3/32″ extractor). Tap the extractor into the hole with a hammer, then turn counter-clockwise with a wrench. If resistance increases, back off slightly to clear metal shavings. For stainless steel bolts, freeze the area with canned air first—contraction breaks corrosion bonds.
Why Left-Hand Drill Bits Are Non-Negotiable
Standard drill bits tighten screws further, but LH bits rotate opposite to thread direction. As you drill, the bit’s reverse action often unscrews the fastener before extraction. This works especially well on corroded bolts where rust acts as a “glue.” Always use carbide-tipped LH bits—they resist chipping when hitting hardened steel. If your drill lacks reverse, switch to a hand brace; forcing clockwise drilling with LH bits snaps them instantly.
How to Drill Out a Screw Completely Without Damaging Threads
When extraction fails, drill out the entire screw. This is your nuclear option—use only when threads aren’t critical:
1. Start with a 1/16″ bit centered on your pilot hole. Drill slowly straight down.
2. Increase bit size gradually (1/16″ → 5/64″ → 3/32″) until only thread remnants remain.
3. Clean debris with a dental pick before the final pass.
4. Re-tap threads with a matching tap if reusing the hole.
Critical warning: Drilling too fast melts plastic or overheats metal. Pause every 5 seconds to clear shavings. For aluminum, use high-speed steel bits only—carbide causes galling.
Prevent Stripped Screws Before They Happen: Pro Techniques
90% of extraction emergencies stem from preventable errors. Always:
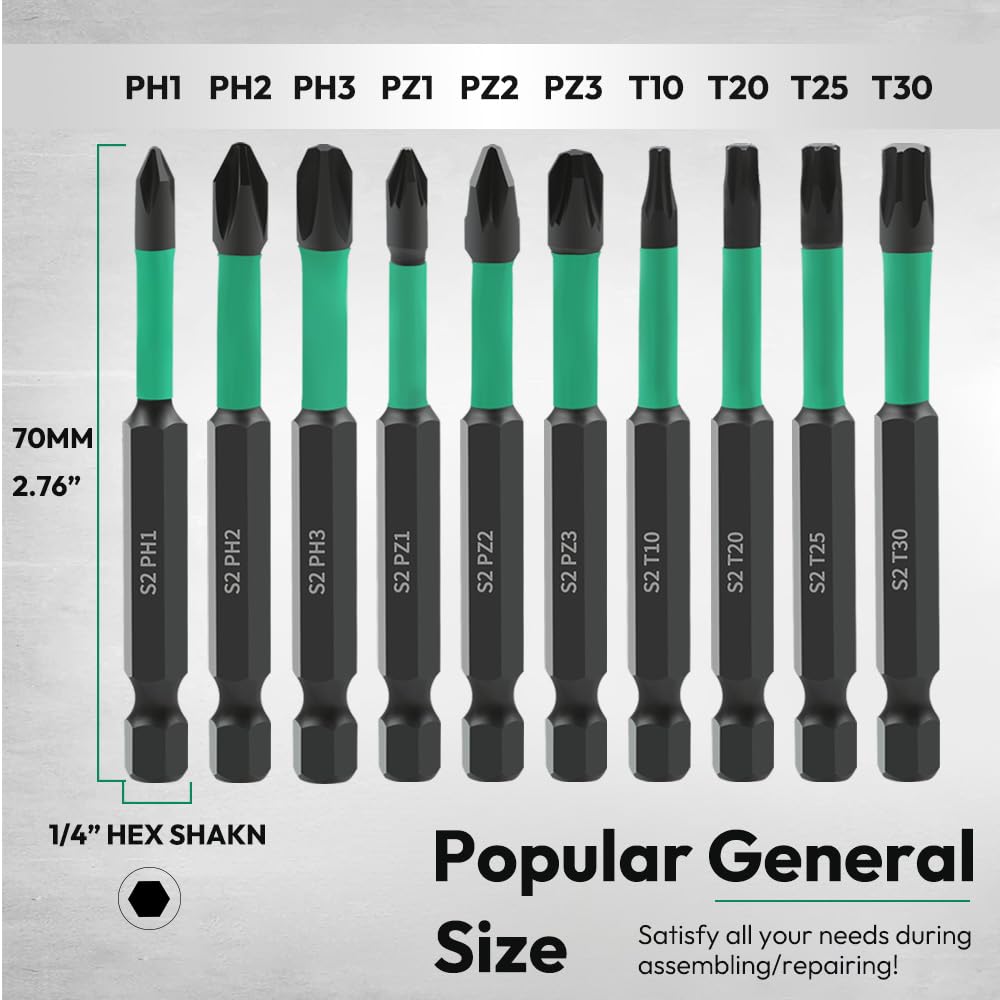
– Match bit type exactly (Pozidriv ≠ Phillips; Torx requires star-shaped bits).
– Use impact-rated bits—their hardened steel resists cam-out under torque.
– Apply downward pressure before triggering the drill; no “hovering” over the screw.
– Set drill clutches to low torque for small screws (#0-#4).
Pro insight: Test bits on scrap material first. A worn bit that works on wood will strip metal instantly.
When to Abandon DIY and Call a Professional
Stop immediately if:
– The screw secures structural elements (deck joists, load-bearing brackets).
– It’s embedded in cast aluminum (like engine blocks)—one slip cracks the housing.
– Corrosion is severe (e.g., saltwater-exposed marine hardware).
– Previous attempts enlarged the hole past thread integrity.
Professionals use micro-mills, ultrasonic extractors, or helical thread inserts—tools not worth buying for one job. A $75 service call beats a $300 replacement part.
Reassemble Correctly After Screw Extraction
Post-extraction success hinges on proper reassembly. Chase cleaned threads with a tap to remove burrs. For stripped holes, install a helical insert (like a Heli-Coil) or use epoxy with a slightly larger screw. Always apply anti-seize lubricant on new screws—especially in dissimilar metals—to prevent future seizing. Test fit before final tightening; if resistance feels gritty, clean threads again.
Final Takeaway: Mastering how to drill out a screw transforms frustrating failures into quick wins. Start with the least invasive method—screw extractors for 90% of cases—and escalate only when necessary. Never force tools; stripped screws demand finesse, not force. By diagnosing the failure type accurately, using left-hand drill bits correctly, and prioritizing thread preservation, you’ll solve 95% of extraction problems in under 15 minutes. Keep your center punch sharp, your bits fresh, and this guide bookmarked—next time a screw fights back, you’ll be ready.
Pro Tip Library: For stripped security screws (Torx, tri-wing), grind a custom bit from an old screwdriver. For deep-set bolts, extend your drill with a flexible shaft kit. Always photograph the work area before extraction—you’ll need reference points for reassembly.


