
Struggling with stripped screw heads or uneven installations? Your Black & Decker drill holds untapped potential as a precision screwdriver—when used correctly. Most DIYers treat drills as brute-force tools, cranking speed to maximum and forcing screws until disaster strikes. But the secret to flawless results lies in mastering your drill’s torque control and technique. This guide reveals exactly how to use Black & Decker drill as screwdriver for clean, professional installations every time—whether you’re assembling furniture, mounting shelves, or tackling home repairs. You’ll discover why 90% of stripped screws stem from three avoidable mistakes and how to leverage your drill’s clutch system like a pro.
Forgetting to adjust your drill’s settings before driving screws is the fastest route to ruined projects. That frustrating “cam-out” where the bit slips and mangles screw heads? It’s almost always caused by incorrect torque or speed settings. By the end of this guide, you’ll know precisely how to configure your Black & Decker drill for any screw-driving task, transforming it from a destructive force into a controlled precision instrument. Let’s unlock your drill’s true potential.
Configuring Your Black & Decker Drill for Perfect Screw Driving

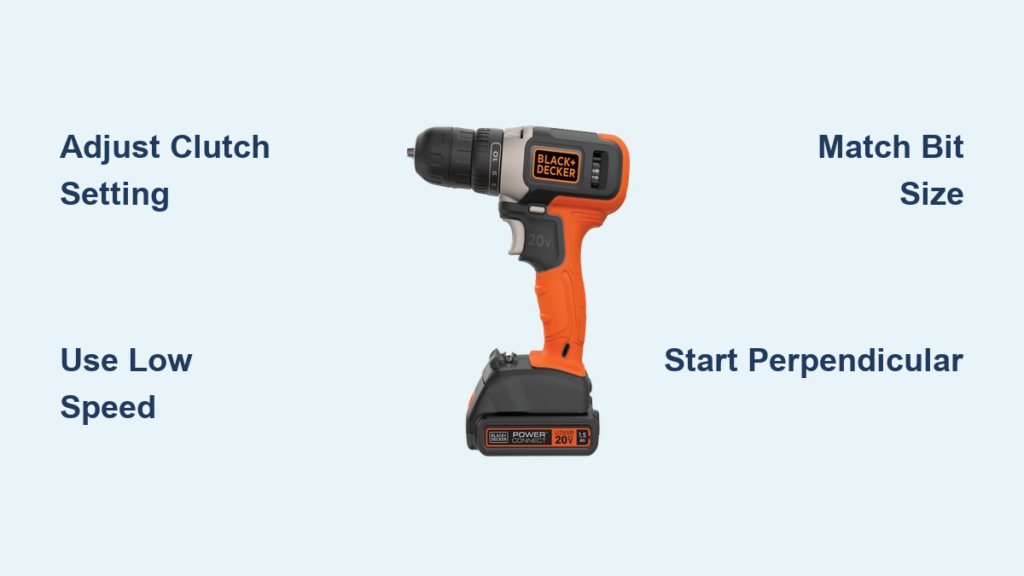
Your drill’s clutch isn’t just an extra feature—it’s the critical component that prevents over-tightening and material damage. Start by locating the numbered torque ring near the chuck (usually 1-20 settings). Always begin at the lowest setting (1-3) when driving screws into delicate materials like drywall or thin wood. If the clutch disengages before the screw seats fully, incrementally increase the setting by one number and retest on scrap material. Never skip this calibration step—forcing screws without proper torque control guarantees stripped heads or split wood.
Mastering Speed and Direction Settings
Speed control makes or breaks your screw-driving success. Switch to the lowest speed setting (usually position 1 on the speed selector) before driving any screw. High speeds cause bits to “walk” out of screw heads, especially with Phillips drives. Hold the trigger lightly at first—your finger pressure should match writing with a pen, not hammering a nail. Simultaneously, verify the rotation direction is set to clockwise (forward) using the directional lever. A single backward rotation can eject your screw entirely. For stubborn screws, apply brief 2-second bursts instead of continuous pressure to maintain control.
Selecting and Installing the Right Bit
The #1 cause of stripped screws? Using the wrong bit. For standard #2 Phillips screws (most common in furniture and fixtures), insert a fresh #2 Phillips bit fully into the chuck until it clicks. Test fit by pressing the bit into a screw head—if light pressure causes rotation, the fit is correct. Magnetic bit holders prevent frustrating drop-offs during overhead work. Never use worn bits with rounded tips; they’ll slip under pressure. For flat-head screws, match the bit width exactly to the screw slot—too narrow causes slippage, too wide damages the slot edges. Tighten the chuck firmly with both hands to prevent dangerous bit wobble.
| Clutch Setting | Ideal Applications | Critical Warning |
|---|---|---|
| 1-3 | Drywall anchors, particleboard, thin plywood | Stop immediately if clutch clicks before screw seats |
| 4-7 | Furniture assembly, cabinet installation, softwoods | Test on scrap wood first; hardwoods may require +2 settings |
| 8-12 | Decking screws, exterior trim, hardwoods | Pilot holes mandatory for settings above 8 |
| 14+ (Drill Mode) | Boring holes only—never for screws | Guaranteed stripping or screw breakage |
Driving Screws Like a Professional: Step-by-Step Execution
Achieving Perfect Bit Alignment and Engagement
Hold your drill perfectly perpendicular to the work surface—any angle over 5 degrees risks cam-out. Press the bit firmly into the screw head with your free hand while applying steady downward pressure (about 5-7 lbs). Start the drill at crawling speed while maintaining pressure. You’ll feel the bit “bite” as threads engage. Never rely on body weight to force screws; let the drill’s torque do the work. If you hear grinding or feel vibration, stop immediately—the bit isn’t fully seated.
Controlling the Drive Sequence
Once engaged, maintain consistent downward pressure while gradually increasing trigger pressure. Listen for the clutch’s “click-ratchet” sound—this indicates proper torque achievement. Release the trigger instantly when you hear this. For flush installations, back the clutch down one setting and use a single controlled trigger pull to seat the screw. If driving multiple screws (like cabinet hinges), reset the clutch after every 3 screws as bit heat reduces grip. For deep recessed screws, use a 1-inch extension bit to maintain alignment without knuckle-busting.
Eliminating Stripped Screws: Diagnosing and Fixing Common Failures
:strip_icc()/BHG-home-improvement-advice-expert-advice-how-to-remove-stripped-screw-hero-4e5488246e9d4240ba33c56d02f6b41d.jpg)
Why Your Screws Keep Stripping (and Instant Fixes)
Bit slippage causes 75% of stripping incidents. This happens when downward pressure falters during driving. Solution: Brace your elbow against your hip for stability and use your body to maintain pressure—not just arm strength. Worn bits are the silent killer—replace Phillips bits after 50-100 screws. For immediate rescue of a slightly stripped screw, tap a rubber band into the screw head before reinserting the bit; the rubber fills gaps and provides grip. Never compensate for slippage by increasing clutch settings—that guarantees complete stripping.
Pro Tip: When driving into hardwoods, dip screw threads in bar soap. The lubrication reduces torque requirements by 30%, preventing breakage and allowing lower clutch settings. For stubborn stripped screws, switch to a left-handed drill bit or specialized extractor—never force it with the same bit.
Critical Pre-Driving Checks You’re Missing
Pilot holes aren’t optional for hardwoods. Drill a hole 70% the screw’s shank diameter (not the threads!) using a sharp brad-point bit. For 2-inch wood screws in oak, use a 3/32″ pilot hole. Material matters: Particleboard requires smaller pilot holes than solid wood, while drywall anchors need no pilot hole but demand clutch setting 2-3. Before driving, test your setup on scrap material identical to your project—this 30-second step prevents costly mistakes. Always verify bit tightness in the chuck; a loose bit wobbles and strips screws within seconds.
Advanced Screw-Driving Scenarios Made Simple
Pocket Hole Joinery Without Specialized Tools
Your Black & Decker drill excels at pocket hole construction when configured properly. Set the clutch to 5-6 for 1.5″ pocket screws in softwood. Use a stepped drill bit (like the Kreg R3 system) to create the pocket hole in one motion. When driving screws, tilt the drill 15 degrees toward the clamp face to follow the pocket angle. Apply steady pressure until the clutch clicks—overdriving splits the pocket hole edge. For hardwoods like maple, reduce clutch setting by 2 and pre-lubricate screws with wax.
Driving Screws into Metal and Concrete
Metal demands different tactics. For sheet metal screws, drill a pilot hole 80% of the screw’s core diameter. Set clutch to 8-10 and use a slow, constant speed—rushing causes heat buildup that melts threads. When driving self-tapping screws into concrete with anchor sleeves, set clutch to 12-14 but stop driving when resistance suddenly decreases (indicating anchor expansion). Never use drill mode—the instant torque shatters concrete anchors. For stripped metal screws, apply penetrating oil, wait 10 minutes, then use a left-handed bit with reverse rotation.
Safety Protocols and Drill Longevity Essentials
Non-Negotiable Safety Practices
Clamp all workpieces securely—never hold materials with your free hand. A spinning screw can eject at 200+ RPM, causing serious injury. Wear ANSI-approved safety glasses even for “quick” jobs; metal shavings or broken screws fly unpredictably. When driving overhead, brace the drill against your shoulder for stability instead of leaning in—this prevents loss of control if the bit slips. For electrical work, verify power is off at the breaker before driving near wiring, even with insulated bits.
Preventing Costly Drill Damage
Clean the chuck monthly with a stiff brush to remove sawdust and metal shavings—debris prevents tight bit grip. After driving 50+ screws, cool your drill for 10 minutes; overheating damages the clutch mechanism. Store bits in labeled cases—rusty or bent bits ruin screw heads. If your drill emits burning smells during screw driving, immediately stop and inspect for jammed debris in vents. Never force the clutch past its highest setting—this bypasses safety mechanisms and risks gear damage.
Mastering your Black & Decker drill as a screwdriver transforms frustrating DIY moments into satisfying precision work. Remember the golden rule: low speed + correct clutch setting + sharp bits = flawless results. Start every project by testing your configuration on scrap material, and never skip the clutch calibration step. The next time you face a stripped screw, you’ll know exactly which setting to adjust. For complex projects like deck building, keep this guide handy—proper screw-driving technique prevents 95% of common installation failures. Now grab your drill, set that clutch low, and drive your next screw with professional confidence. Your perfectly seated screws will speak for themselves.


