
You’re installing a new TV mount or mounting kitchen cabinets when your drill suddenly grinds to a halt, emitting a high-pitched screech instead of the familiar concrete crunching sound. You’ve hit rebar—the steel reinforcement embedded in concrete that stops most DIYers dead in their tracks. Drilling through concrete with rebar requires specific techniques and tools that standard masonry drilling doesn’t cover, and attempting it with the wrong approach will destroy your bits and potentially damage your drill.
Reinforced concrete typically contains a grid of steel rebar positioned just 1.5 to 2 inches beneath the surface in residential slabs. When you hit this unexpected steel barrier, your carbide-tipped masonry bit—which works perfectly on concrete—becomes useless against the steel reinforcement. The key to success lies in understanding that reinforced concrete isn’t a single material but a composite that demands different drilling approaches for each component.
Essential Tools for Drilling Through Concrete and Rebar
Your standard masonry bits won’t survive contact with steel reinforcement. Using the wrong bit on rebar will instantly ruin the cutting edge, leaving you with a damaged tool and an incomplete project. Your toolkit must include specialized equipment designed for this specific challenge.
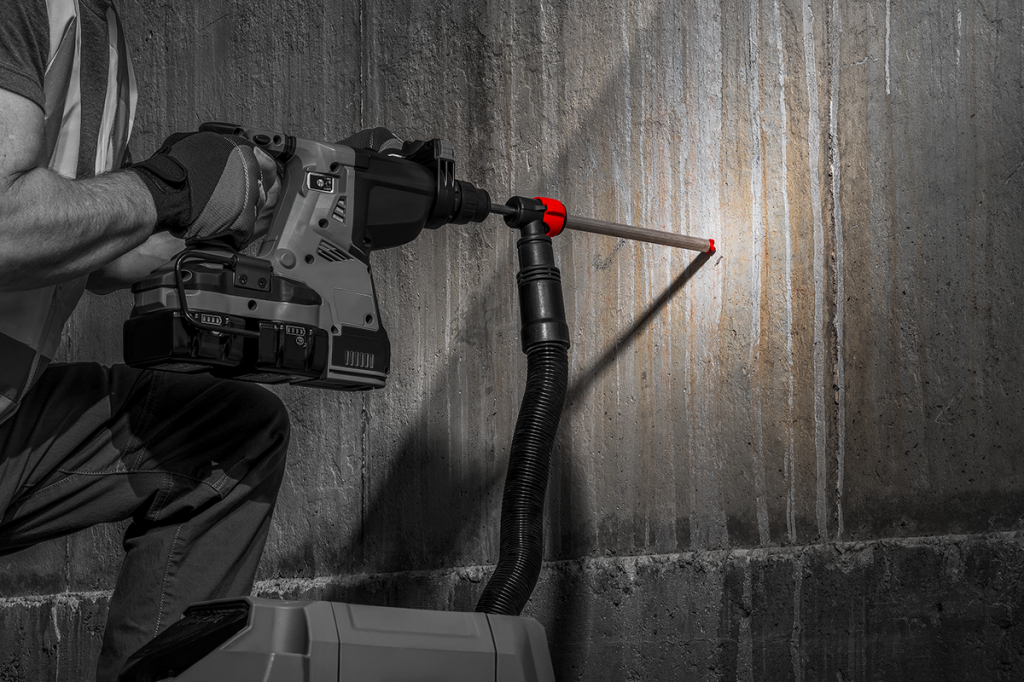
Rotary Hammer with Stop Rotation Control is non-negotiable for serious work. Unlike standard hammer drills, professional rotary hammers deliver the necessary impact energy (2.5+ ft-lbs) while featuring a critical “rotation-only” mode for drilling through steel. When you hit rebar, you must immediately stop the hammer action—continuing with hammer mode will destroy both your bit and potentially your drill.
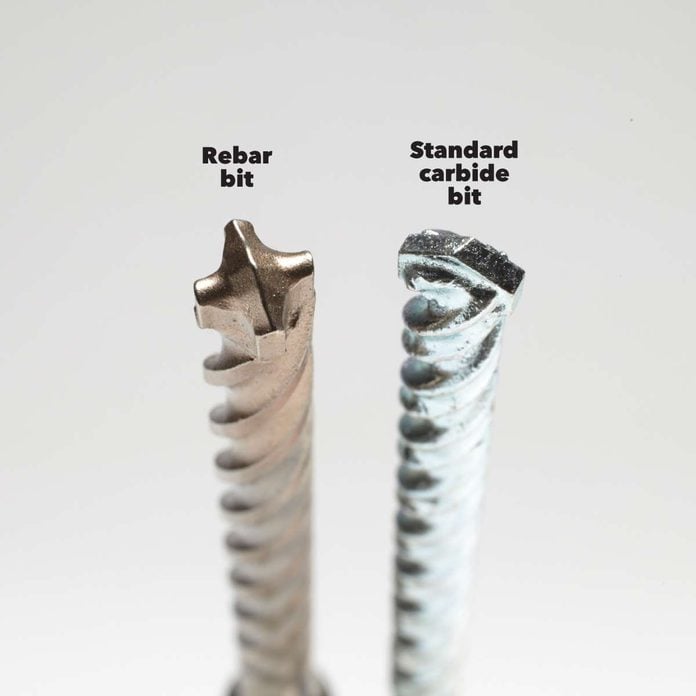
Specialized Drill Bits are equally crucial:
– Carbide-Tipped Masonry Bits: Use these for the concrete only, not for rebar (they’ll be destroyed by steel)
– Cobalt Steel Drill Bits (M42 grade): Essential for drilling through rebar itself, with hardness sufficient to cut through 60,000 psi steel
– Diamond-Tipped Core Bits: The superior choice for holes larger than 1 inch, designed to grind through both concrete and steel in one pass
How to Identify the Right Bit for Each Stage
When you hear that telltale high-pitched screech signaling rebar contact, you’ll need to switch tools immediately. Watch for these visual and auditory cues:
– Concrete drilling produces a grinding, crunching sound with moderate resistance
– Rebar contact creates a high-pitched, high-resistance screeching sound
– The drill will vibrate differently—more intense and sharper when hitting steel
– Concrete dust is gray and powdery; steel shavings are dark, metallic, and coiled
Drilling Through Concrete with Rebar: The 5-Step Method
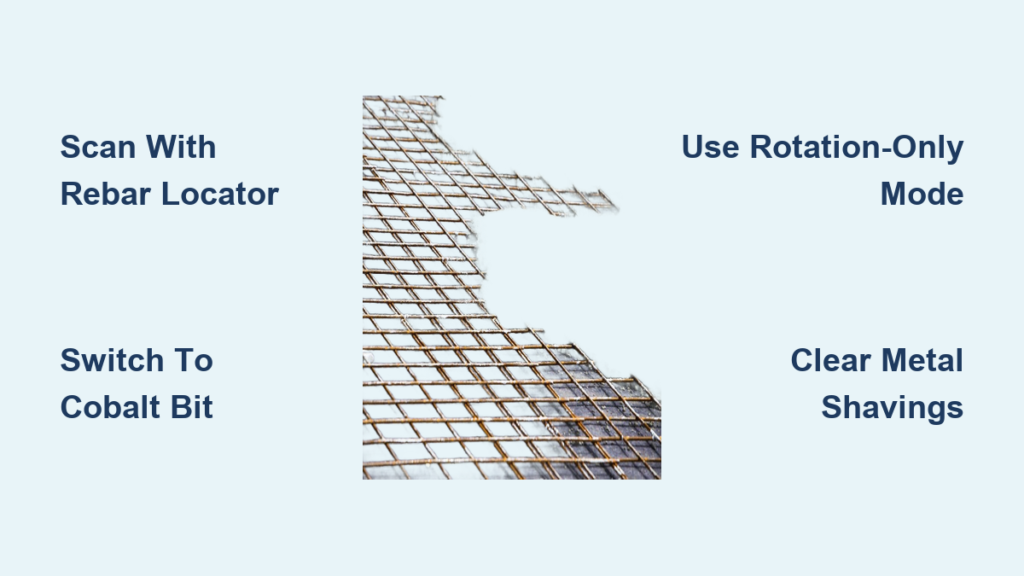
Step 1: Scan Before You Drill—Avoid Catastrophic Mistakes
Hitting a post-tension cable can cause structural collapse, while striking electrical wiring or plumbing creates immediate hazards. Before drilling a single hole:
- Scan with a rebar locator to map the steel grid (rebar typically appears 1.5-2 inches deep in residential slabs)
- Look for post-tension indicators—these slabs have cables under extreme tension that can whip with lethal force if cut
- Mark rebar locations with chalk to select the optimal drill point between the grid lines
Critical warning: Never drill into post-tensioned concrete without structural engineer approval. Cutting one tensioned cable can cause catastrophic failure of the entire slab.
Step 2: Drill the Concrete Pilot Hole Properly
Start with a small pilot hole to establish your path before encountering rebar:
- Use a 1/4-inch carbide-tipped masonry bit in hammer mode
- Drill to approximately 1.5 inches deep (the typical rebar depth)
- Clear dust every 1/2 inch with compressed air or vacuum to prevent binding
- Listen carefully for the sound change that signals rebar contact
Pro tip: The concrete drilling phase should feel like moderate resistance with consistent gray dust. If you feel sudden increased resistance and hear a high-pitched sound, you’ve hit steel—stop immediately.
Step 3: Switch Tools and Technique for Rebar Penetration
This is where most DIYers fail—continuing with the same bit and technique through the steel:
- Immediately stop hammer action when you hit rebar
- Switch to a cobalt steel drill bit (same diameter as your masonry bit)
- Set your rotary hammer to “rotation-only” mode—no hammering action
- Apply cutting oil to the rebar surface to reduce heat and carry away metal shavings
- Drill at 200-400 RPM with firm, steady pressure (not excessive force)
What to watch for: You’ll feel a distinct “pop” as the bit punches through the far side of the rebar. Metal shavings will appear dark and coiled rather than gray concrete dust.
Step 4: Complete the Hole Through Remaining Concrete
Once through the rebar layer:
- Switch back to your carbide-tipped masonry bit
- Re-engage the hammer function on your rotary hammer
- Carefully re-enter the existing hole to continue drilling to your desired depth
- Clear dust regularly to maintain accuracy and prevent binding
Critical mistake to avoid: Forcing the bit through multiple rebar layers without proper technique. Residential concrete often contains multiple rebar mats spaced 1-2 inches apart—expect to encounter several steel barriers.
Step 5: Proper Hole Cleaning and Inspection
Skipping this step compromises your anchor installation:
- Use compressed air to blow out all concrete and metal shavings
- Follow with a wire brush to remove any remaining debris
- Inspect with a flashlight for metal fragments that could interfere with your anchor
- Verify depth with a depth gauge to ensure proper anchor setting
Why this matters: Even small metal shavings left in the hole can prevent proper anchor expansion or chemical adhesive bonding, reducing holding strength by up to 50%.
Troubleshooting Common Rebar Drilling Problems

When Your Bit Walks on Rebar Surface
Problem: The bit skates across the steel instead of biting in
Solution:
– Use a center punch to create a starter indentation
– Increase RPM to 400-500 while maintaining steady pressure
– Apply cutting oil before resuming drilling
When the Bit Binds in Rebar
Problem: The drill suddenly stops or jams when hitting steel
Solution:
– Back out immediately to clear metal shavings
– Apply generous cutting oil
– Reduce speed to 200-300 RPM
– Use shorter drilling bursts (5-10 seconds) with frequent clearing
When Facing Multiple Rebar Layers
Residential concrete often contains 2-4 layers of rebar spaced 1-2 inches apart:
- Expect the second layer approximately 3-4 inches deep
- Switch back to rotation-only mode each time you hit steel
- Use diamond core bits for holes larger than 1 inch—they cut through multiple rebar layers cleanly
- For deep holes, consider professional coring services ($300-800/hole) for structural integrity
Safety Protocols You Must Follow
Drilling through concrete with rebar creates unique hazards beyond standard concrete drilling:
- Wear full-face protection: Steel shavings can fly at high velocity when penetrating rebar
- Use a HEPA vacuum: Concrete dust contains hazardous crystalline silica; metal particles add additional respiratory risks
- Check for post-tension cables: These appear in most concrete slabs built within the last 10-15 years
- Have an emergency plan: If you accidentally cut a post-tension cable, evacuate immediately, mark the location, and contact a structural engineer
Critical safety note: If you hear a “pinging” sound or feel unusual vibration when drilling, stop immediately—this could indicate you’re near a tensioned cable rather than standard rebar.
When to Call a Professional Instead
While DIY drilling through concrete with rebar is possible for small holes (under 1 inch), certain situations demand professional expertise:
- Holes larger than 1 inch in diameter
- Structural concrete over 12 inches thick
- Any suspicion of post-tensioned construction
- Multiple rebar encounters in a single hole
- When you lack proper scanning equipment
Professional coring companies use diamond-tipped bits with reinforced segments specifically designed for rebar penetration and have the GPR scanning equipment to locate hazards before drilling begins.
Drilling through concrete with rebar successfully comes down to respecting the material’s composite nature and switching techniques at the critical moment of steel contact. By scanning first, using the right tools in the correct mode, and adapting your approach when you hit rebar, you’ll create clean, precise holes without destroying your equipment. Remember that the most expensive part of the job isn’t your drill bits—it’s the structural damage from cutting the wrong cable or rod. Take the time to scan, plan, and execute with the proper technique, and you’ll complete your project safely and successfully.


