

That first wobble when drilling freehand wood or metal makes you question every DIY decision. You know a pillar drill (or drill press) could solve this—but staring at its complex-looking column and chuck, you wonder: How do I actually use this without ruining my project or hurting myself? You’re not alone. Nearly 70% of workshop beginners avoid pillar drills due to intimidation, settling for inaccurate hand-drilled holes. This guide cuts through the confusion with battle-tested steps from professional woodworkers. You’ll learn exactly how to set up, operate, and maintain your machine for clean, precise holes every time—whether you’re drilling a 2mm pilot hole in steel or a 25mm mortise in oak.
Stop guessing about speeds, clamping, and attachments. We’ll cover the exact safety checks you must perform, how to avoid chuck damage when changing bits, and why skipping the depth stop causes more failed projects than any other mistake. By the end, you’ll drill with the confidence of a seasoned craftsman—no engineering degree required.
Bolt Your Pillar Drill to a Sturdy Surface Before First Use
Never skip this critical stability step. An unsecured pillar drill vibrates violently when drilling dense materials, causing inaccurate holes and potential machine tipping. Place your drill on a solid workbench at waist height—never on flimsy sawhorses. Use all four mounting bolts from your hardware kit to anchor it firmly through pre-drilled holes in the base. Tighten with a wrench until the base shows no movement when you shake the column. Test stability by lowering the quill fully and applying light pressure; if the entire unit shifts, re-tighten bolts. This prevents dangerous “walking” during operation, especially when drilling large holes in metal where torque is highest.
Why Bolt Tightness Prevents Drilling Catastrophes
Loose mounting causes two critical failures: First, vibration misaligns your drill bit, creating oval-shaped holes that ruin precision joinery. Second, when drilling thick steel, sudden resistance can spin the entire machine—slamming it off your bench. Always double-check bolt tension after the first hour of use; metal surfaces compress slightly under vibration. If bolts loosen repeatedly, add rubber washers between the base and bench for grip.
Change Your Pillar Drill Chuck Without Damaging the Arbor
Replacing the standard keyed chuck with a keyless model saves frustrating minutes per bit change. But improper removal strips the arbor threads—a costly repair. Unplug the machine first. Insert a long flathead screwdriver through the chuck jaws into the spindle, then tighten the chuck to lock it in place. Grip the chuck’s flats with a spanner, then strike the spanner counterclockwise with a rubber mallet. Never use metal hammers—they deform the chuck. The chuck unscrews with right-hand threads (standard), so remember: “righty-tighty, lefty-loosey” applies here.
Fit a New Chuck Using the Shoulder Safety Lock
Hand-tighten the new chuck onto the arbor until it stops. This “shoulder” is a built-in safety feature preventing over-tightening. Lift the chuck upward to engage this shoulder—it should click into position. Only then tighten fully with the chuck key. Skipping this step risks chuck detachment during high-speed operation. Test by running the machine at lowest speed; if you hear grinding, the chuck isn’t seated. Stop immediately and reseat it.
Install a Mortise Attachment for Perfect Square Holes

Creating mortise-and-tenon joints requires square holes impossible with standard bits. The mortise attachment solves this by combining a rotating drill bit inside a stationary square chisel. Remove the chuck first. Screw the hollow mortise chisel holder directly onto the arbor. Fit the chisel into its cast iron bracket on the fence, ensuring it’s perpendicular to the table. Insert the drill bit (typically 1/4″ smaller than the chisel) into the chuck above. For through-mortises in thick wood, drill from both sides to prevent blowout.
Adjust the Mortise Depth for Clean Blind Holes
Set the depth stop to match your tenon thickness. Lower the quill until the chisel touches the workpiece, then lock the stop. Drill incrementally—1/4″ at a time—clearing chips between passes. If the chisel binds, your speed is too high or depth too aggressive. Reduce speed by 25% and take shallower cuts. Always clamp hardwood workpieces; the chisel’s torque can spin unsecured material violently.
Drill Small Holes (Under 8mm) Without Clamping
For holes up to 6mm in metal or 8mm in wood, secure the workpiece firmly with your non-dominant hand—not clamps. Position your hand so pressure pushes the material into the table, not sideways. Apply gentle, consistent pressure on the downfeed handle—no jerking. Let the bit cut at its natural pace; forcing causes breakage, especially with small bits in metal. You’ll hear a smooth “shhh” sound when correct. If you hear squealing, reduce pressure immediately.
Why Center Punching Prevents Metal Hole “Walking”
Skipping this step causes bits to skate across smooth metal surfaces. Use a center punch to create a small divot at your hole location. Angle the punch precisely on your mark, then strike once with a hammer. This guides the bit perfectly. For stainless steel, use a prick punch first for a deeper starter hole. Always wear safety glasses—metal fragments fly during punching.
Clamp Large Workpieces for Holes Over 8mm
Holes exceeding 8mm in wood or 6mm in metal generate torque that spins unsecured material like a top. Clamp workpieces directly to the drill table using a bench vise or heavy-duty F-clamps. Position clamps so they won’t contact the rotating bit if the workpiece shifts. For metal, use non-marring jaw pads to prevent surface damage. Test clamping security by trying to move the piece with your hand—zero movement is required.
Depth Stop Setup for Identical Multi-Hole Projects
Drill a test hole in scrap material first. Lower the quill until the bit reaches desired depth, then lock the depth stop collar. For consistent results across multiple pieces, verify depth with a ruler before drilling your actual workpiece. If holes are too shallow, loosen the stop and lower it incrementally. Never force the quill past the stop—it damages the mechanism.
Match Drill Bit Size to Speed Using the RPM Chart
:max_bytes(150000):strip_icc()/drill-press-chart-424bb9992cb84508936912ea46a0569f.jpg)
Speed errors cause burnt wood, broken bits, or melted metal. Consult your machine’s RPM chart before powering on. A 2mm HSS bit in steel needs 2,500+ RPM, while a 25mm Forstner bit in oak requires under 500 RPM. Always set speed with the machine OFF—changing belts/pulleys while running destroys transmissions. For mixed materials (like plywood with glue lines), use the slower speed for the densest component.
Visual Cues for Correct Speed Operation
Watch the chips: In wood, fine golden shavings mean proper speed. Black, smoking chips indicate too fast. In metal, continuous silver curls mean success; powdery chips mean too slow. If the bit smokes on first contact, stop immediately—cool the bit with cutting fluid before continuing. Never use water as coolant on steel; it causes cracking.
Choose Drill Bits for Wood, Metal, or Masonry
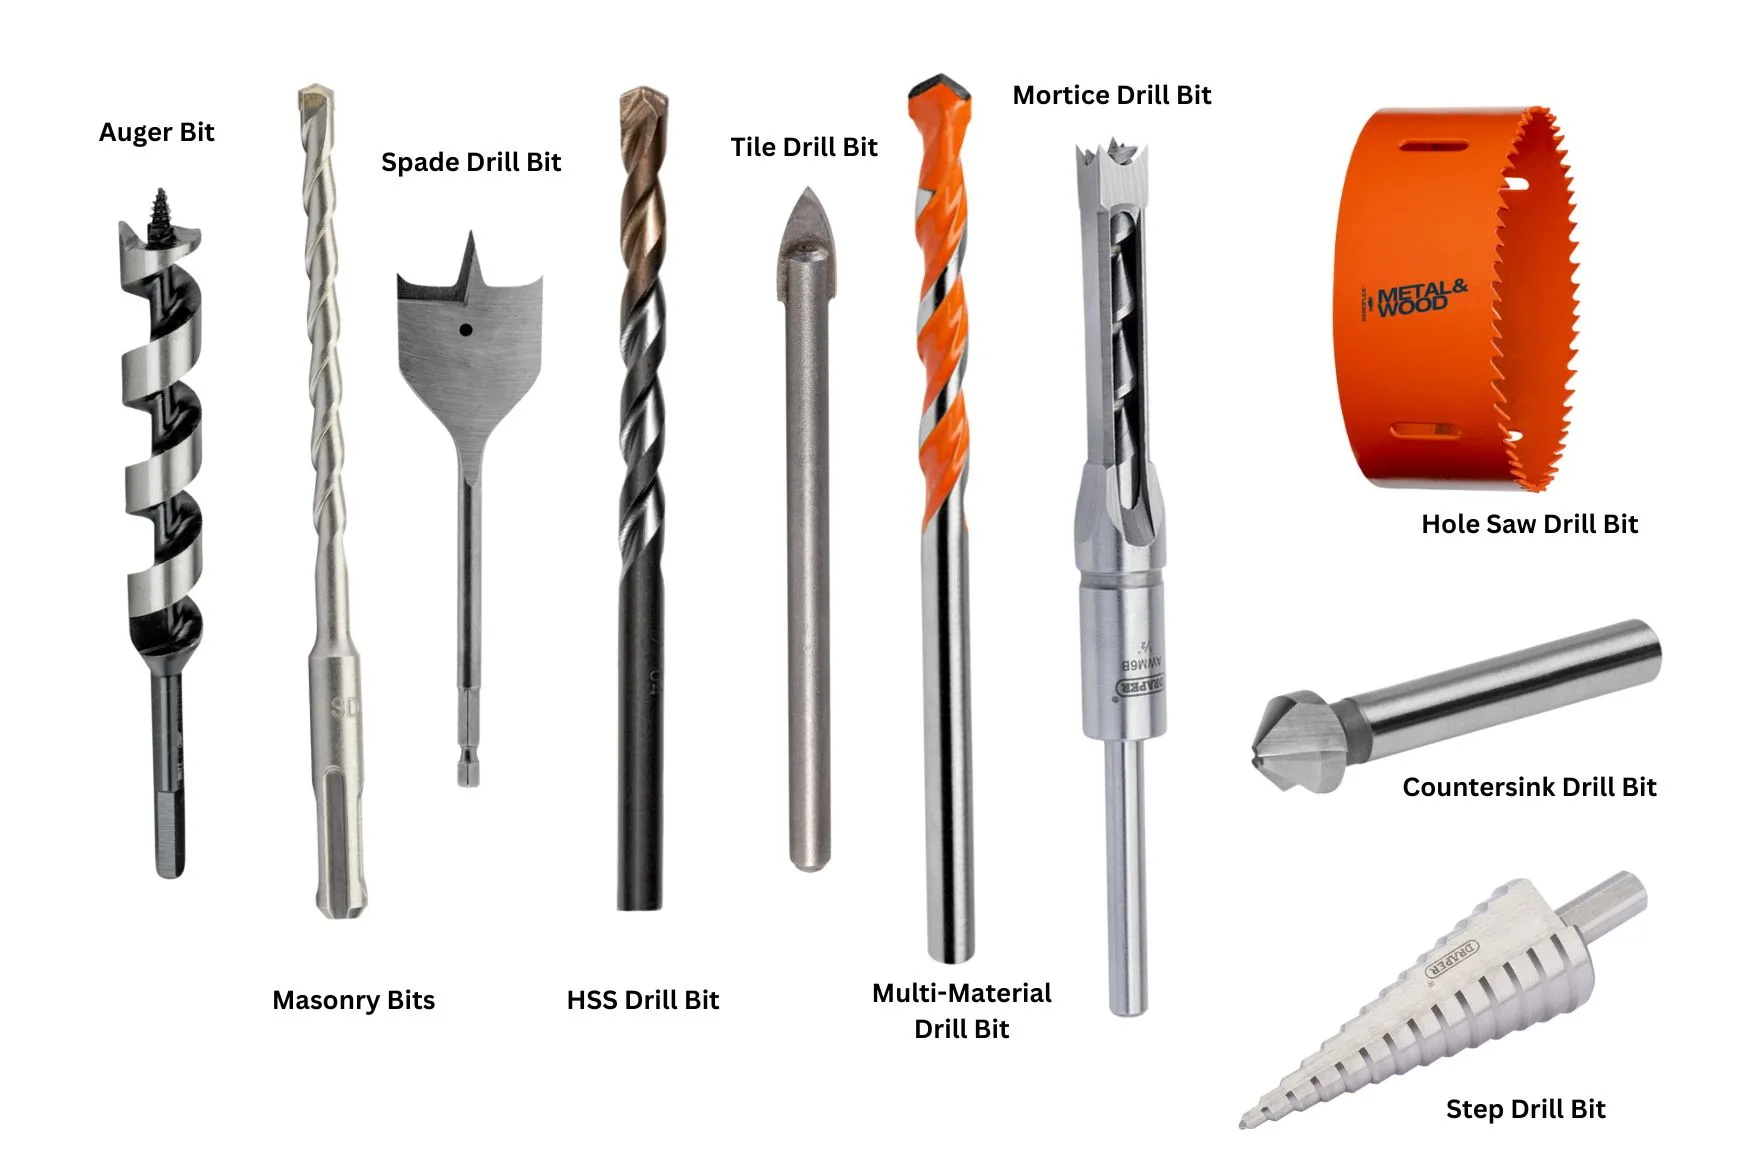
Material-specific bits prevent disaster. For wood, use brad point bits (sharp center spur prevents wandering) or Forstners for flat-bottomed holes. For metal, select HSS (High-Speed Steel) bits with 118° points—never use wood bits. Masonry requires tungsten-carbide-tipped bits run at lowest speeds. Never force dull bits; they overheat and lose temper. Replace bits showing blue discoloration (overheating evidence).
Safe Bit Changing Protocol
Unplug the machine. Insert the chuck key fully into all three slots. Turn counterclockwise to open jaws, insert the new bit centered in the chuck, then tighten clockwise until snug. Remove the key immediately—leaving it in causes catastrophic failure when spinning. Test grip by trying to rotate the bit by hand; it shouldn’t slip. Never use pliers on the chuck key; leverage damage ruins the chuck.
Follow These 5 Non-Negotiable Safety Practices
- Always wear ANSI-approved safety glasses—chips ricochet at eye level
- Remove chuck keys immediately after use—a spinning key becomes a projectile
- Secure loose clothing and hair—sleeves caught in spindles cause arm injuries
- Wait for full stop before adjusting speed—belt changes mid-rotation shear pulleys
- Clamp all metal and hardwood pieces—spinning wood shatters on release
Never operate with gloves—they catch in rotating parts. Keep your face clear of the bit path; stand to the side during drilling. If you smell burning insulation, unplug immediately—this indicates motor overload.
Perform 10-Minute Monthly Maintenance for Longevity
Wipe the column and table with a dry cloth after each use to prevent sawdust buildup. Monthly, apply one drop of 3-in-1 oil to the chuck arbor and rack-and-pinion mechanism. Check belt tension by pressing the center; it should deflect 1/2 inch. Adjust motor position if loose. Inspect for frayed cords or burning smells—these require professional repair. Never lubricate while the machine runs.
Troubleshoot Burning Smells Before They Destroy Your Motor
A faint oil smell during heavy use is normal. But acrid, electrical burning means immediate danger. Unplug and check:
– Belts rubbing against guards
– Sawdust packed around the motor
– Overloaded circuits (use a dedicated outlet)
If the smell persists after cleaning, consult a technician—ignoring this risks fire.
Final Note: Master these pillar drill fundamentals to transform your workshop results. Start every session by verifying your clamps, speed setting, and depth stop—these three checks prevent 90% of beginner errors. For your next project, try drilling a practice grid of holes in scrap wood using different bits and speeds; note the optimal settings for your common materials. Remember: Precision isn’t luck—it’s setup. Keep this guide handy until every step becomes second nature, and you’ll never settle for hand-drilled inaccuracies again.


