
Your drill bit wobbles, your hole angles off-course, and suddenly you’ve ruined a $200 hardwood tabletop. You bought a precision drill jig expecting perfect holes, but now you’re staring at a slanted mess that won’t accept your dowel. The harsh truth? A drill jig guarantees perpendicular holes—but it won’t stop your bit from drilling straight through your project. This gap between expectation and reality frustrates woodworkers and metalworkers daily. In this guide, you’ll discover exactly how to use a drill jig while mastering the critical depth control it lacks. Forget guessing depths or ruining materials—we’ll transform your jig into a repeatable hole-making system that delivers professional results on the first try.
Most DIYers treat drill jigs as standalone solutions, only to discover too late that depth control requires a separate strategy. The jig’s hardened steel sleeve forces your bit to 90 degrees, but without a depth stop, you’re drilling blind. I’ve seen seasoned makers abandon jigs after one catastrophic “drill-through” incident. But here’s the fix: Pair your jig with the right depth method, and you’ll achieve factory-level precision. Whether you’re installing cabinet hardware or machining aerospace parts, this guide covers every step—from solving chuck-lock conflicts to preventing chip clogs—so you never waste another workpiece.
Why Your Drill Jig Guarantees 90-Degree Holes (But Not Depth)
A drill jig’s hardened steel guide bushing physically blocks angular deviation. As you apply downward pressure, the bit contacts the bushing’s inner wall, forcing it to maintain 90 degrees to your workpiece surface. Unlike freehand drilling where wrist fatigue causes drift, the jig’s rigid structure eliminates human error. But here’s where makers get tripped up: The jig only controls trajectory—not penetration depth. Its guide hole is merely a tunnel for your bit; it lacks any mechanism to halt drilling at 1/4″, 1/2″, or other critical depths. Without intervention, your bit will keep advancing until it exits the material or jams.
This limitation isn’t a design flaw—it’s physics. Jigs solve alignment; depth requires a separate system. Think of it like a train on tracks: The rails (jig) keep the train (bit) straight, but the conductor (you) must apply the brakes (depth stop) at the right station. Ignoring this leads to two common disasters: bits plunging through thin materials or stopping short in deep assemblies. The solution? Always pair your jig with one of the depth-control methods below.
Drill Bit Stop Collar: The Professional’s Depth Control System
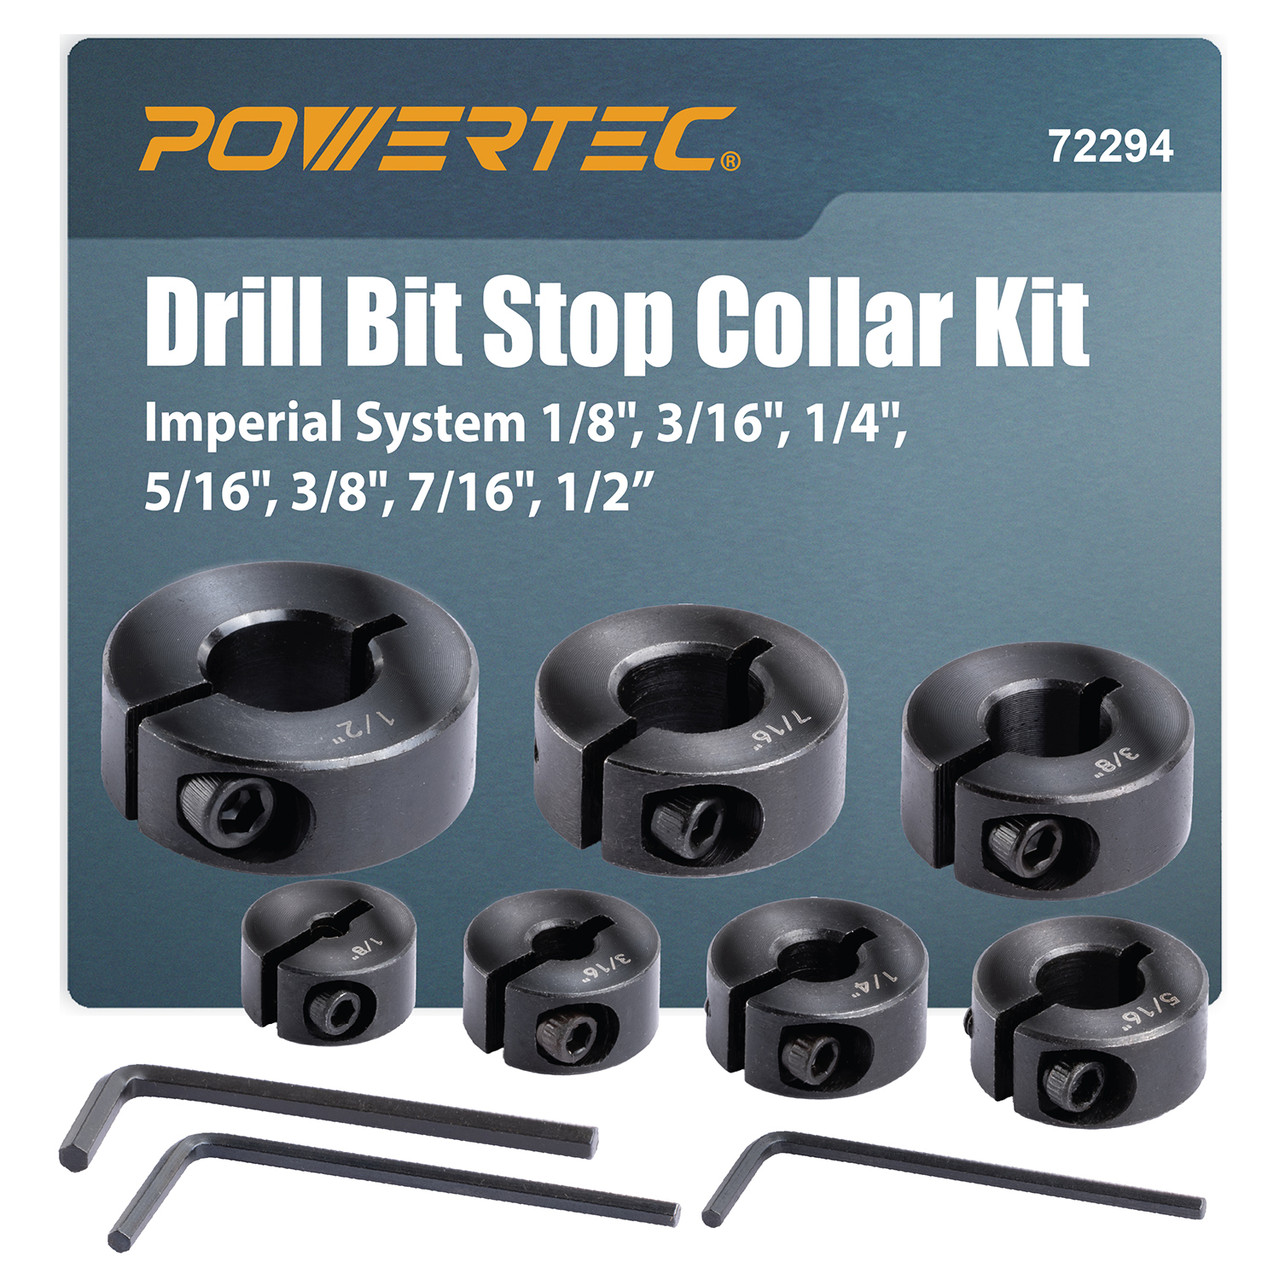
This metal ring with a set screw is the only method for sub-millimeter accuracy in production environments. Unlike visual cues, it provides a mechanical stop that won’t slip under pressure.
- Why woodworkers swear by it: Collars maintain precision across 100+ identical holes. For cabinet hinges requiring 5/16″ depth, a collar ensures every hole accepts the screw perfectly.
- Step-by-Step Setup:
- Slide the collar onto your bit’s smooth shank (not the flatted chuck-lock section).
- Measure from the bit tip to your target depth (e.g., 1/4″) using calipers.
- Position the collar so its bottom edge sits flush with the jig’s top surface when the tip reaches depth.
- Tighten the set screw with an Allen wrench—critical to prevent rotation during drilling.
- Pro Tip: Use colored collars (red for 1/4″, blue for 3/8″) for instant depth identification in multi-step projects.
Electrical Tape Method: Emergency Fixes Without Special Tools
When collars aren’t handy, bright electrical tape creates a visual stop—but only for shallow, non-critical holes under 1/2″ deep. Warning: Tape slips 40% more often than collars in high-torque drilling, risking depth errors.
- How to prevent tape failure:
- Insert the bit into the jig until the tip protrudes exactly 1/4″ below the base.
- Wrap tape horizontally around the shank 1/16″ above the jig’s top edge—not flush—to create a “flag” that catches the jig.
- Stretch the tape slightly as you wrap to minimize slippage.
- When to avoid this: Never use tape for through-holes or precision joinery. The vibration from metal drilling often shifts tape mid-operation, adding 1/8″ error.
Drill a Perfect Hole in 6 Steps: Jig Setup to Depth Control
Skipping any step here guarantees angled holes or depth disasters. This sequence works for wood, plastic, or thin metals under 1/4″ thick.
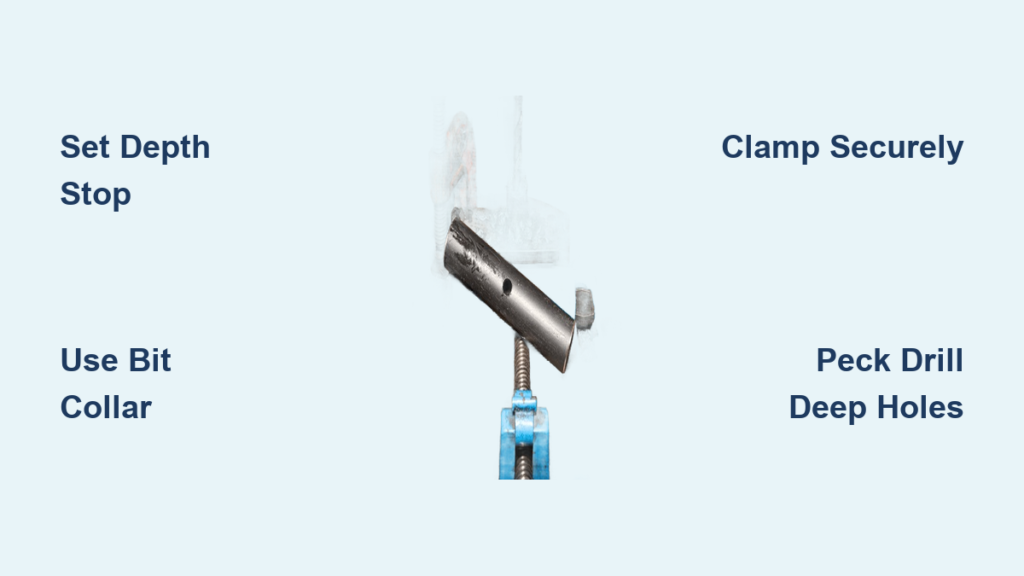
Secure Your Workpiece and Jig Like a Pro

Clamp your material to the bench with non-marring jaws to prevent spin-out. Then clamp the jig directly over your layout mark using parallel-jaw clamps. Critical mistake: Using C-clamps that flex the jig—this misaligns the guide bushing. Verify stability by trying to wiggle the jig with your hand; zero movement is mandatory. For curved surfaces, use vacuum pads instead of clamps to avoid distortion.
Set Depth Before Drilling—Here’s How to Avoid Errors
Whether using a collar or tape:
1. Insert the bit into the jig while measuring tip protrusion with a depth gauge.
2. For collars: Position the collar so it contacts the jig’s top surface when the tip hits depth—not the workpiece.
3. For tape: Create a 1/4″ tab extending sideways from the shank for instant visual feedback.
Pro Insight: If your drill has a built-in depth stop, set it deeper than your target depth by the jig’s height (typically 1-1.5″). Example: For a 1/4″ hole with a 1.25″ jig, set the drill stop to 1.5″.
Drill with Chip-Clearing Technique for Clean Holes
Start at low speed (300-500 RPM) to avoid bit walk. Apply steady pressure until your depth stop engages—never force the drill. For holes deeper than 1/2″:
1. Drill 1/4″ deep.
2. Lift the bit fully to eject chips.
3. Repeat until reaching depth.
This “peck drilling” prevents clogging that causes burning in wood or bit breakage in metal. Key visual cue: Sawdust should exit the hole freely; if it stops, you’re packing chips.
Fix These 3 Drill Jig Problems: Slippage, Chuck Locks & Chip Clogs
Why Your Drill Bit Won’t Fit Through the Jig (And How to Fix It)
Modern drill bits often have a flatted “chuck lock” section wider than the jig’s bushing. Don’t force it—this damages the bushing. Instead:
– Insert the bit deeper into your drill chuck until only the smooth shank passes through the jig.
– If the chuck lock still binds, switch to a jobber-length bit (longer uniform shank) or a reduced-shank bit.
– Pro shortcut: For occasional use, file the chuck lock’s edges slightly with a mill file—just enough to clear the bushing.
Stop Jig Slippage on Curved or Slippery Surfaces
Clamping fails on rounded stock or oily metal. Solution: Apply double-sided tape (3M VHB) between jig and workpiece. For critical alignments:
1. Clean surfaces with isopropyl alcohol.
2. Press tape onto the jig base.
3. Stick jig to workpiece, then clamp lightly.
The tape creates instant grip while clamps prevent lateral shift during drilling.
Prevent Chip Clogs in Deep Holes
When drilling >1″ deep in wood:
– Use brad-point bits—they clear chips better than twist bits.
– Apply a light coat of paste wax to the bit shank to reduce friction.
– Drill at 800 RPM max; higher speeds pack chips instead of ejecting them.
Pro Woodworker Secrets: Jig Hacks for Flawless Holes Every Time
Start Holes Perfectly Straight, Then Finish Freehand
For large bits (1/2″+) where jig clearance is tight:
1. Clamp the jig and drill a 1/8″ pilot hole.
2. Remove the jig.
3. Complete the hole using your drill’s built-in depth stop.
The pilot hole guides the larger bit perfectly straight, while eliminating jig interference. This cuts drilling time by 60% for multi-hole projects like shelf standards.
Drill All Pilot Holes First for Bulletproof Alignment
When installing 10+ hinges:
– Drill every hole to 1/8″ depth using the jig.
– Remove the jig.
– Return with depth stop set to final depth (e.g., 5/16″).
This prevents bit deflection in the second pass—your jig only handles starting accuracy, not full-depth drilling.
Use the Jig as a Depth Gauge for Countersinks
For flush screw holes:
1. Set a collar for your screw head depth (e.g., 3/16″).
2. Drill the clearance hole.
3. Switch to a countersink bit with the same collar position.
The collar stops both bits at identical depths, ensuring screws sit perfectly flush.
Final Note: A drill jig alone is half the solution—how to use a drill jig correctly means adding depth control. Invest in a $15 collar set for repeatable results, and never drill blind again. For thin materials under 1/8″, always pair the jig with tape or a collar; freehand depth control fails 9 times out of 10. Master these techniques, and your holes won’t just be straight—they’ll be exactly where they need to be, every single time. Ready to fix that wobbly drill? Your first perfect hole starts with the collar you attach today.


