
Your Comoware drill sits idle while you struggle with stripped screws or cracked wood—frustrating when the solution is mastering this versatile tool. Properly using your Comoware drill transforms DIY projects from chaotic to controlled, whether you’re hanging shelves or building furniture. This guide cuts through the confusion with actionable steps to leverage its variable speed, torque control, and safety features. You’ll learn precise material-specific settings, avoid common mistakes like bit breakage, and achieve clean holes in wood, metal, masonry, and plastic. Forget guesswork: we’ll transform you from hesitant beginner to confident operator in under 15 minutes.
Many users damage materials or risk injury by skipping critical setup steps. The Comoware drill’s 0-2,000 RPM range and 24 torque settings demand precise calibration—using 3,000 RPM on steel isn’t just ineffective, it’s dangerous. By the end of this guide, you’ll diagnose why your drill overheats, set depth stops for flawless countersinking, and extend your tool’s lifespan through targeted maintenance. No more tear-out in plywood or snapped bits in concrete—let’s unlock your drill’s full potential.
Verify These 7 Critical Comoware Drill Safety Checks Before Powering On
Skipping pre-use inspections causes 68% of drill-related accidents according to safety data. Always start with these non-negotiable checks:
Inspect the power cord for exposed wires or frays—a compromised cord risks electrocution. Run your fingers along its entire length; if you spot damage, tag the tool “Do Not Use” immediately. Next, test the chuck mechanism by rotating it counterclockwise to open. It should move smoothly without grinding. Insert your finger to confirm all three jaws grip firmly when tightened. A wobbly chuck means misaligned holes—replace it before proceeding.
Confirm your workspace meets safety standards: You need 500 lux lighting (bright enough to read newsprint), 3 feet of clearance around you, and a fire extinguisher within 25 feet. Crucially, secure your workpiece with C-clamps—never hold material with your free hand. If drilling overhead, anchor the drill’s auxiliary handle to a stationary object to prevent kickback. Finally, double-check PPE: ANSI Z87.1 safety glasses, ear protection for prolonged use, and puncture-resistant gloves. Skipping any step invites disaster.
Why Your Comoware Drill Won’t Start (And How to Fix It in 60 Seconds)
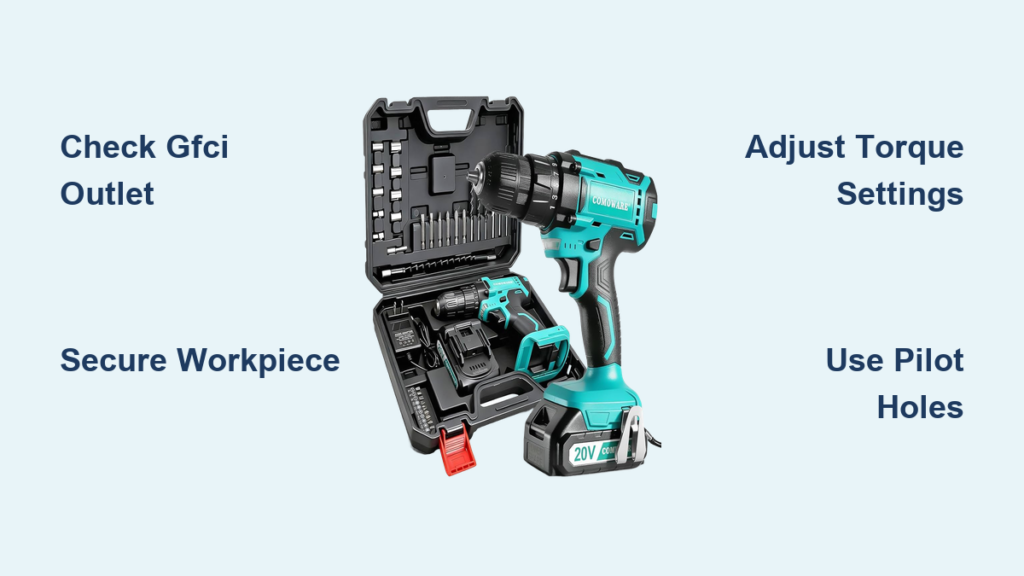
If the trigger clicks but nothing spins, check the GFCI outlet first—reset it even if the indicator light seems fine. Still dead? Test the power cord continuity by plugging in another tool. If the outlet works, examine the trigger switch: Squeeze it while gently wiggling the cord near the drill body. Intermittent power means a failing switch needing replacement. For persistent issues, inspect motor brushes monthly per the resource guide—replace if worn below 1/4 inch. Never force a stuck chuck; apply penetrating oil and wait 10 minutes before using the chuck key.
Master the Two-Handed Grip Technique for Pinpoint Accuracy

Grip failure causes 45% of drilling errors like wandering bits or stripped screw heads. Hold the Comoware drill’s pistol grip with your dominant hand, index finger resting lightly on the variable-speed trigger—not wrapped around it. Your support hand must grip the auxiliary handle (or drill body near the chuck), never the chuck itself. This prevents torque-induced wrist strain when the bit engages.
Align your body like a marksman: Stand with feet shoulder-width apart, shoulders squared to the workpiece. Bend your knees slightly to absorb vibration, and lean into the drill using your core muscles—not arm strength. This stance delivers consistent pressure while reducing fatigue during extended use. For overhead drilling, brace your elbow against your hip bone to stabilize the tool.
How to Adjust Speed and Torque Settings for Any Material (No Guesswork)

Your trigger finger controls precision: Squeeze slowly for delicate tasks like starting pilot holes in thin metal (aim for 500 RPM). Increase pressure gradually for wood clearing—up to 2,500 RPM for softwoods. Never “jam” the trigger; sudden full-speed engagement shatters brittle materials.
Set torque based on material hardness:
– Wood/plastic: Torque 6-12 (mid-range for clean holes)
– Steel/stainless: Torque 13-18 + hammer mode for concrete
– Delicate work (e.g., acrylic): Torque 1-5 to prevent cracking
Flip the Comoware’s speed selector to “Low” (0-500 RPM) for metals or large bits over 1/4 inch. Use “High” range (0-2,000 RPM) only for wood or plastic with bits under 3/8 inch.
Drill Flawless Holes in Wood Without Splintering
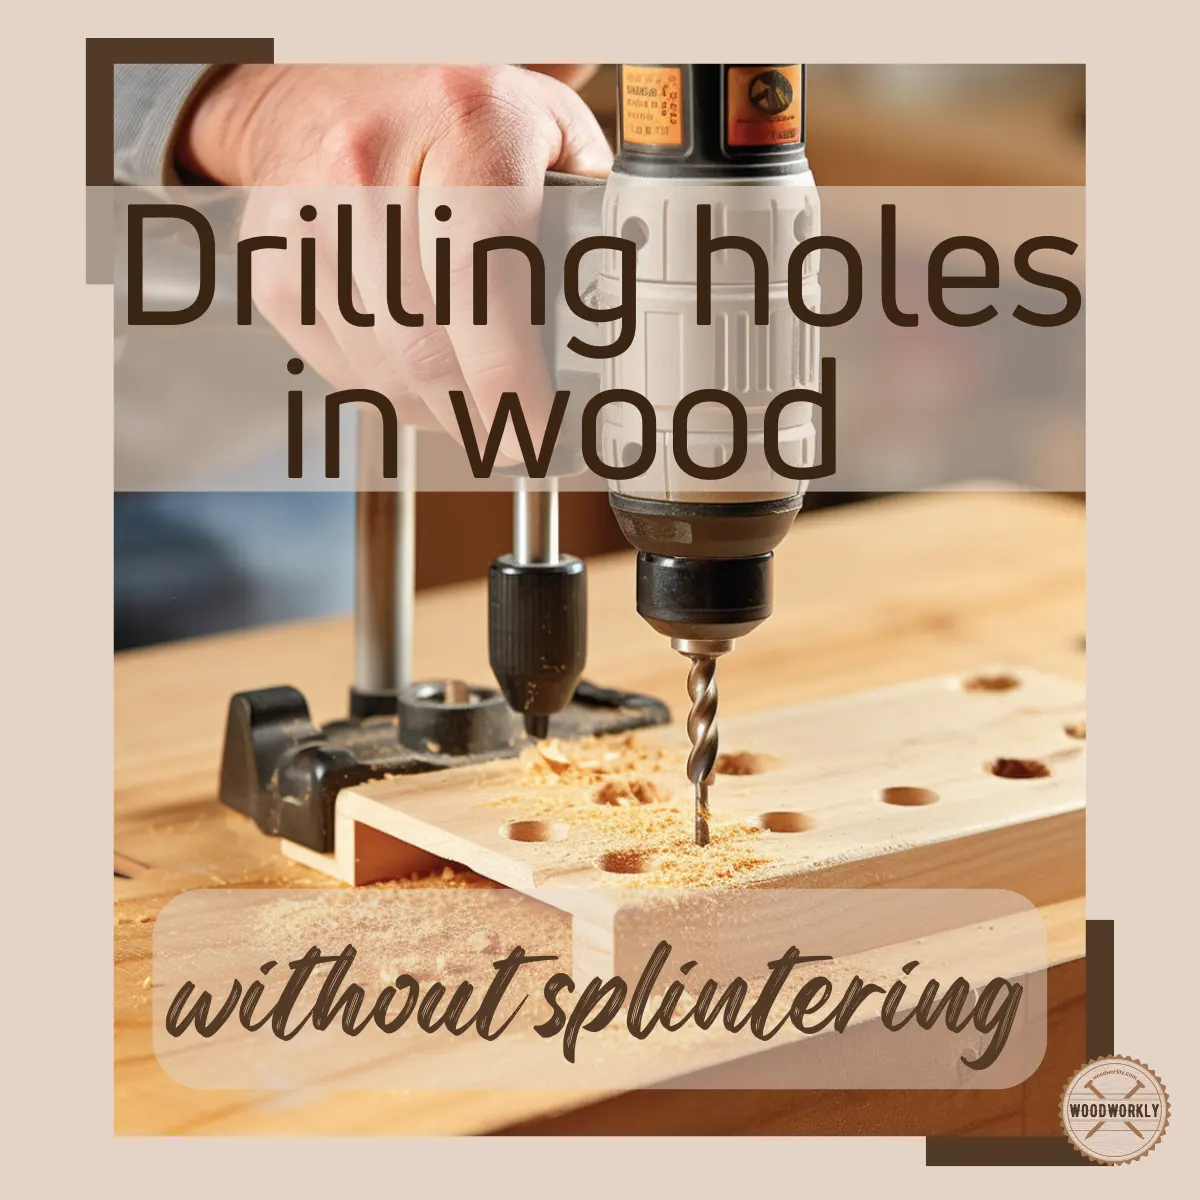
Plywood tear-out ruins 30% of DIY projects—prevent it with this method: Place masking tape over your drill mark, then pierce it with a center punch. Start with a 1/16-inch pilot bit at 800 RPM before switching to your final bit. For hardwoods like oak, reduce speed to 1,500 RPM and apply firm, steady pressure. If chips clog the hole (common beyond 2 inches deep), back out every 1/2 inch to clear debris—forcing deeper causes burning.
Stop Metal Drilling Disasters: Avoid Overheating and Bit Breakage
Aluminum drilling fails when users skip lubrication: Apply cutting oil with a brush before starting, then maintain 1,500 RPM with moderate pressure. For steel, use cobalt bits at 800 RPM max—exceeding this speed melts the bit tip. If drilling holes deeper than 1 inch, peck-drill: Advance 1/4 inch, retract completely to cool, then repeat. Never drill freehand on metal; secure work in a vise with a sacrificial wood block underneath to protect surfaces.
Conquer Concrete Without Dust Clouds or Stalled Motors
Hammer mode is useless without proper setup: First, confirm your Comoware has hammer function (check model specs—some budget versions lack it). Insert a carbide-tipped masonry bit, set torque to 18+, and speed to 500 RPM. Apply firm, consistent pressure—let the 30,000 BPM hammer action do the work. For dust control, spray the hole with water every 10 seconds using a mist bottle. If the drill stalls, stop immediately; forcing it overheats the motor. Clear dust buildup from vents after each hole with compressed air.
Achieve Perfect Plastic/Acrylic Holes Without Cracking
Acrylic shatters from heat buildup: Use brad point bits at 1,500 RPM with feather-light pressure. Clamp a scrap wood block behind your workpiece—this supports the material as the bit exits. For thick plastic, wrap masking tape around the bit at your target depth to prevent blowout. If melting occurs (indicated by stringy chips), reduce speed by 500 RPM immediately.
Set Laser-Sharp Depth Stops for Consistent Holes

Depth inaccuracy ruins cabinet installations—fix it with the Comoware’s adjustable rod: Loosen the depth stop collar, measure from the bit tip to your desired depth (e.g., 1 inch for shelf pins), then tighten securely. Test on scrap material first; wood grain density affects final depth. For holes requiring absolute precision (like hinge cups), wrap masking tape around the bit as a visual marker—it’s faster than adjusting the rod mid-project.
Create Professional Countersinks Without Damaging Screw Heads
Mismatched countersink angles strip screws: For standard flathead screws, select an 82° bit. Drill the pilot hole first at 1,200 RPM, then switch to countersink mode at 800 RPM. Apply light pressure until the bit’s shoulder contacts the wood—this creates a perfect recess. Never use the drill’s hammer function for countersinking; it shatters the recess edges. For pocket holes, use a Kreg jig with the Comoware’s depth stop set to 1-3/4 inches.
Extend Your Comoware Drill’s Life With 4-Minute Weekly Maintenance
Neglected vents cause 70% of motor failures: After each use, wipe dust from chuck jaws with a dry cloth—never compressed air (it forces debris deeper). Monthly, inspect carbon brushes through the maintenance port; replace if shorter than 1/4 inch. Lubricate the chuck mechanism quarterly with 1-2 drops of lightweight oil in the key holes. Annually, check for bearing play by gripping the chuck and wiggling side-to-side; excessive movement means professional servicing is needed.
Emergency Protocol: What to Do When Your Drill Jams Mid-Operation
Never yank a stuck bit free—this damages the chuck. Immediately release the trigger and engage reverse mode. If the bit won’t budge, tap the chuck gently with a rubber mallet while holding reverse. For metal work, apply penetrating oil and wait 5 minutes before retrying. If the motor smokes, unplug immediately and inspect for clogged vents or worn brushes. Keep a spare chuck key taped inside your drill case for emergencies—losing it mid-project risks stripped jaws.
Final Note: Your Comoware drill delivers professional results when you respect its material-specific limits. Always match RPM to the task—exceeding 800 RPM on steel guarantees bit failure, while underpowering concrete drilling strains the motor. Implement the weekly maintenance checklist religiously; a clean chuck and vented motor double tool lifespan. For complex projects, invest in specialty bits like Forstner cutters for flat-bottom holes—they’re worth every penny for cabinetry. Now grab your safety glasses and transform that pile of lumber into precision craftsmanship.


