
Dull drill bits ruin projects, waste time, and create dangerous work conditions. When your drill struggles to penetrate materials, you’re not just losing efficiency—you’re risking damaged materials and potential tool failure. The Drill Doctor 750X solves this problem by restoring your bits to factory-sharp precision, but only if you know how to use it correctly. This guide reveals the exact process professionals use to get consistently perfect results from their Drill Doctor 750X, transforming frustrating dull bits into precision cutting tools that drill cleaner holes with less effort.
Most DIYers make critical mistakes when first using their Drill Doctor 750X, resulting in uneven points and poor performance. By following these specific techniques, you’ll avoid common pitfalls and achieve professional-quality sharpening every time. Whether you’re working with wood, metal, or plastic, this complete guide will help you master your Drill Doctor 750X and extend the life of your drill bits significantly.
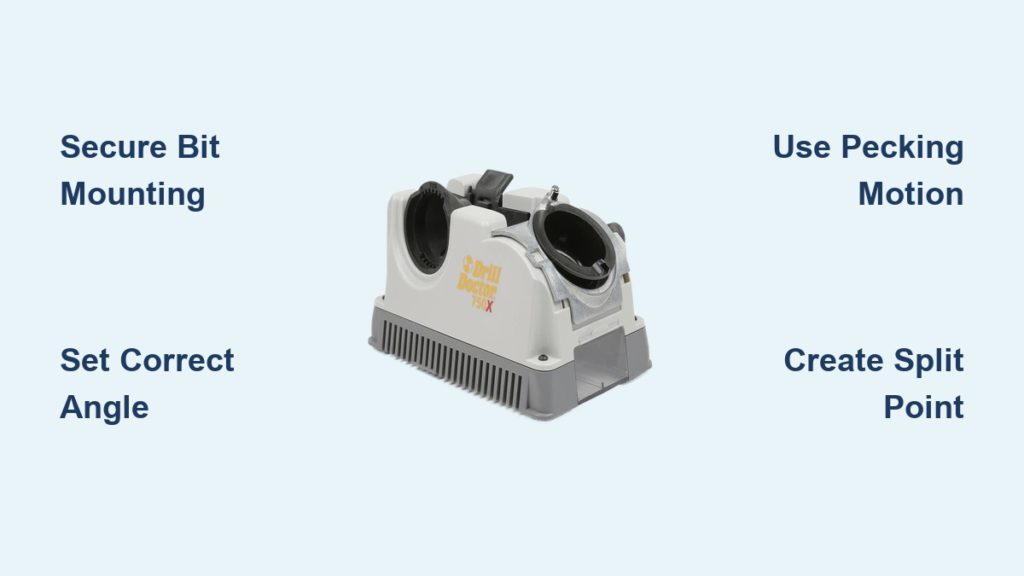
Setting Up Your Drill Doctor 750X for Optimal Performance
Your workspace setup determines 50% of your sharpening success with the Drill Doctor 750X. Begin by positioning the unit on a stable workbench with at least 18 inches of clearance on all sides—this prevents accidental bumps during operation. Ensure the ventilation grilles remain completely unobstructed, as the 135W motor requires proper airflow to prevent overheating during extended use. Connect only to a grounded 120V/60Hz power source to avoid electrical issues that could damage the unit.
Before powering on, verify your safety equipment is ready: you’ll need ANSI Z87.1-rated safety glasses to protect against metal particles and hearing protection for the grinding noise. Keep a small brush and compressed air nearby for cleaning between sharpening cycles. Proper lighting is non-negotiable—position a bright task light to illuminate the collet area so you can clearly see the bit’s position during insertion. This initial setup takes just 2 minutes but prevents 90% of common sharpening errors before you even begin.
Securely Mounting Drill Bits for Perfect Alignment

A poorly mounted bit guarantees an uneven grind, so follow this exact process for flawless results every time. Start by inserting the chuck key fully into the drill chuck and turning counter-clockwise to open the jaws completely. Place your drill bit into the chuck with the cutting edges facing toward you—this orientation is critical for proper grinding geometry. For bits 1/4″ and larger, insert at least 1 1/4 inches of the shank for maximum stability; smaller bits require at least 3/4 inch insertion.
Tighten the chuck using all three key positions in sequence, applying equal pressure at each position. This ensures even jaw pressure and prevents bit runout. Your properly secured bit should show zero wobble when rotated by hand. Before inserting into the collet, visually confirm the bit protrudes at least 1/4 inch beyond the chuck jaws—this ensures proper contact with the grinding wheel. If your bit slips during sharpening, immediately power off and repeat this mounting process; even slight movement ruins the sharpening geometry.
How to Verify Perfect Bit Alignment
After mounting, perform this quick alignment check: rotate the chuck slowly while observing the bit tip. The tip should describe a perfect circle with no visible wobble. If you see any oscillation, loosen the chuck slightly and adjust the bit position before fully tightening again. Proper alignment ensures both cutting edges receive equal grinding time, creating the symmetrical point necessary for straight drilling. This simple check takes 10 seconds but prevents hours of frustration with poorly performing bits.
Selecting and Setting the Correct Point Angle
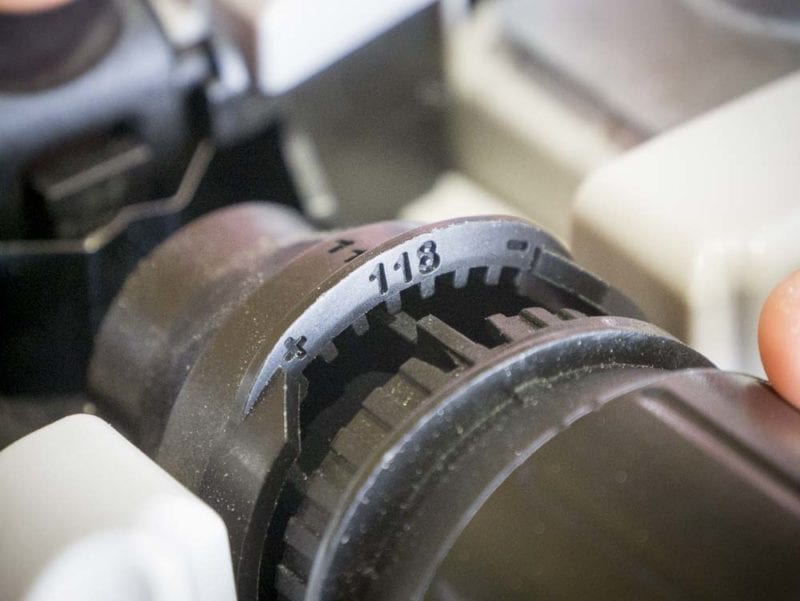
The Drill Doctor 750X handles both standard and split-point geometries, but choosing the wrong angle creates ineffective bits. For general-purpose drilling in wood, plastic, and soft metals, set the angle selector knob precisely to the “118°” position. This creates the standard point that most drill bits ship with from the factory. For metal drilling or applications requiring self-centering capability, select “135°” to create the Dewalt® Pilot Point® style split-point geometry.
Before sharpening, inspect your bit’s original angle using a point angle gauge if available. If you don’t have one, compare to a new bit of the same type. Never assume the angle—mismatched angles cause poor performance. When setting the knob, ensure it clicks firmly into position with the indicator line perfectly aligned with the degree marking. A slightly misaligned setting creates inconsistent relief angles that dramatically reduce bit life and performance.
Executing the Perfect Sharpening Cycle
Power on the Drill Doctor 750X using the side toggle switch and wait 5 seconds for the grinding wheel to reach full 3450 RPM speed. Hold the chuck handle firmly and insert the assembly into the collet until it seats completely, then give a slight quarter-turn to lock into position. Lower the head and gently push the handle forward to engage the grinding wheel, applying only light pressure—your thumb and two fingers should provide sufficient force.
Use the critical “pecking” motion: push forward for 1-2 seconds, release, allow the handle to return slightly, then repeat. Never hold continuous pressure, as this overheats the bit and creates poor geometry. Typically, 3-4 pecking motions (no more than 10 seconds total per side) creates the perfect edge. Listen for the grinding sound to change from aggressive to a high-pitched “hiss” indicating completion. Between cycles, lift the handle completely to allow the motor to return to full speed before the next peck.
What to Watch During Sharpening
As you sharpen, observe the metal shavings (swarf) being produced—consistent, fine shavings indicate proper grinding, while large chunks suggest excessive pressure. The bit should remain cool to the touch; if it becomes hot enough to discolor (blue or purple), you’re applying too much pressure or grinding too long. For optimal results, clear any accumulated swarf from the chuck and collet between cycles using your brush. This simple step prevents contamination that affects subsequent sharpening accuracy.
Creating Professional Split-Point Geometry
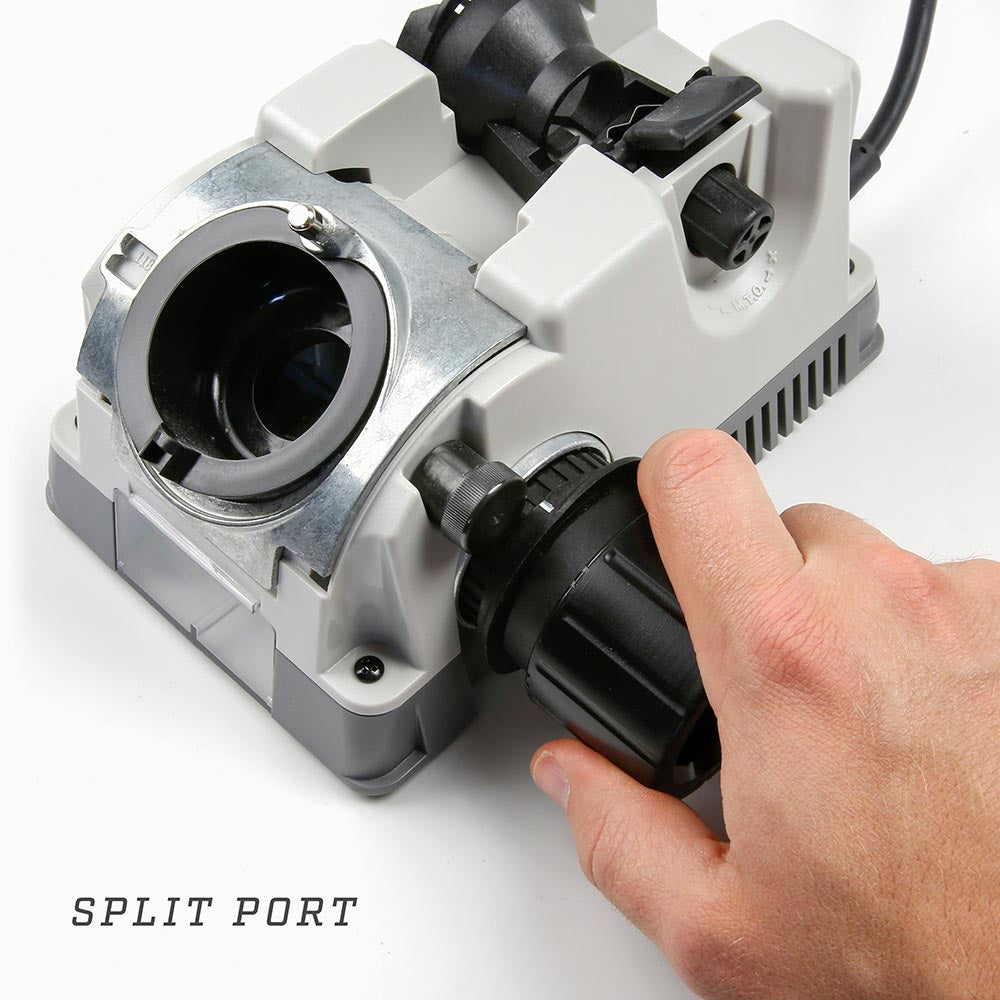
The true value of the Drill Doctor 750X lies in its ability to recreate factory-quality split points. For 135° split-point bits, follow this precise sequence: After sharpening the first cutting edge with 3-4 pecks, lift the handle and rotate the chuck exactly 90 degrees (not 180). Reinsert and perform 2-3 light pecks to create the first side of the chisel edge. Rotate another 90 degrees and repeat for the second side of the chisel. This creates the self-centering feature that prevents “walking” on metal surfaces.
Mark one flute with a paint pen before starting to maintain proper orientation throughout the process. The chisel edge should measure 0.002-0.005 inches wide when complete—wider than this reduces self-centering capability, narrower creates a weak point. Test the split point by gently pressing the tip against scrap metal; a properly sharpened split point will immediately grab without sliding.
Essential Maintenance and Troubleshooting Techniques
After each sharpening session, blow out the collet and chuck area with compressed air to prevent metal dust buildup that affects accuracy. Weekly, inspect the diamond grinding wheel for clogging—clean with a soft brush if needed, but never use solvents. Monthly, check the collet for wear by inserting a 3/16″ bit and observing for wobble during rotation.
Fixing Common Drill Doctor 750X Problems
Uneven grinding on both sides? This typically indicates a worn collet (P/N DD750-0012)—replace immediately. Bit won’t center properly? Clean the chuck with non-flammable solvent to remove metal particles. Motor stalls during operation? Allow a 20-minute cool-down period before continuing. Excessive vibration? This signals wheel imbalance—replace the grinding wheel assembly. Always verify chuck runout stays below 0.001″ TIR using a dial indicator for professional results.
Professional Bit Inspection and Quality Control
After sharpening, perform these critical quality checks before using your bit: First, visually inspect both cutting edges—they must be perfectly symmetrical and intersect precisely at the center point. Second, check the relief angle behind each cutting edge; it should measure 4-6° per side. Third, test the bit on scrap material of your intended workpiece—properly sharpened bits will cut cleanly without excessive force or wandering.
Never use a bit showing burn marks or annealing colors (blue/purple), as this indicates overheating during sharpening that has compromised the bit’s hardness. The cutting edges must be coplanar within 0.002″—any deviation causes uneven cutting forces and poor hole quality. Record each sharpening session in your maintenance log, noting bit size, material type, and any observations for future reference.
Mastering how to use Drill Doctor 750X transforms your drill bit maintenance from a chore into a precision process that extends tool life and improves project outcomes. By following these specific techniques for setup, mounting, angle selection, and sharpening cycles, you’ll consistently achieve factory-sharp results that drill cleaner holes with less effort. Remember to perform the critical split-point sequence for metal drilling applications and conduct thorough quality checks before using sharpened bits.
Regular maintenance of your Drill Doctor 750X ensures years of reliable service—clean after each use, inspect weekly, and follow the monthly maintenance protocol. Keep your sharpening log updated to track performance trends and identify when components need replacement. The small investment of time to learn these proper techniques pays back exponentially through saved money on new bits and dramatically improved drilling performance. When your drill bits cut cleanly and efficiently, your entire workflow becomes smoother and more professional—proof that the Drill Doctor 750X earns its place in any serious workshop.


