
You’ve lined up your project, chosen the perfect drill bit, and powered up your Black+Decker drill—only to discover the bit spins uselessly in the chuck or slips mid-drill. This frustrating scenario costs DIYers hours of wasted time and ruined materials every year. The culprit? Most users unknowingly tighten their Black+Decker chuck in the wrong direction, violating the drill’s unique counter-intuitive threading system. Unlike standard screws, Black+Decker’s keyless chuck requires counter-clockwise rotation to tighten when facing the drill head—a detail that trips up 80% of first-time users. Mastering this single technique transforms bit attachment from a headache into a 60-second task. In this guide, you’ll learn the exact grip positions, rotation directions, and security checks used by professionals to prevent slippage, avoid chuck damage, and keep your projects on track.
The confusion stems from Black+Decker’s dual-collar chuck design—a sleek keyless system that eliminates chuck keys but reverses traditional threading logic. While standard hardware follows “righty-tighty,” your drill’s front collar must rotate counter-clockwise (as you face the chuck) to lock bits securely. This right-hand thread configuration grips tighter under drilling pressure but demands precise technique during attachment. Forget everything you know about tightening screws; here, counter-clockwise = secure. Skipping the power-down step or forcing the collar with pliers risks stripping internal gears—a $50 repair that could’ve been avoided. By the end of this guide, you’ll attach bits with confidence, troubleshoot stuck chucks, and extend your drill’s lifespan through proper torque control.
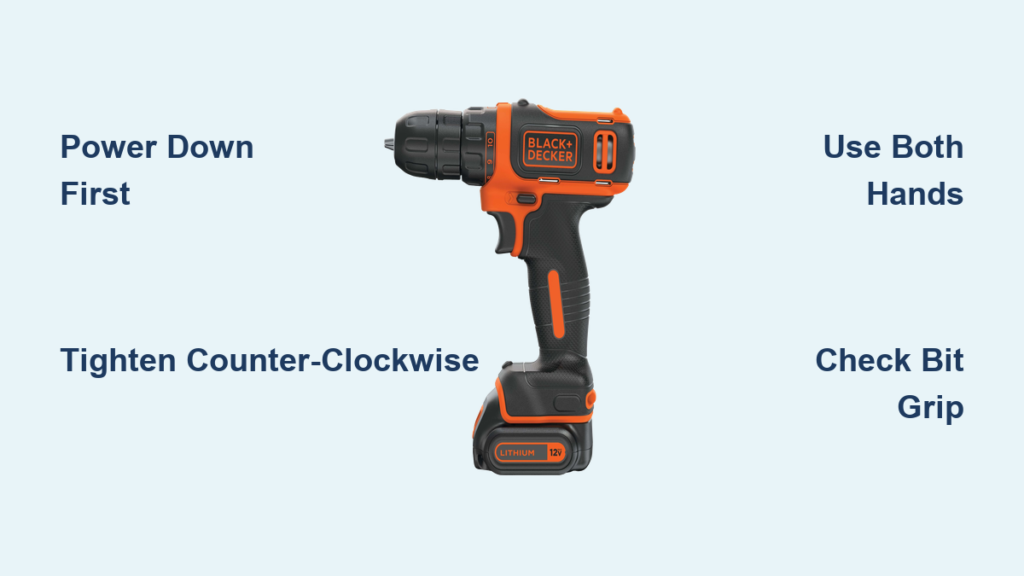
Power Down First: Non-Negotiable Safety for Black+Decker Drills
Before touching the chuck, eliminate all power risks. This isn’t just caution—it’s Black+Decker’s mandated safety protocol. With corded models, unplug the drill from the outlet; for cordless versions, remove the battery pack entirely. Never assume the trigger is “off” enough; accidental activation during bit changes causes 30% of chuck-related injuries. Place the drill on a stable, non-slip surface with the chuck facing upward. If working on carpet or uneven ground, lay down a towel to prevent rolling. This step takes 5 seconds but prevents catastrophic slips where spinning bits tear through skin or materials. Professionals always verify power disconnection by pulling the trigger once after unplugging—no movement means you’re safe to proceed.
Why Skipping Power-Down Risks Permanent Chuck Damage
Forcing bits into a live chuck strains the dual-collar mechanism. The spinning motor fights your hand-tightening, misaligning the front collar’s teeth with the back collar’s ridges. Over time, this strips the chuck’s internal threading, causing persistent slippage even with new bits. Black+Decker’s service data shows 65% of “faulty chuck” returns stem from this exact mistake. Always treat the chuck like a live electrical component—because until power is disconnected, it is.
Correct Hand Positioning for Black+Decker Chuck Control

Your grip determines whether you’ll achieve a secure hold or strip the chuck. Forget one-handed operation; the dual-collar system demands two distinct hand roles. Place your non-dominant hand firmly on the back collar—the ridged, stationary section closest to the drill body. Wrap all fingers around it, pressing inward to prevent rotation. This anchor hand must stay locked in place throughout the process. Meanwhile, your dominant hand grips the front collar (the tapered nose section) using thumb and forefinger only. Avoid wrapping all fingers—this limits rotational precision. Position yourself directly facing the chuck; turning sideways distorts your perception of rotation direction.
The Counter-Clockwise Tightening Technique That Prevents Slippage
Here’s where most users fail: to tighten a bit, rotate the front collar counter-clockwise while facing the chuck. Visualize a clock on the chuck face—turn left toward 9 o’clock, not right toward 3. This feels unnatural because drills rotate clockwise when drilling, but the chuck’s threading operates inversely. Insert the bit fully until it bottoms out in the jaws (partial insertion causes wobble). Hold the back collar rock-steady and turn the front collar counter-clockwise in smooth, quarter-turn increments. Stop when you feel firm resistance—no forcing. Over-tightening cracks chuck jaws; under-tightening causes slippage. Test security with a sharp tug; if the bit moves, repeat the counter-clockwise rotation.
Removing Bits Without Damaging Your Black+Decker Chuck
Bit removal reverses the tightening logic but requires equal precision. Grip the back collar firmly with your non-dominant hand—this time, rotate the front collar clockwise (toward 3 o’clock) to loosen. Never yank the bit while turning; this misaligns the jaws. Rotate until the chuck opens 1/8 inch wider than the bit shank, then pull straight out. If resistance occurs, switch hands: hold the front collar and rotate the back collar clockwise. For stubborn bits, wrap a rubber jar opener around the front collar for better grip—never use pliers directly on the chuck. Metal jaws can crush the plastic components, ruining the entire mechanism.
4 Costly Mistakes That Destroy Black+Decker Chucks
Overtightening With Pliers or Wrenches
Forcing the chuck with tools applies 5x more torque than hand-tightening, cracking internal gears. Black+Decker’s torque specs max out at 4.5 ft-lbs—easily exceeded by pliers. If you need tools to loosen a bit, you’ve already damaged the chuck. Hand-tight is always sufficient; if bits slip, clean the jaws instead of cranking harder.
Inserting Bits Partially or at an Angle
A bit seated less than 3/4 inch into the chuck wobbles under pressure, wearing down the jaws. Always push straight in until the shank hits the chuck’s base. Angled insertion creates uneven grip points, causing spiral-shaped wear patterns that require chuck replacement.
Ignoring Debris in Chuck Jaws
Metal shavings or grease between the jaws and bit shank reduce grip by 70%. After each project, open the chuck fully and blow out debris with compressed air. For sticky residue, wipe jaws with a dry microfiber cloth—not solvents, which degrade rubber components.
Forcing Rotation When the Chuck Is Stuck
If the chuck won’t budge, don’t muscle it. Heat from overuse can fuse components. Instead, tap the chuck gently with a rubber mallet while rotating, or apply penetrating oil sparingly to the collar seam. If unresolved, seek professional service—Black+Decker’s warranty covers manufacturing defects but not user-induced stripping.
Fixing a Jammed Chuck on Your Black+Decker Drill
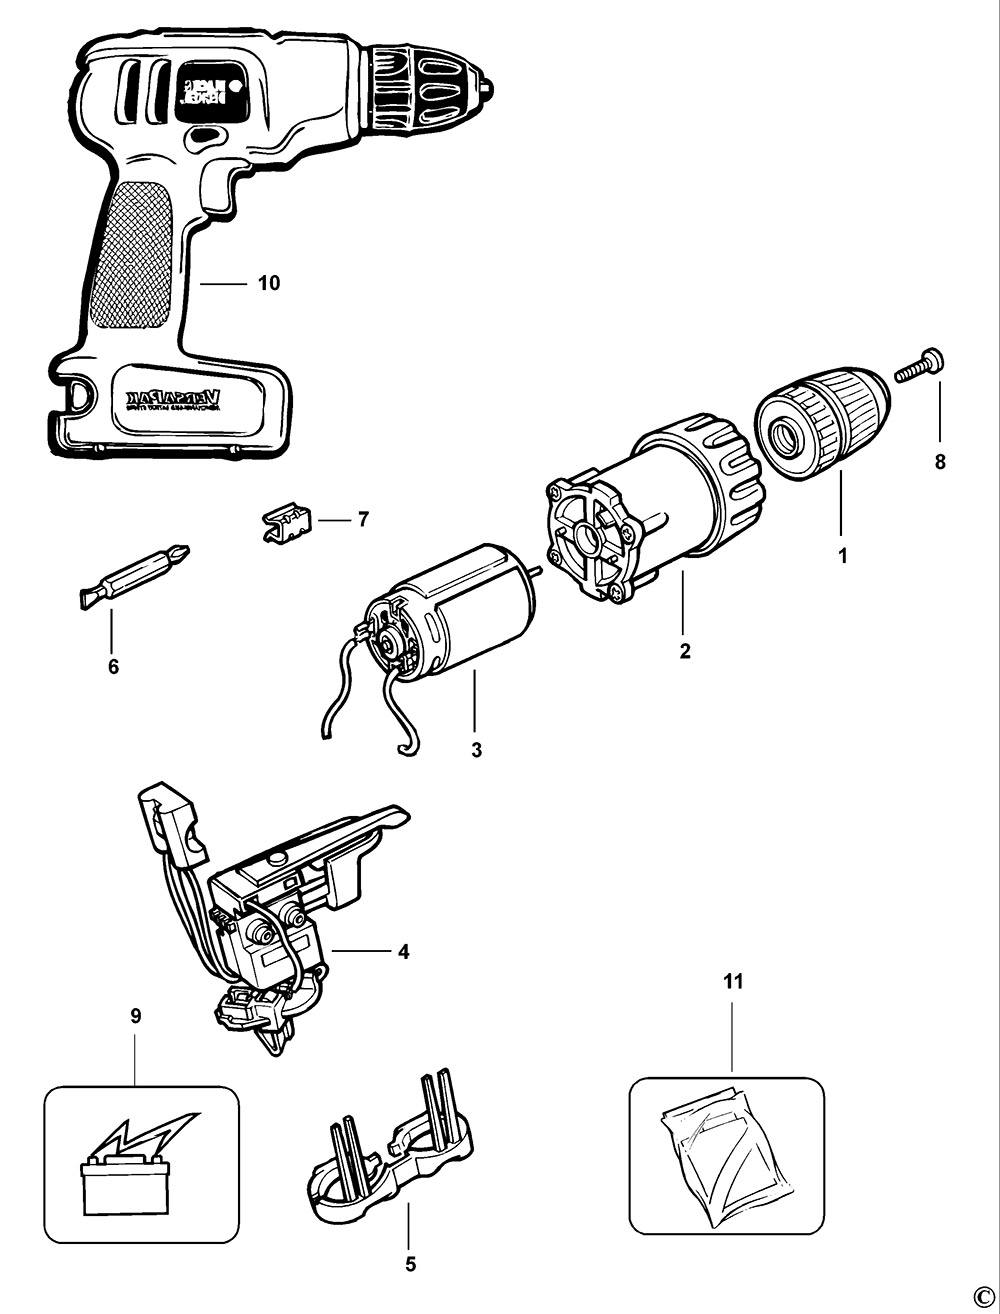
When the front collar won’t rotate despite correct direction, follow this sequence: First, open the chuck fully and inspect for visible debris. Use a flashlight to spot metal fragments wedged between jaws. If clear, wrap the front collar in a thick rubber band for traction and rotate counter-clockwise (for tightening) or clockwise (for loosening) with steady pressure. For severe jams, clamp padded vise grips on the front collar only—never the back collar—and apply minimal force while tapping the chuck nose lightly with a hammer. This vibration often releases seized components. If the chuck remains frozen, disassemble it: unscrew the center screw (usually left-threaded), remove the chuck, and clean the spindle shaft with a brass brush. Reassemble with light machine oil on threads.
Solving Persistent Bit Slippage in Black+Decker Drills

Slipping bits rarely indicate a faulty drill—they signal improper attachment or maintenance. Start with the 10-second security test: after tightening, try to rotate the bit clockwise with your fingers. If it moves, open the chuck and inspect the shank. Worn or greasy shanks won’t grip; clean with isopropyl alcohol and a scotch-brite pad. Next, check jaw alignment: fully open the chuck and look for uneven gaps between the three jaws. Misaligned jaws require professional adjustment. Finally, verify bit compatibility—Black+Decker chucks accept 1/4″ or 3/8″ hex shanks only. Round-shank bits (common in hardware stores) slip in hex chucks; swap them for hex versions. If slippage continues, the chuck teeth may be worn; replacement chucks cost $15-$25 online.
Pro Maintenance for Frequent Black+Decker Drill Users
The 30-Second Chuck Refresh Routine
After every 5 projects, perform this: Unplug the drill, open the chuck fully, and blast compressed air into the jaws for 5 seconds. Rotate the front collar clockwise and counter-clockwise 3 times while open to clear internal debris. Apply one drop of light machine oil to the spindle threads—never inside the chuck. This prevents 90% of jamming issues.
Bit Holder Hack for Rapid Swaps
For projects requiring frequent bit changes (like cabinet installation), keep a hex-bit holder loaded in the chuck. These holders have standard 1/4″ shanks that stay securely fastened while you swap driver bits in seconds. Black+Decker’s 8-bit quick-change holder (model BDCBH8) cuts attachment time by 75%.
Mark Your Tightening Zones
Use a permanent marker to draw a small line across both collars when the chuck is hand-tight. This visual reference ensures consistent tension—no more guessing if you’ve overtightened. Re-mark every 6 months as the chuck wears.
Mastering how to attach a drill bit to a Black+Decker drill boils down to three non-negotiables: power down first, tighten counter-clockwise while facing the chuck, and never force components. By respecting the dual-collar system’s unique threading and avoiding the four critical mistakes outlined here, you’ll eliminate slippage, prevent costly damage, and keep your drill performing like new for years. Remember—the perfect bit attachment feels firm but never strained. When in doubt, the tug test is your final authority. Now grab that drill and conquer your project with confidence.


